Using the Course Builder to Structure your Course
This tutorial shows how to use the Course Builder to structure your course
Using the Course Builder is highly recommended when starting out on a new course. It is a visual compelling way to set up an outline for your course, and will provide you with a useful overview of your course and all of your content.
Follow these steps:
- From your Course Admin menu, select Course Builder.

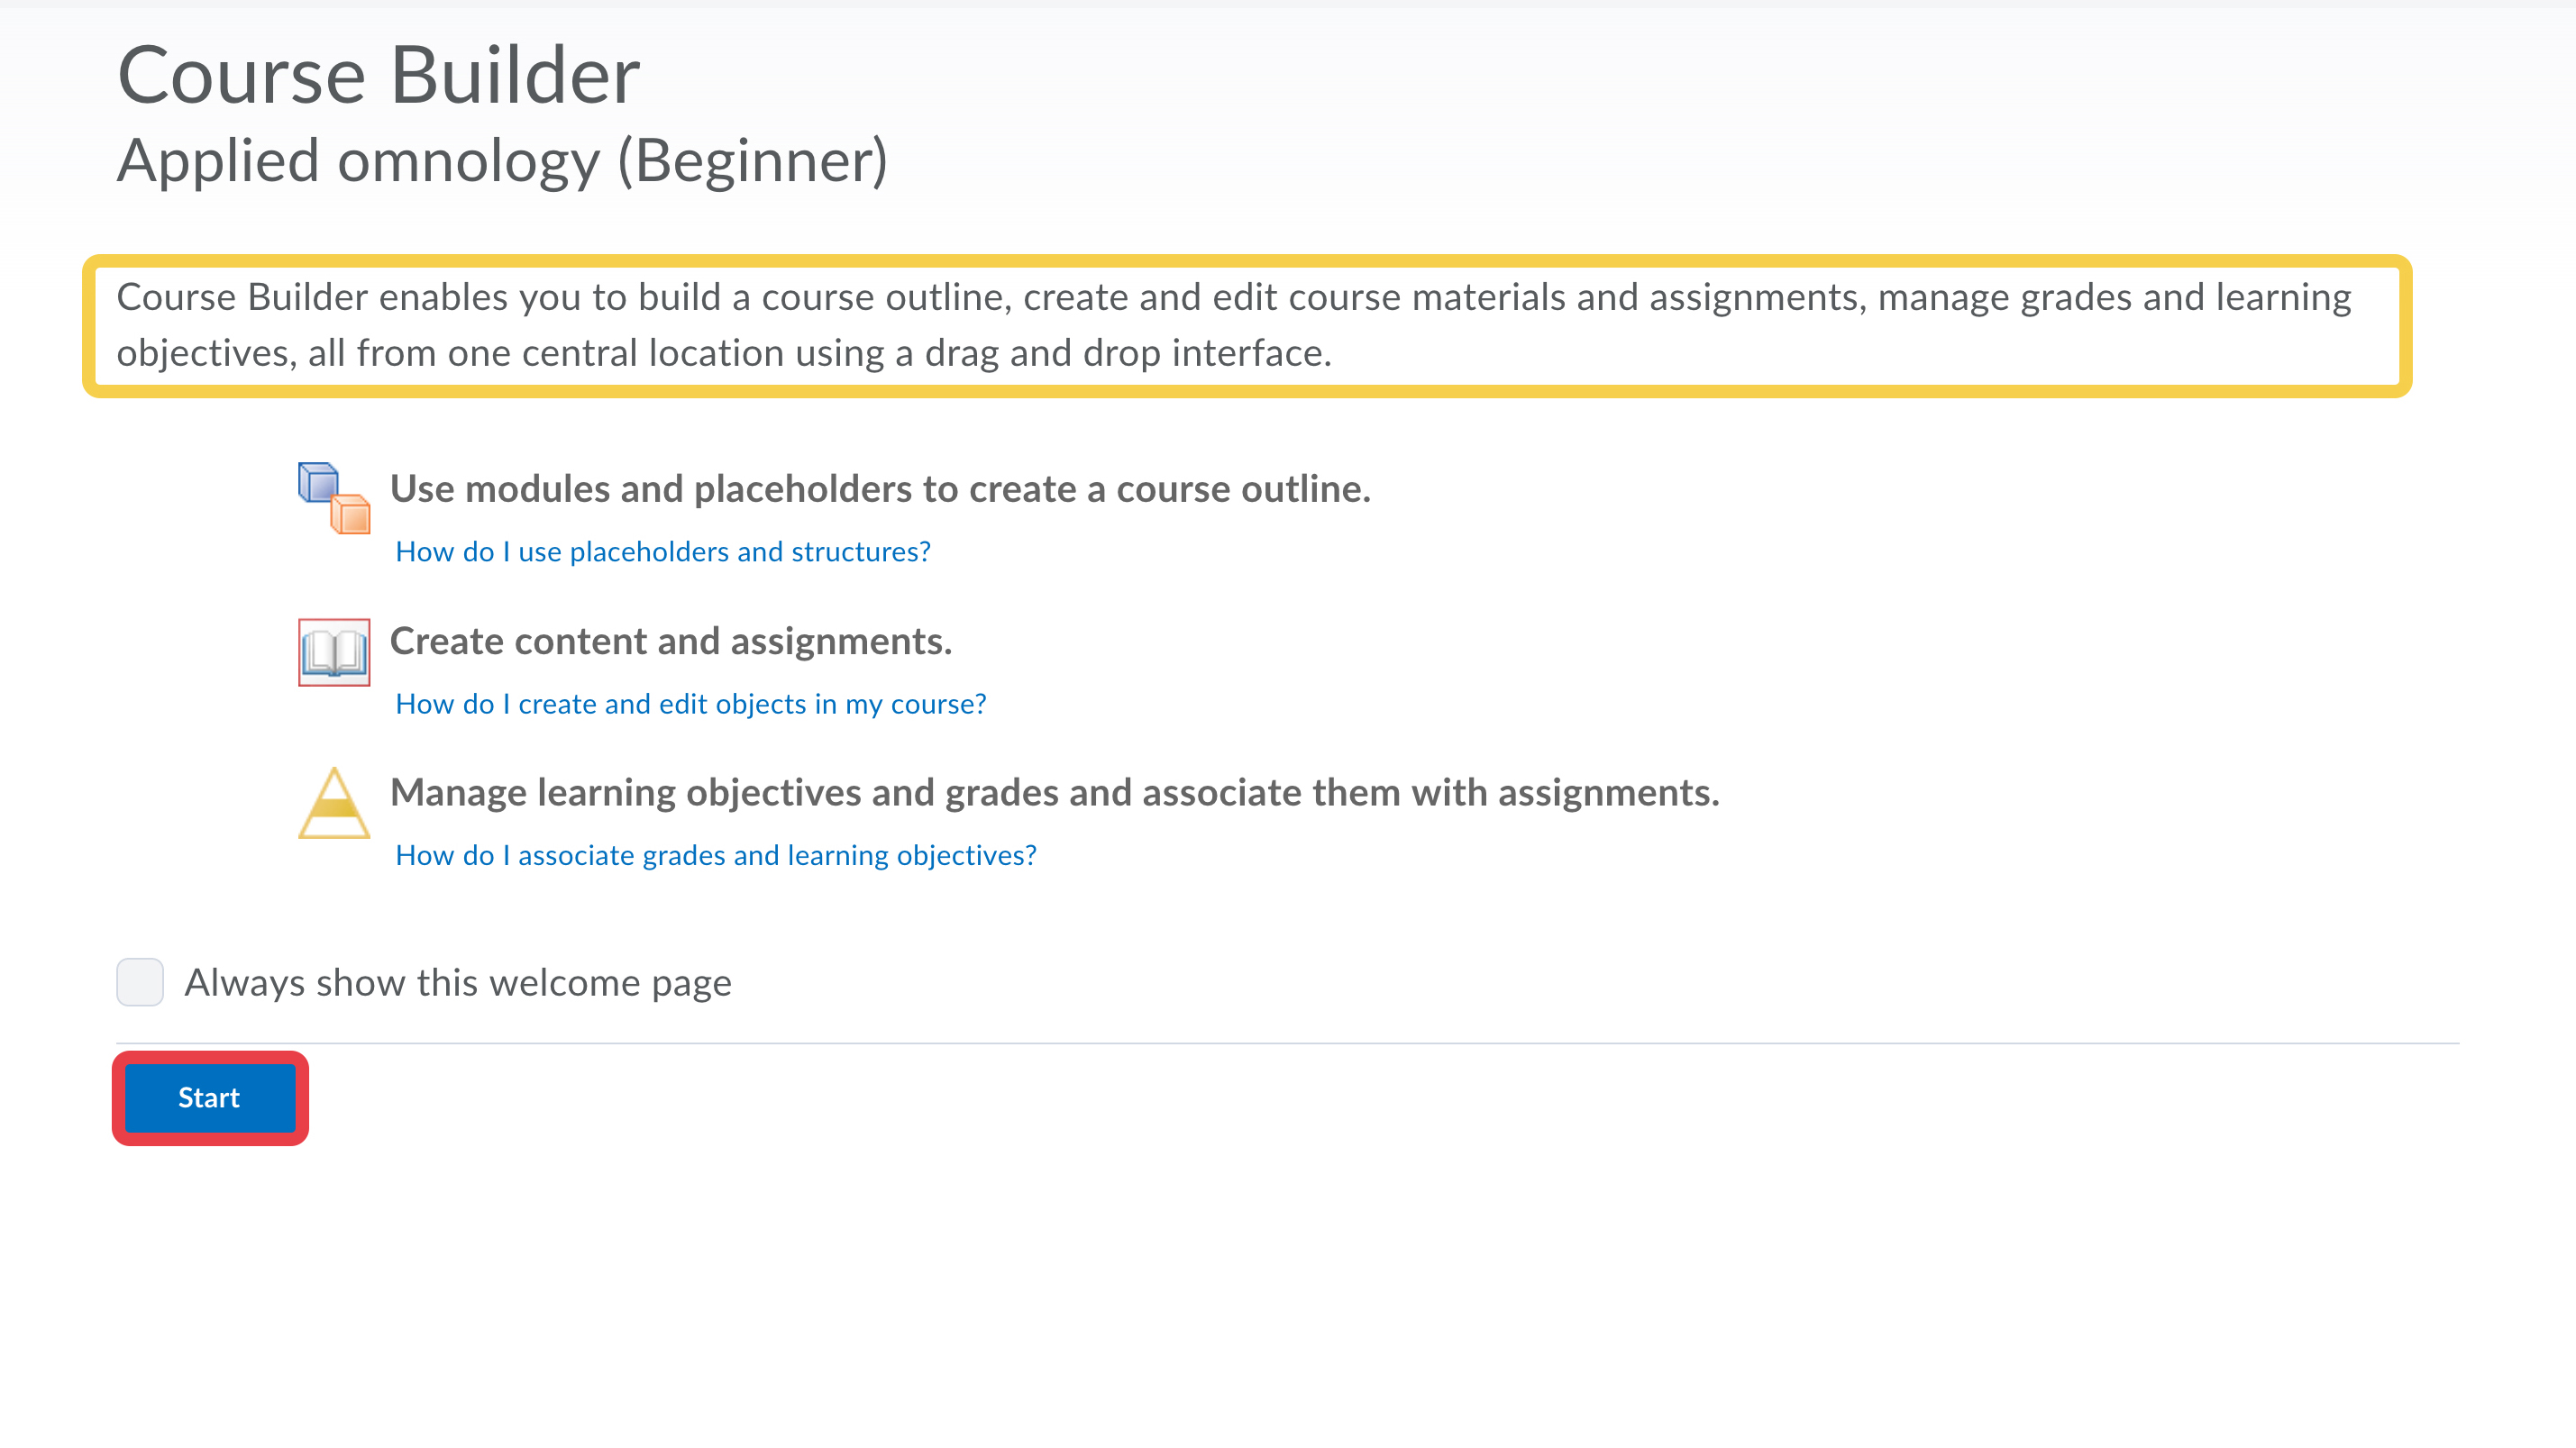
- This page explains about the course builder tool. When you are ready, select Start.
- The course builder consists of three columns. On your left hand side you can see three parts: Build Outline, Content, and Tools. At the center, you have the canvas. In a new course this part will be empty, (except for the course name). At your right hand side you can see a contextual display panel. This provides specific information regarding the highlighted element on your canvas.

- The best way to create your course is to start building an outline. This will provide an easy overview of the course structure. Before starting you need to decide the narrative of your course. You can for example structure your course on weeks, modules, themes, tools or topics. Start by dragging the first module from the "Build Outline" to the canvas.

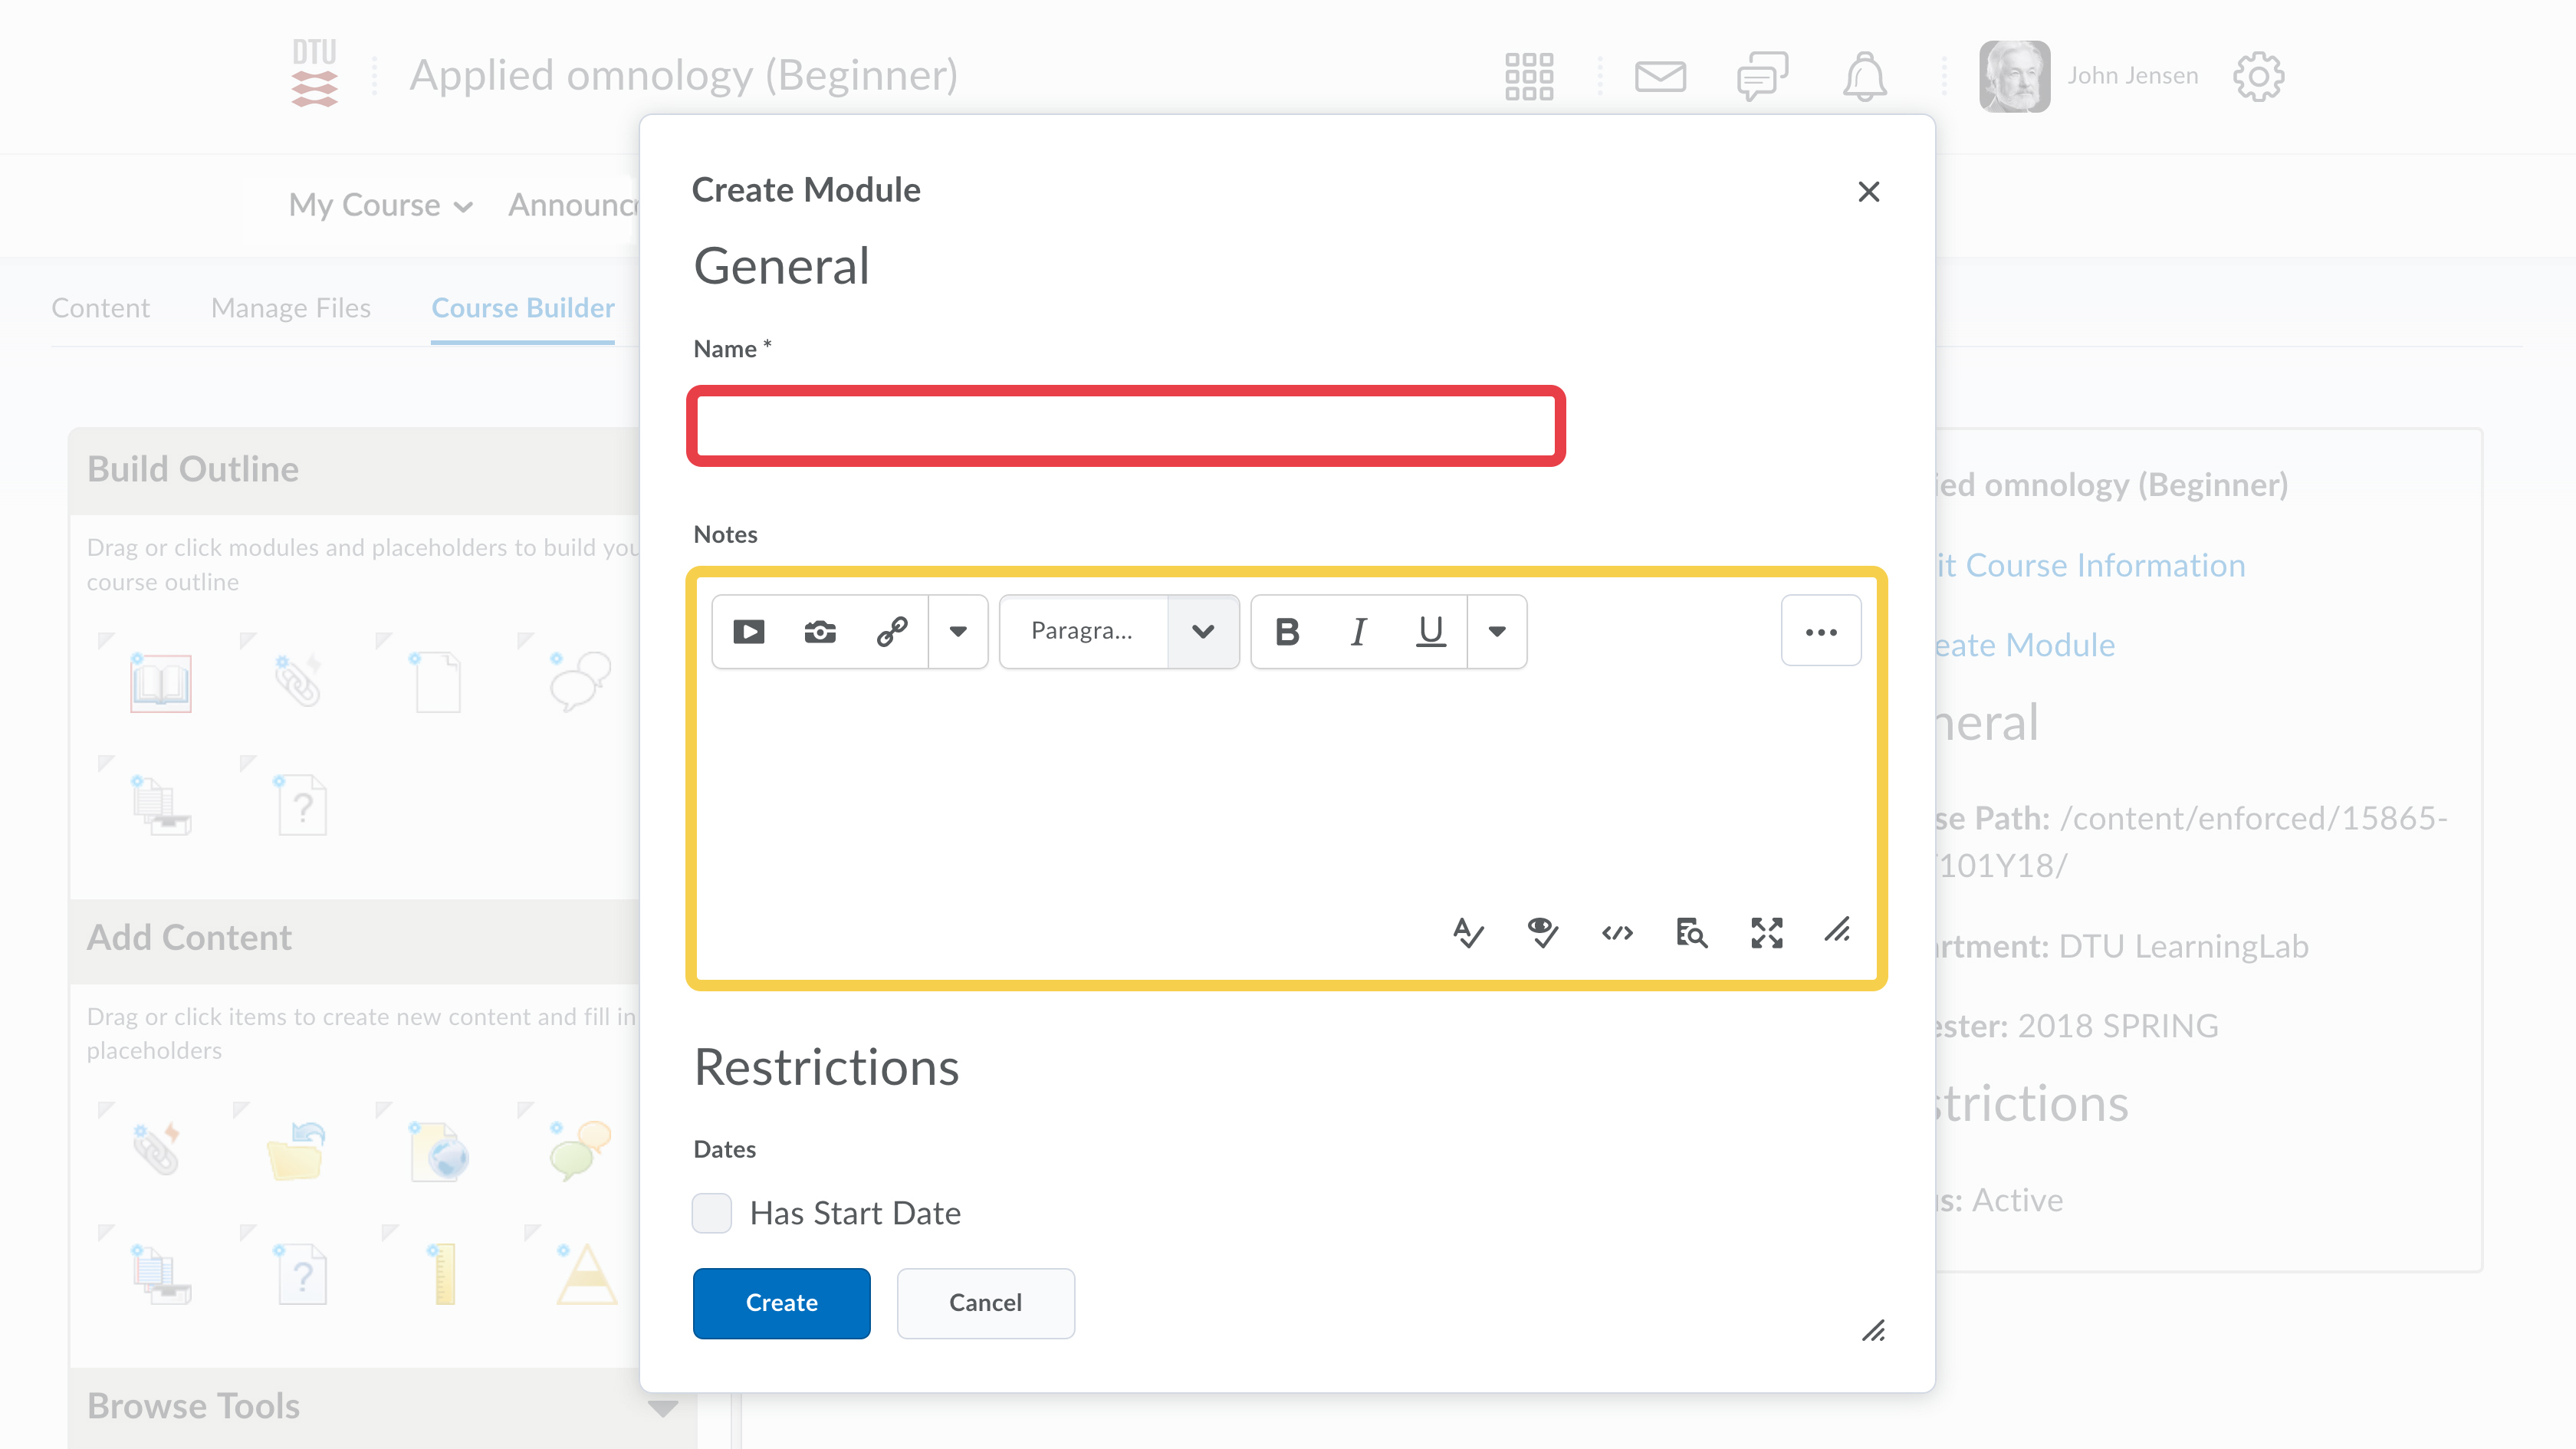
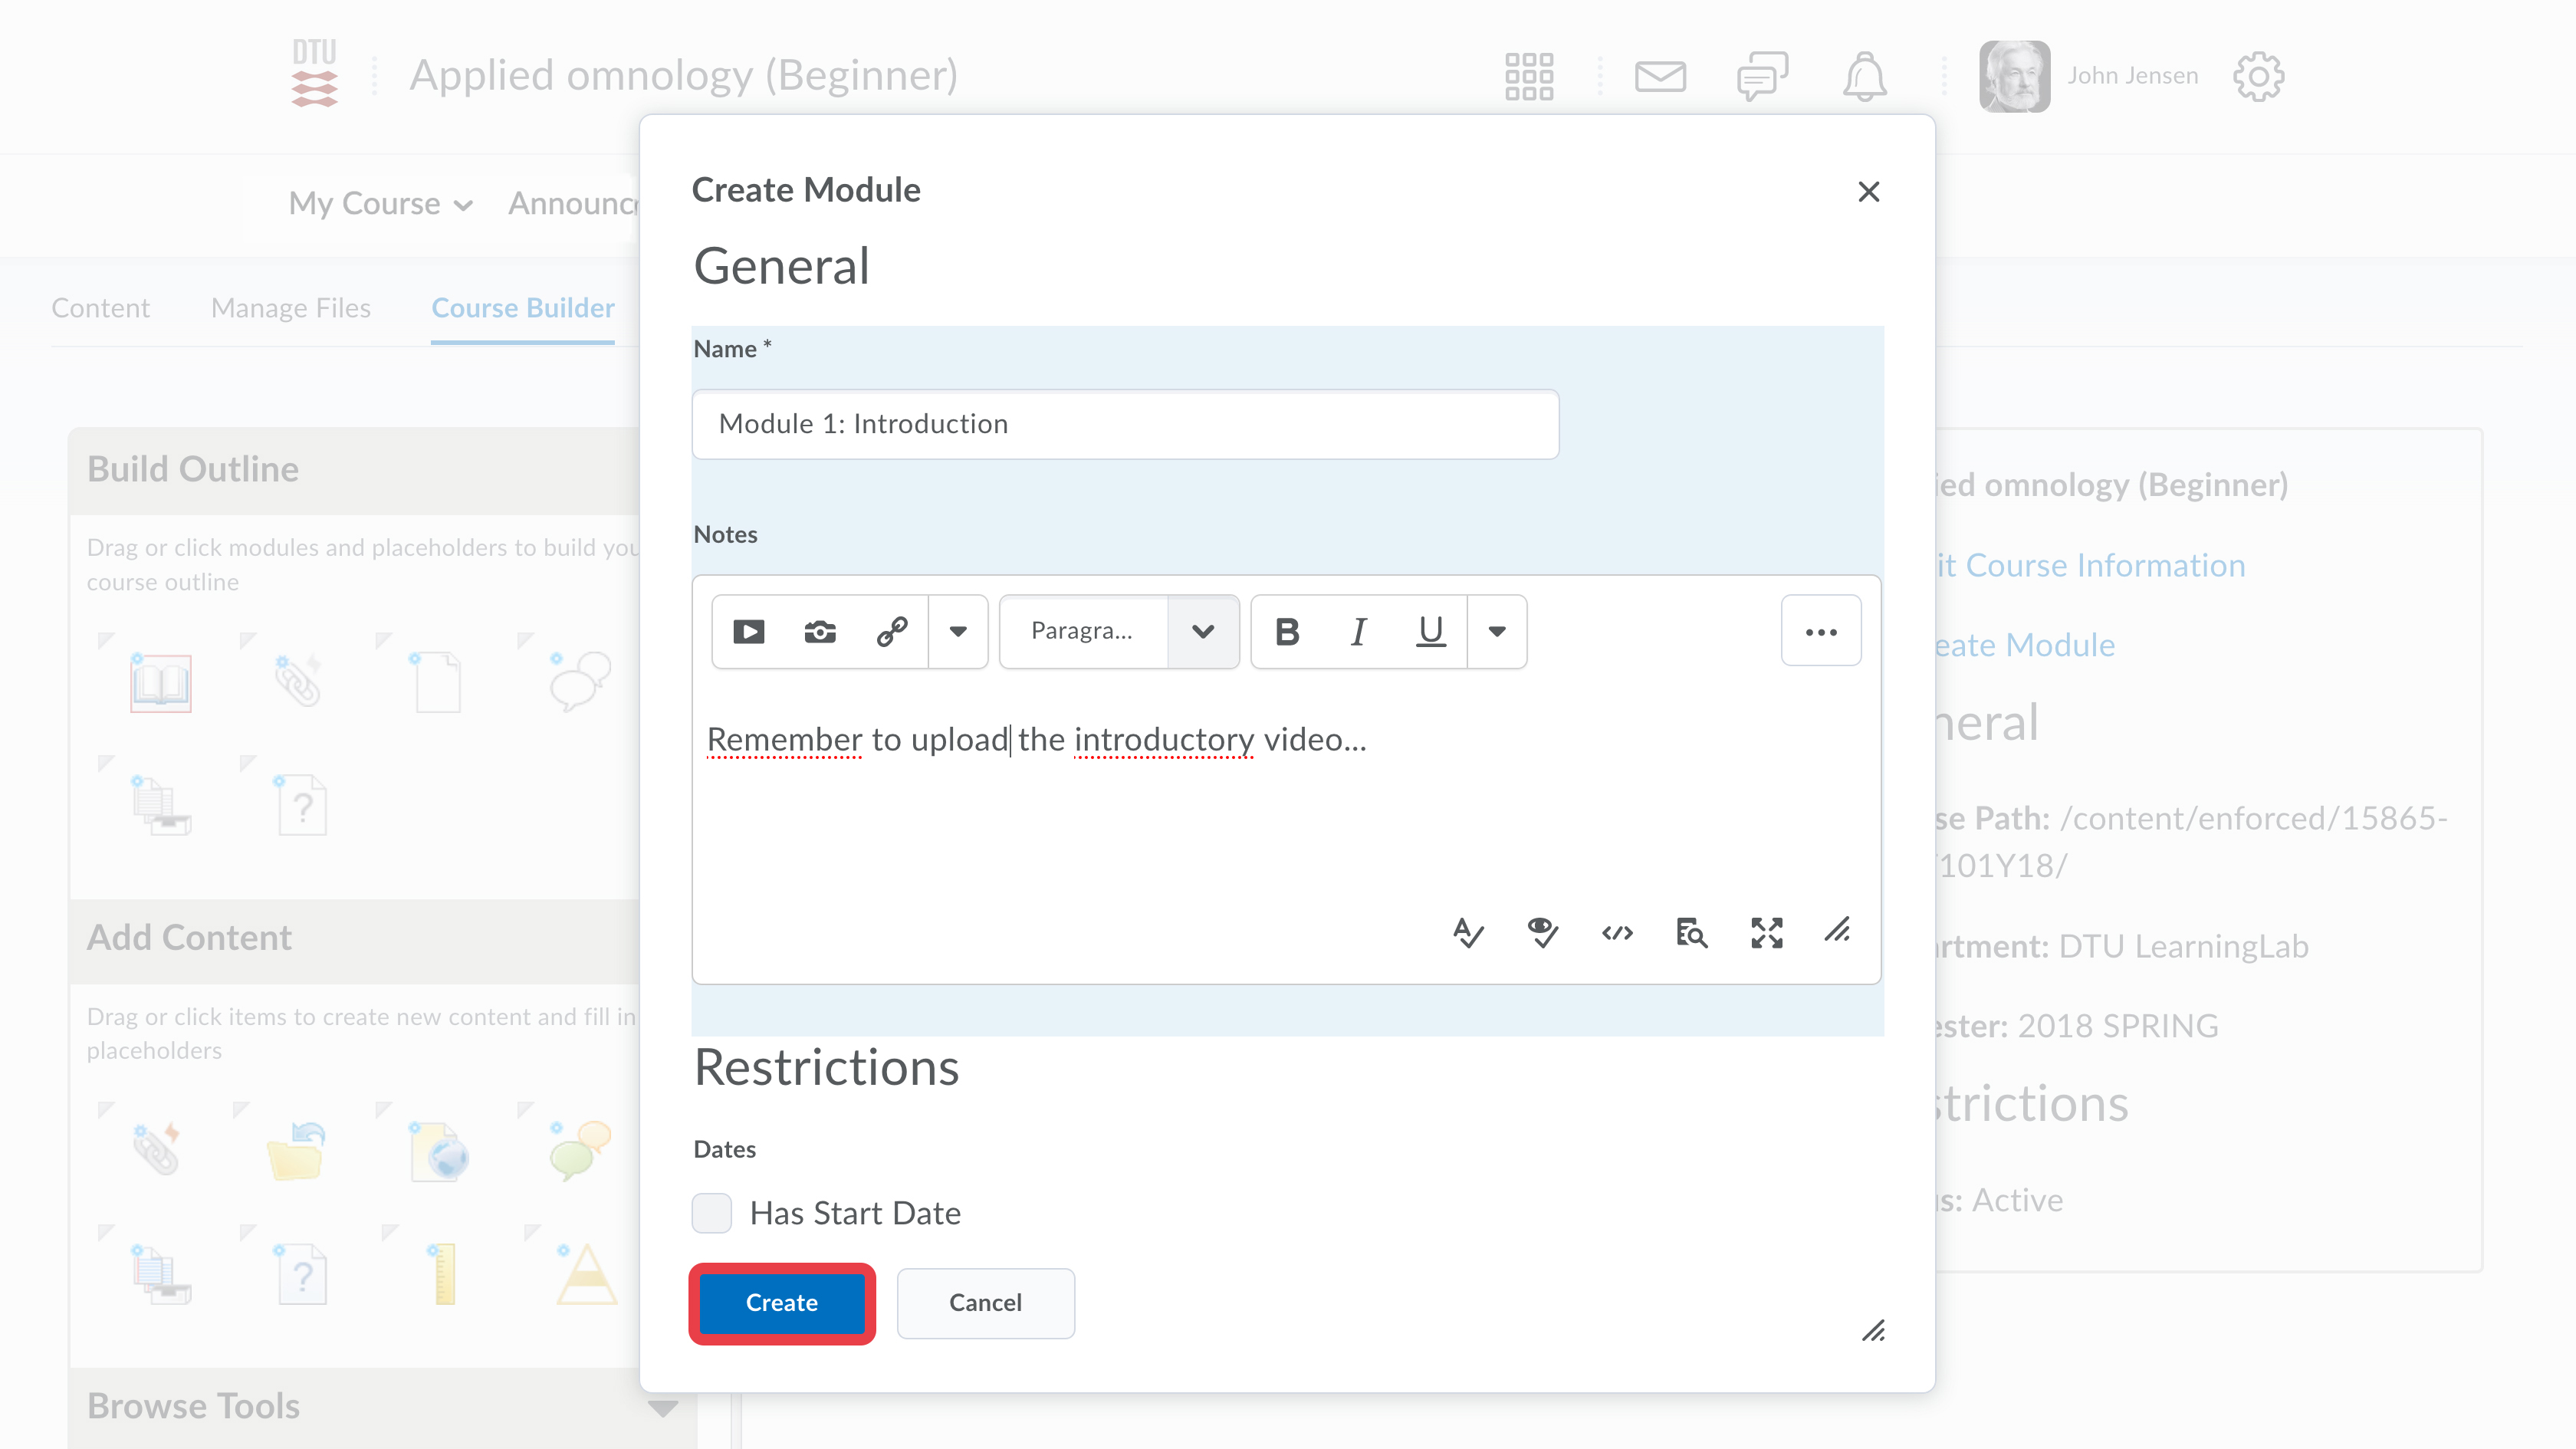
- Name the module. If you want, you can write notes as well.
- Click Create.
- If you want to create sub-modules, drag the new module to the canvas and drop it on top of a module.

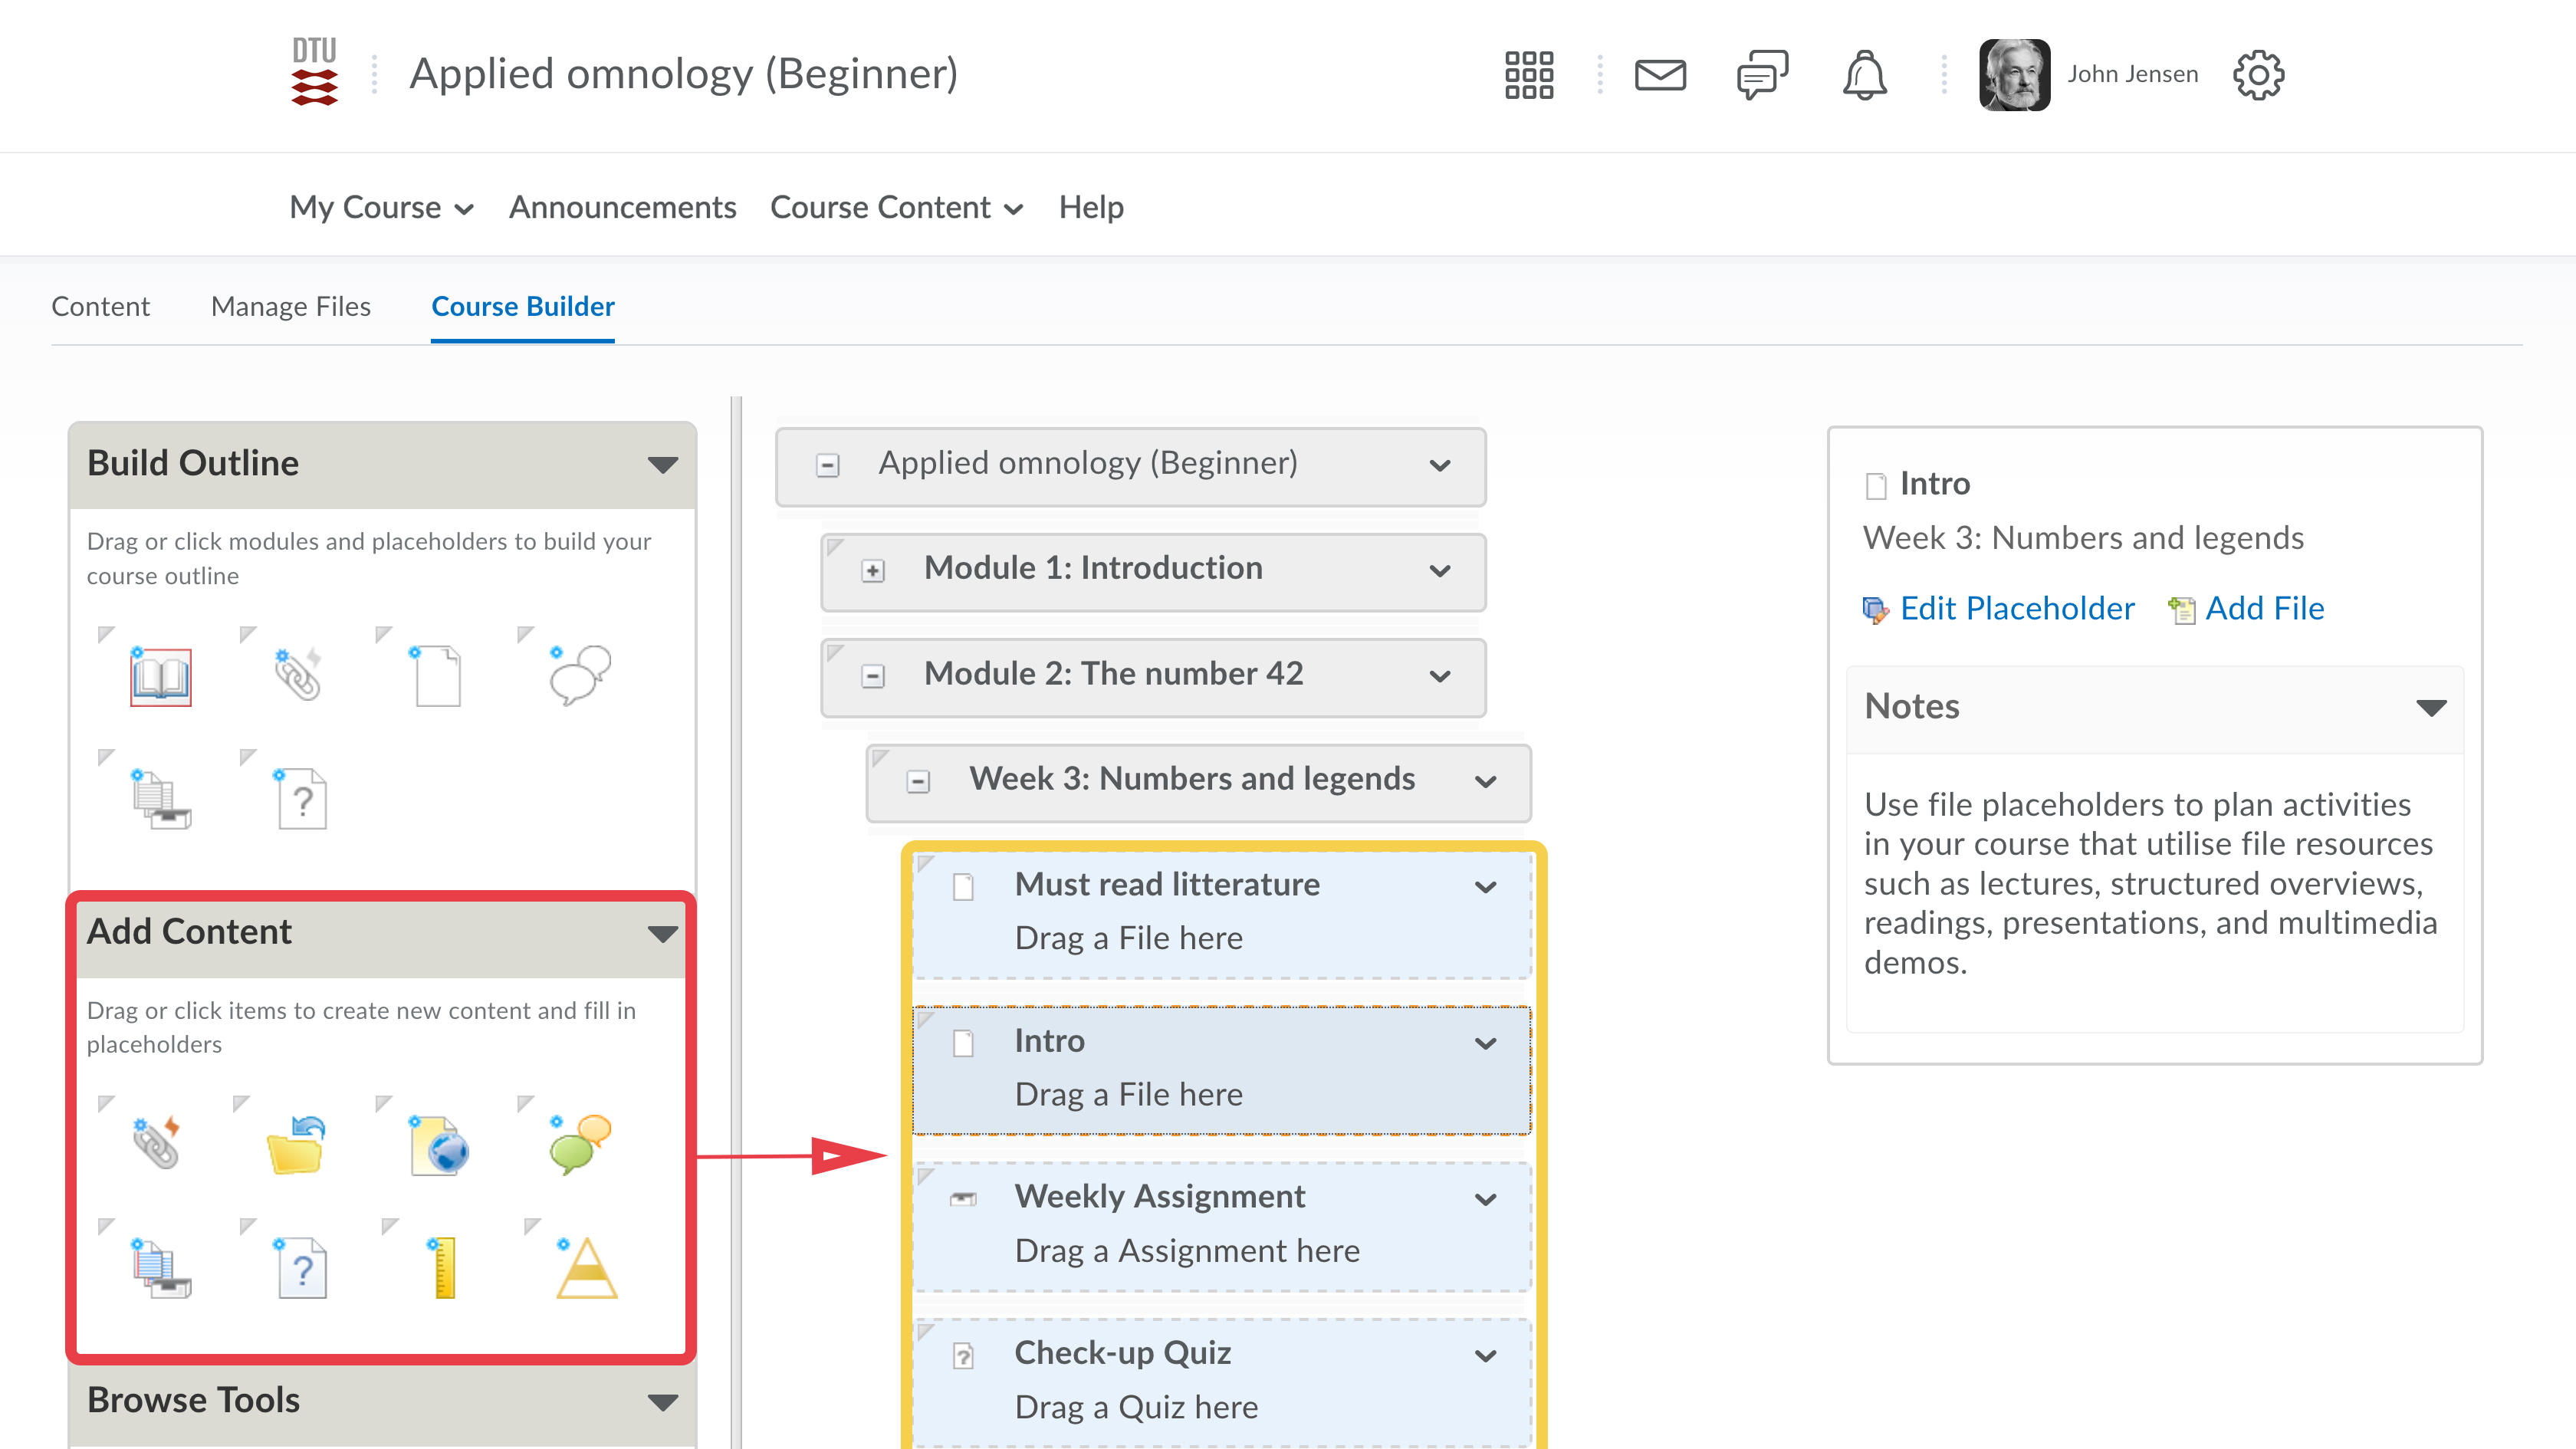
- After making modules and sub-modules, you can start to put placeholder content into your course outline. This way, you can plan the narrative of your course, without having created the actual content yet. In this example, we expect to need an introductory file, a quiz and an assignment.
- Having set up your course outline, it's time to fill the placeholder elements with actual content. For a tutorial on how to add Content to your course, see e.g. the following guide: Adding an Activity to your Content