Importing Files from CampusNet
This tutorial shows how to import files from CampusNet
This tutorial shows how to download files from CampusNet and upload them to DTU Learn. These steps are good to know if you want to make an easy transition from CampusNet to DTU Learn.
Follow these steps:
- From your course on CampusNet go to File sharing and select the files you want to export.
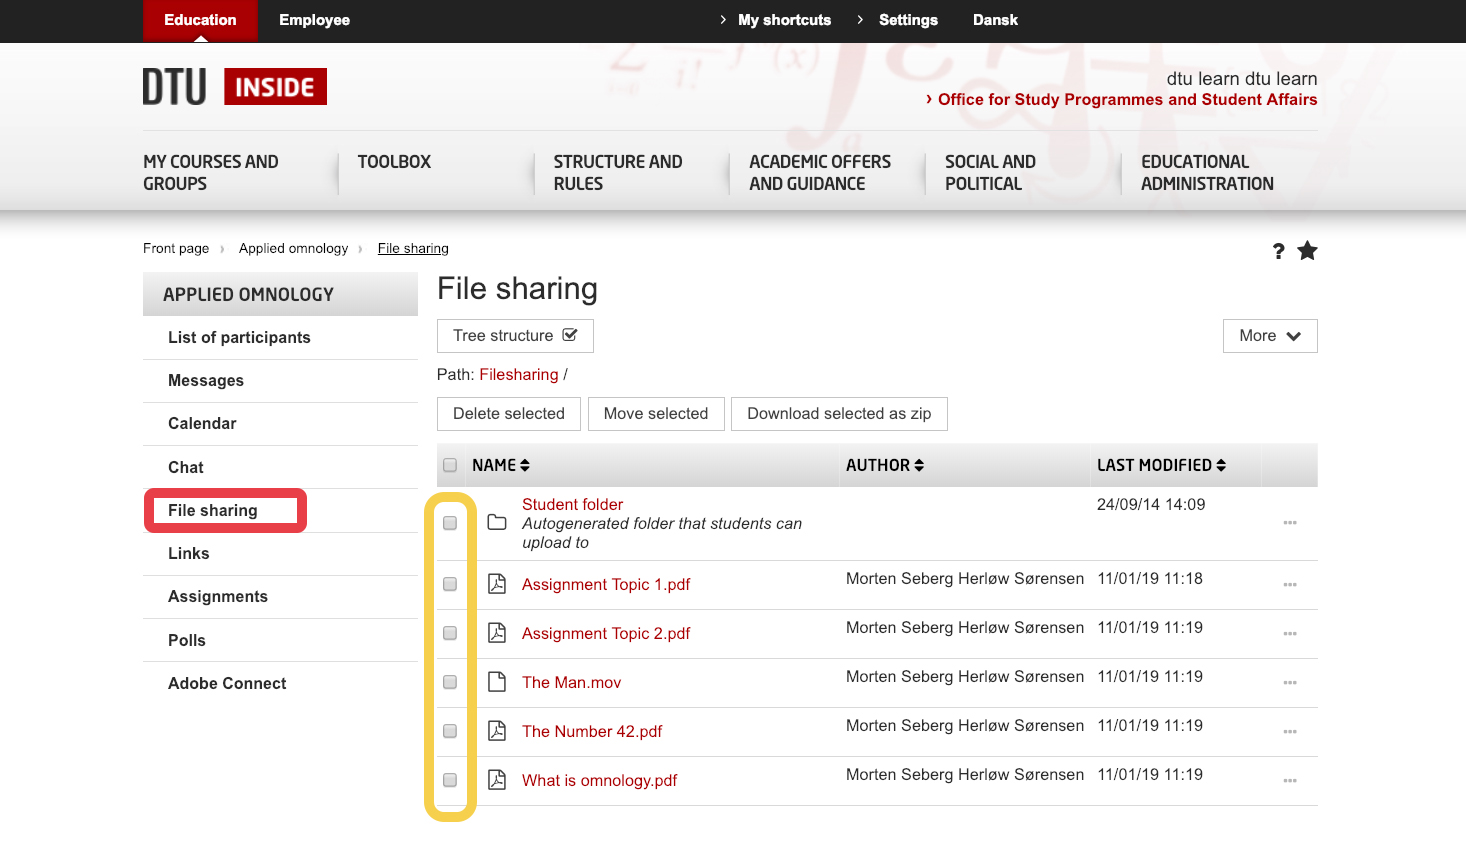
- Select "Download selected as zip". This starts the download to your computer.

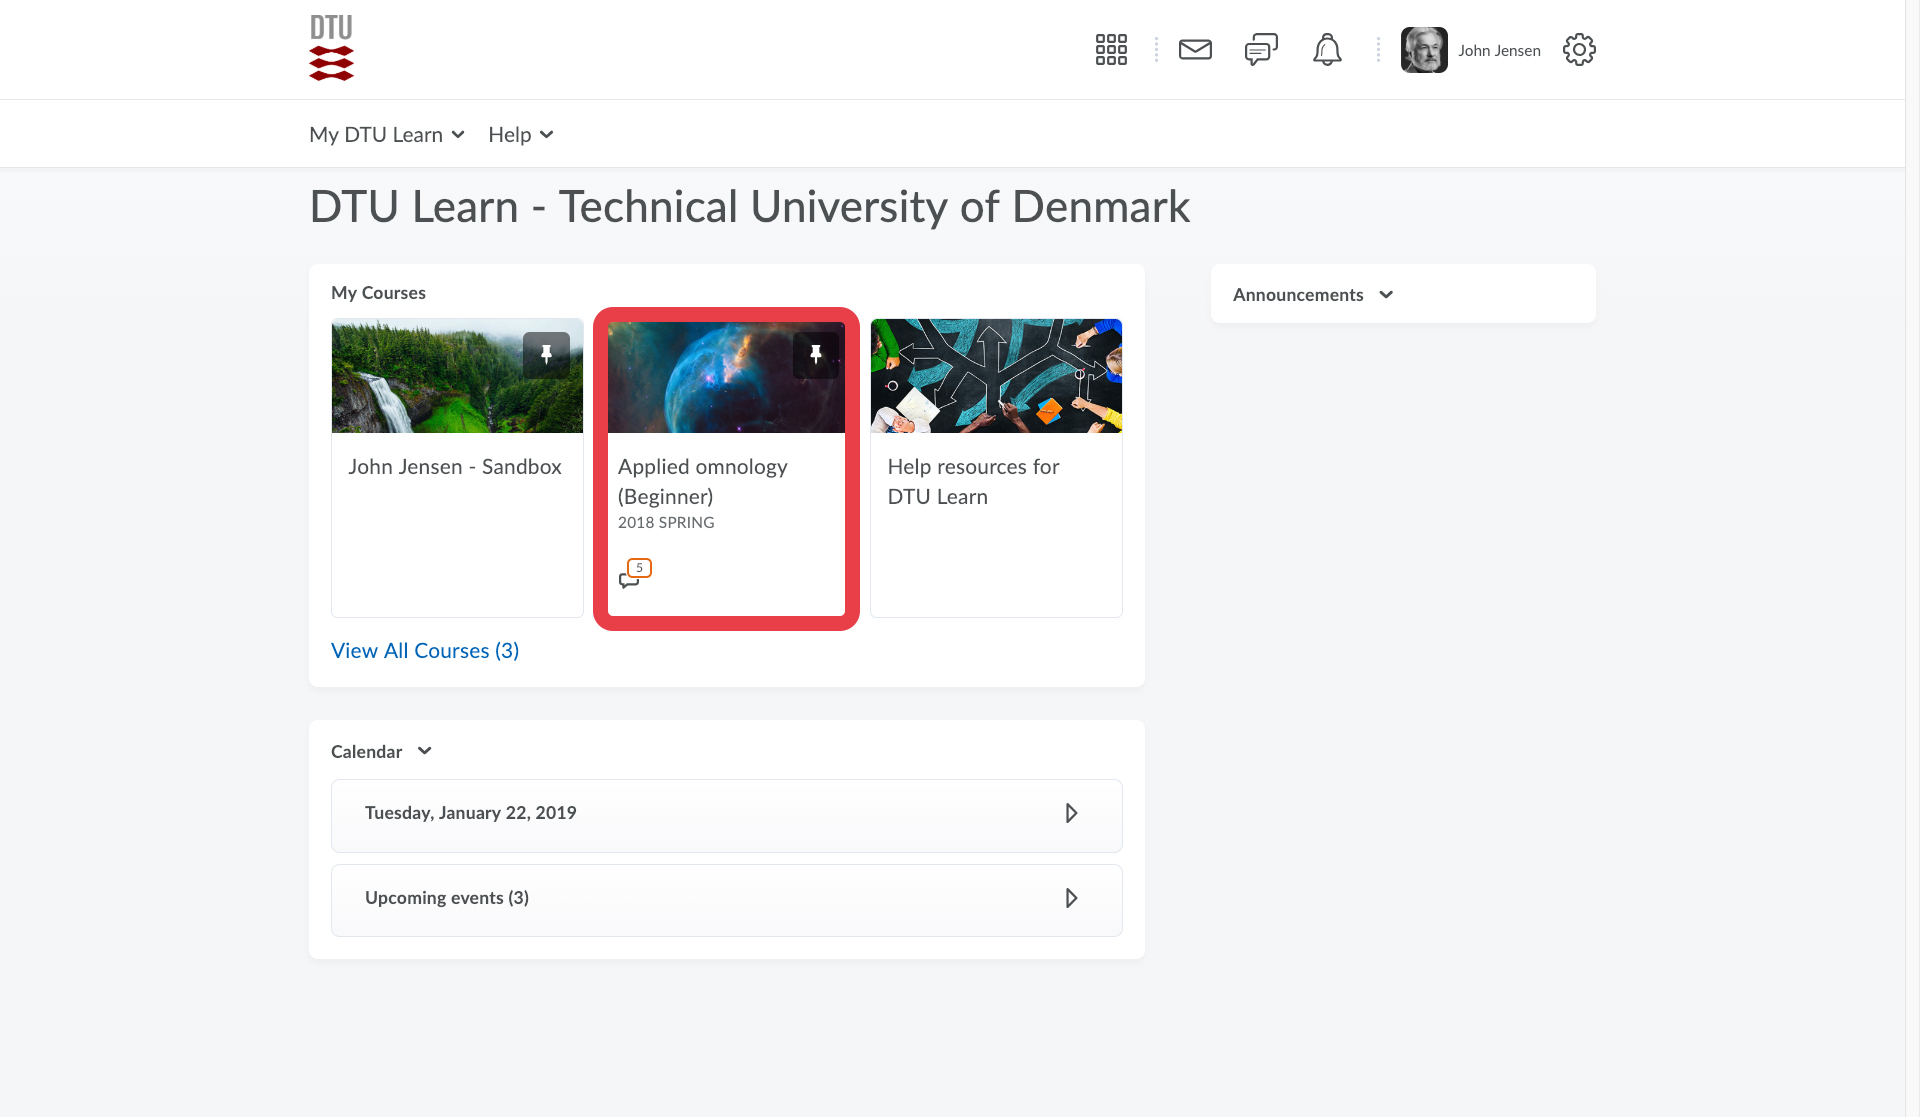
- Go to DTU Learn, and select your course.
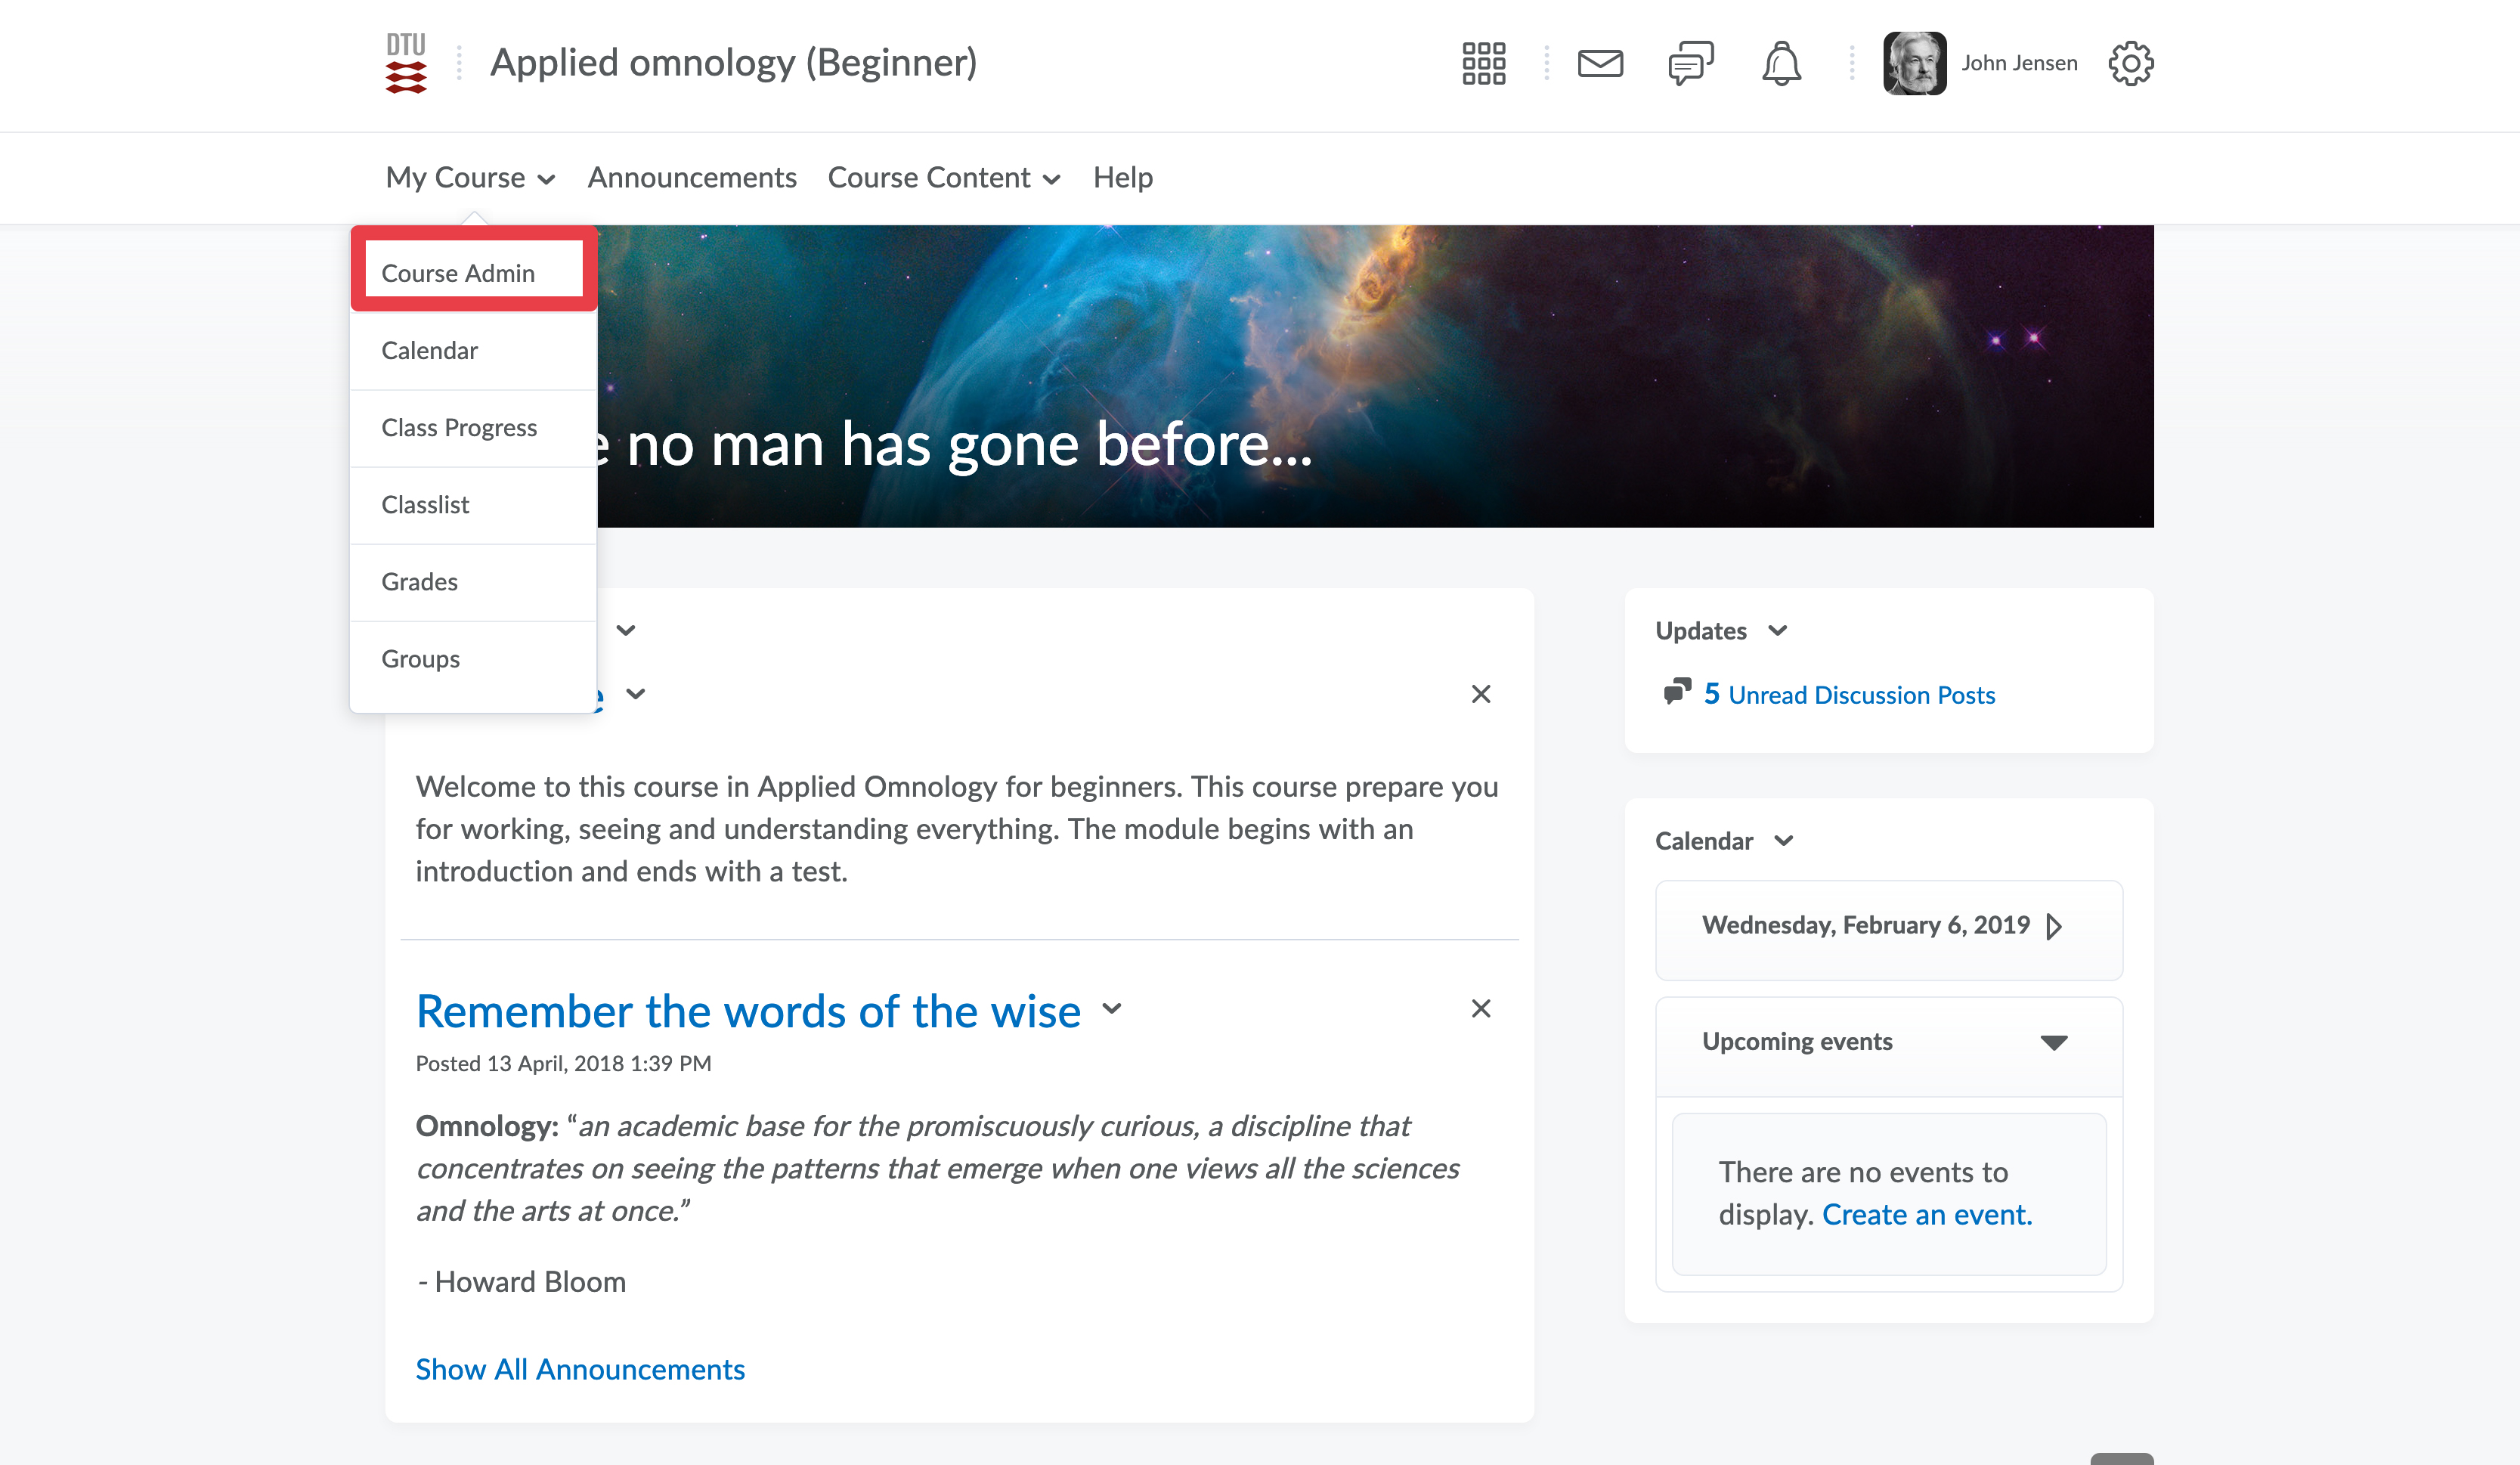
- Select Course Admin from the navigation bar.
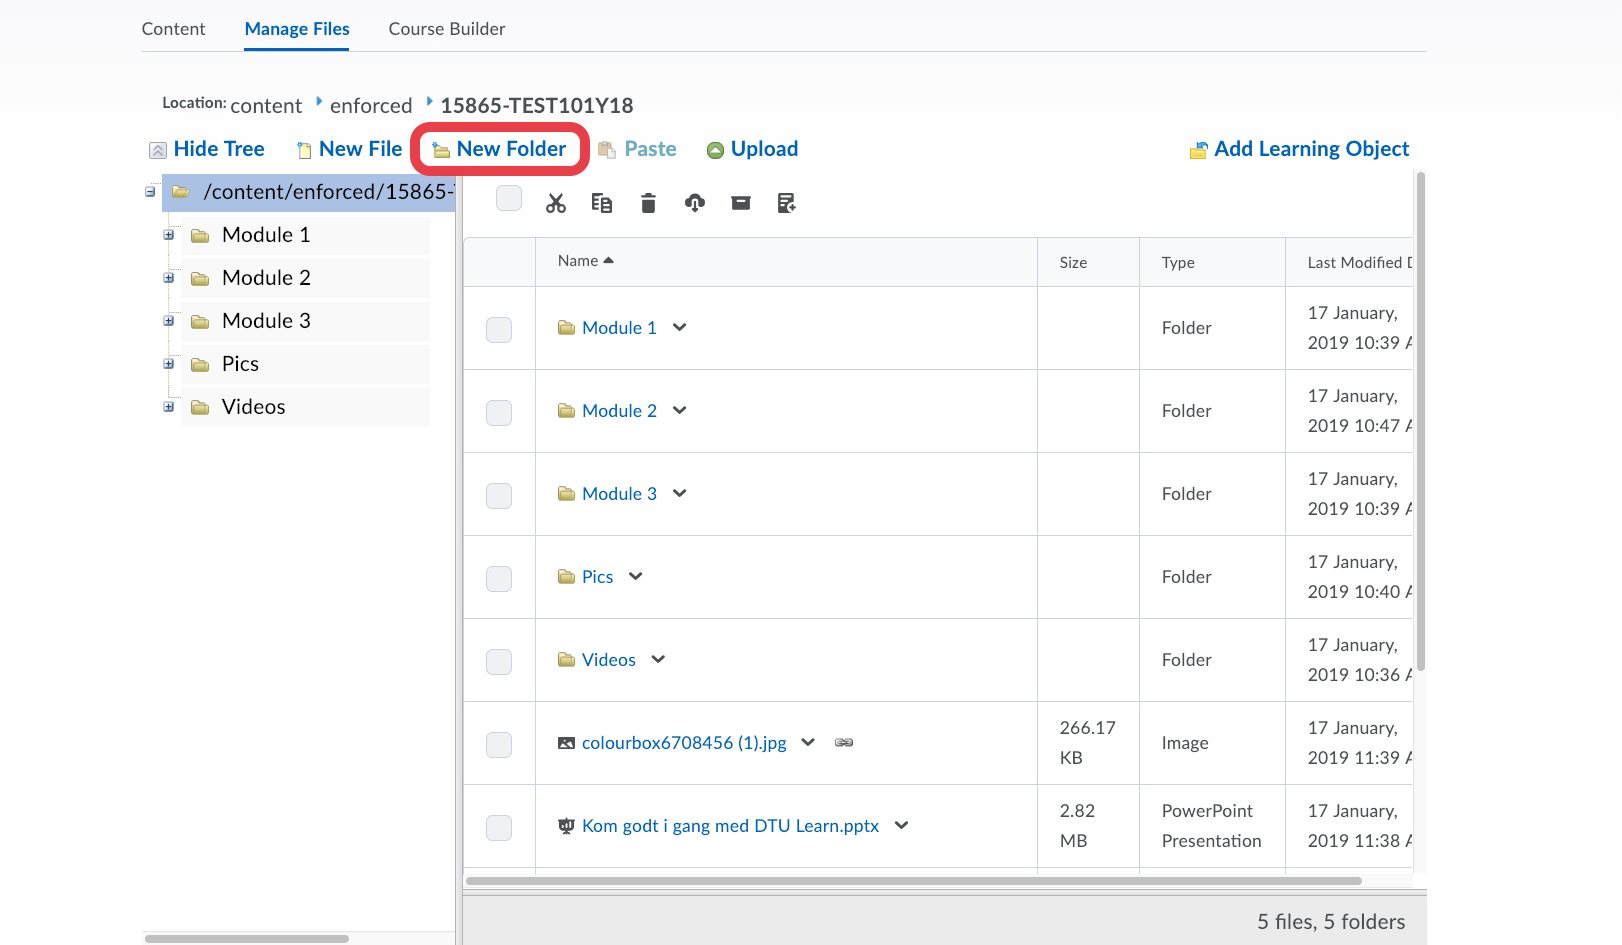
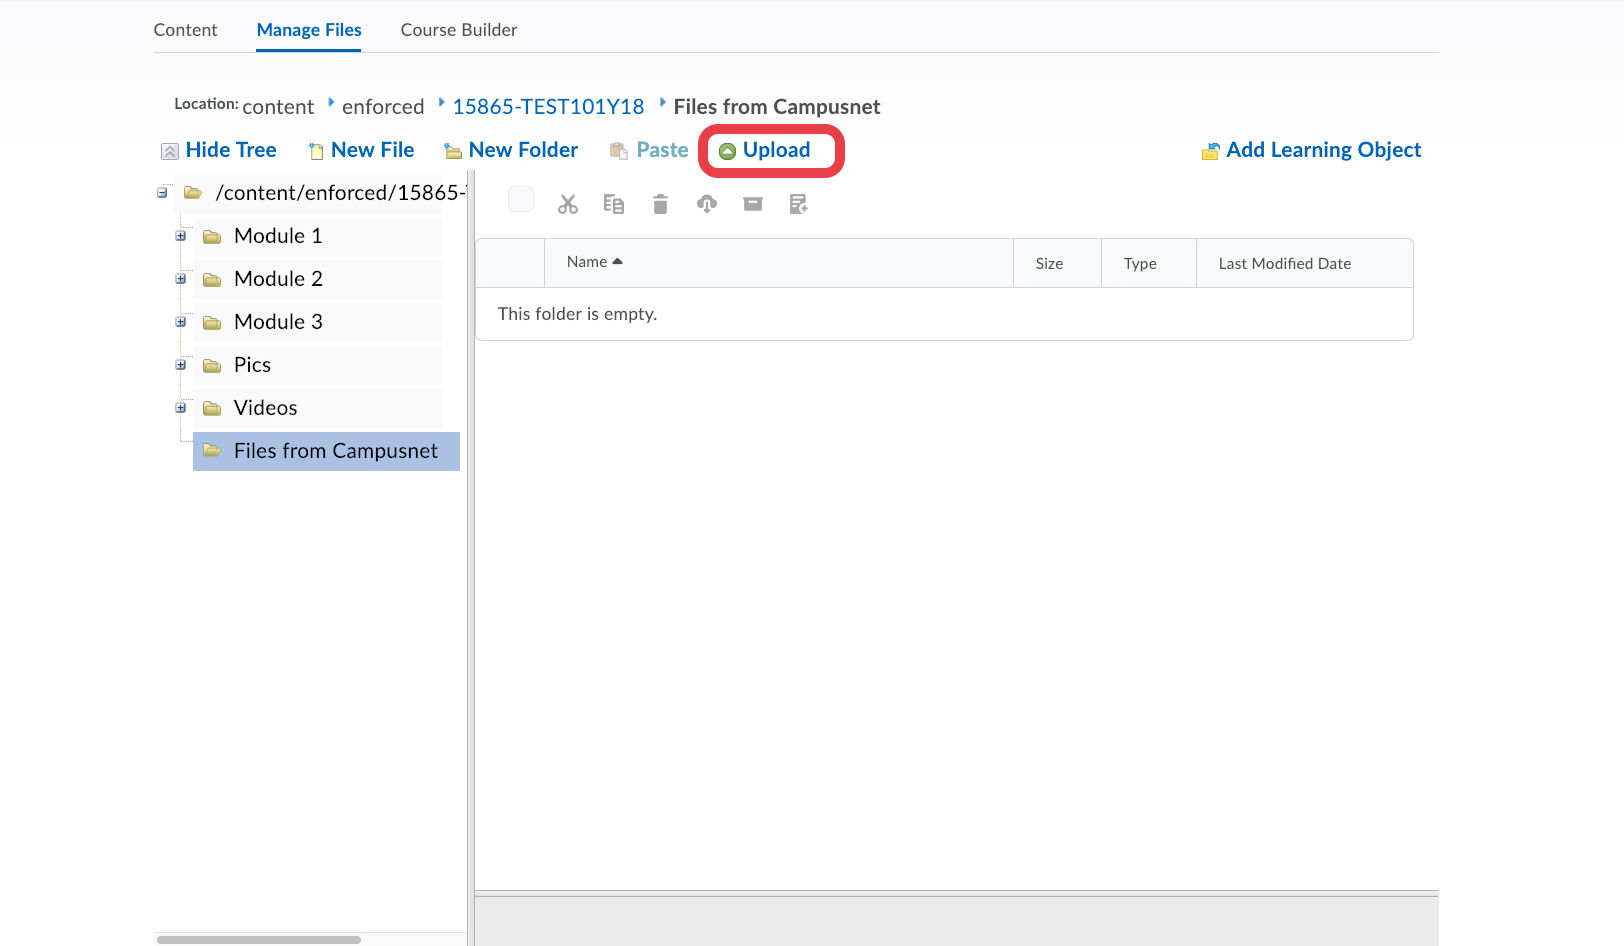
- Click Manage Files.

- If you wish to locate your files in a sub-folder in your course, select New Folder and give your new folder a name remembering to click Save. Otherwise, simply skip this step and go to the next one.
- Navigate to the folder where you want your files from CampusNet to be extracted and click the Upload button.
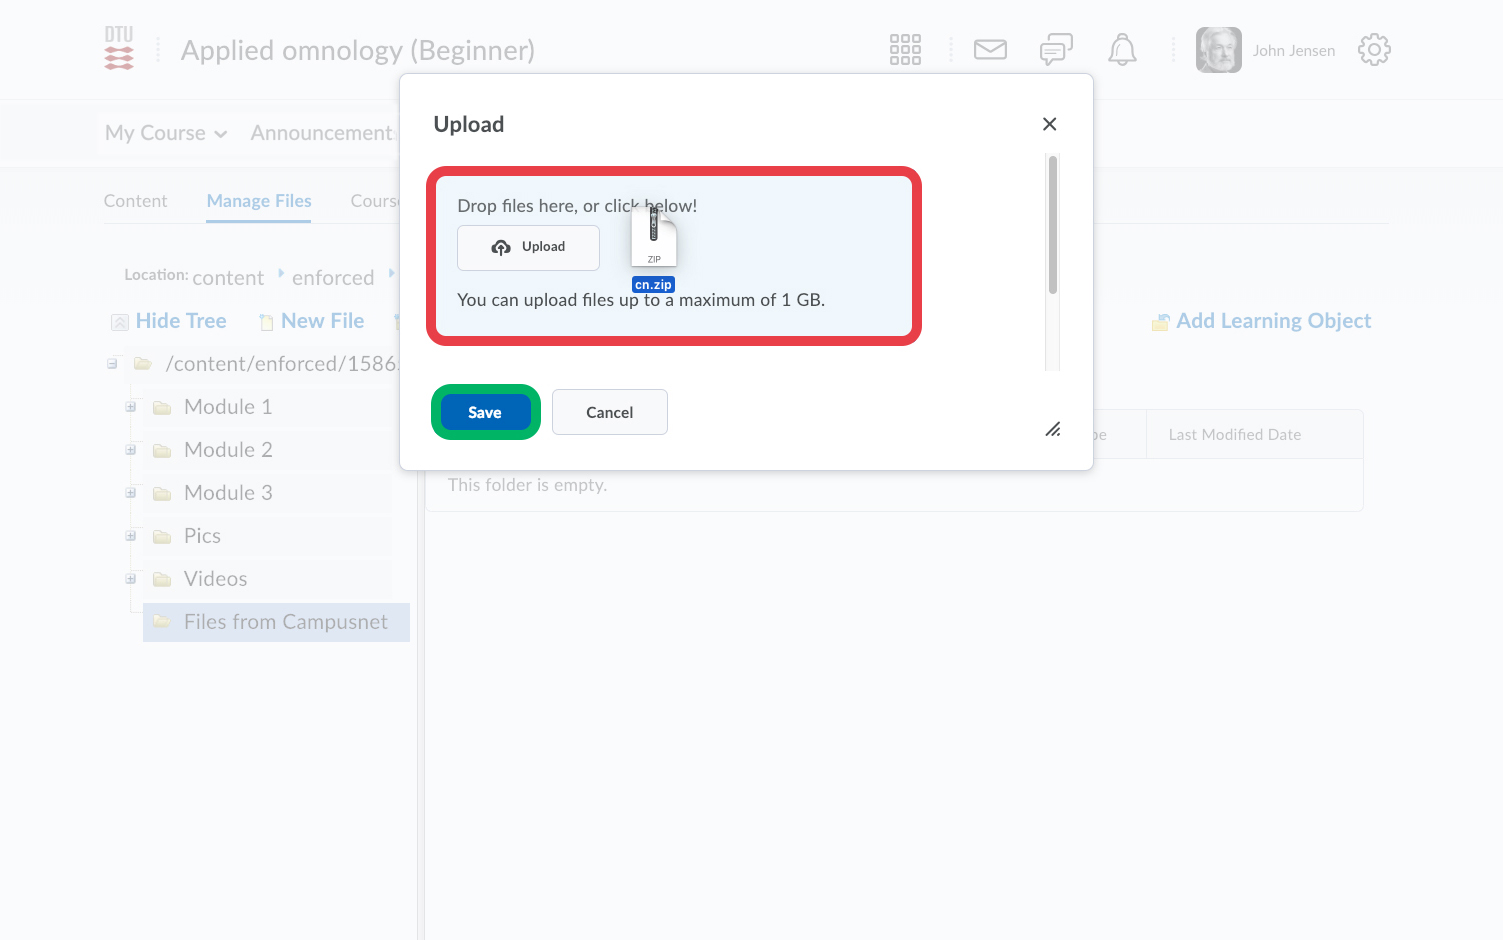
- Drag the zip file to the pop-up window or click Upload to select the file locally on your computer. Click Save.
- When the file is uploaded, click on the small arrow to the right of the zip file and select Unzip.

- This will start the unzipping process and might take a while. You will get a notification when the unzipping is done. Click OK.

- You can see the notification here. Your files from CampusNet are now unpacked and ready to use in DTU Learn.

- From here, there are multiple ways to make the files available to the students in your course. For one of the options, see this guide: Adding a File to your Content from Manage Files