Using the Calendar to Make Lesson Plans
This tutorial shows how to use the Calendar to make lesson plans
In this tutorial you will learn how to make events in your calendar. This will help you make an accessible overview of your lessons for your students.
Follow these steps:
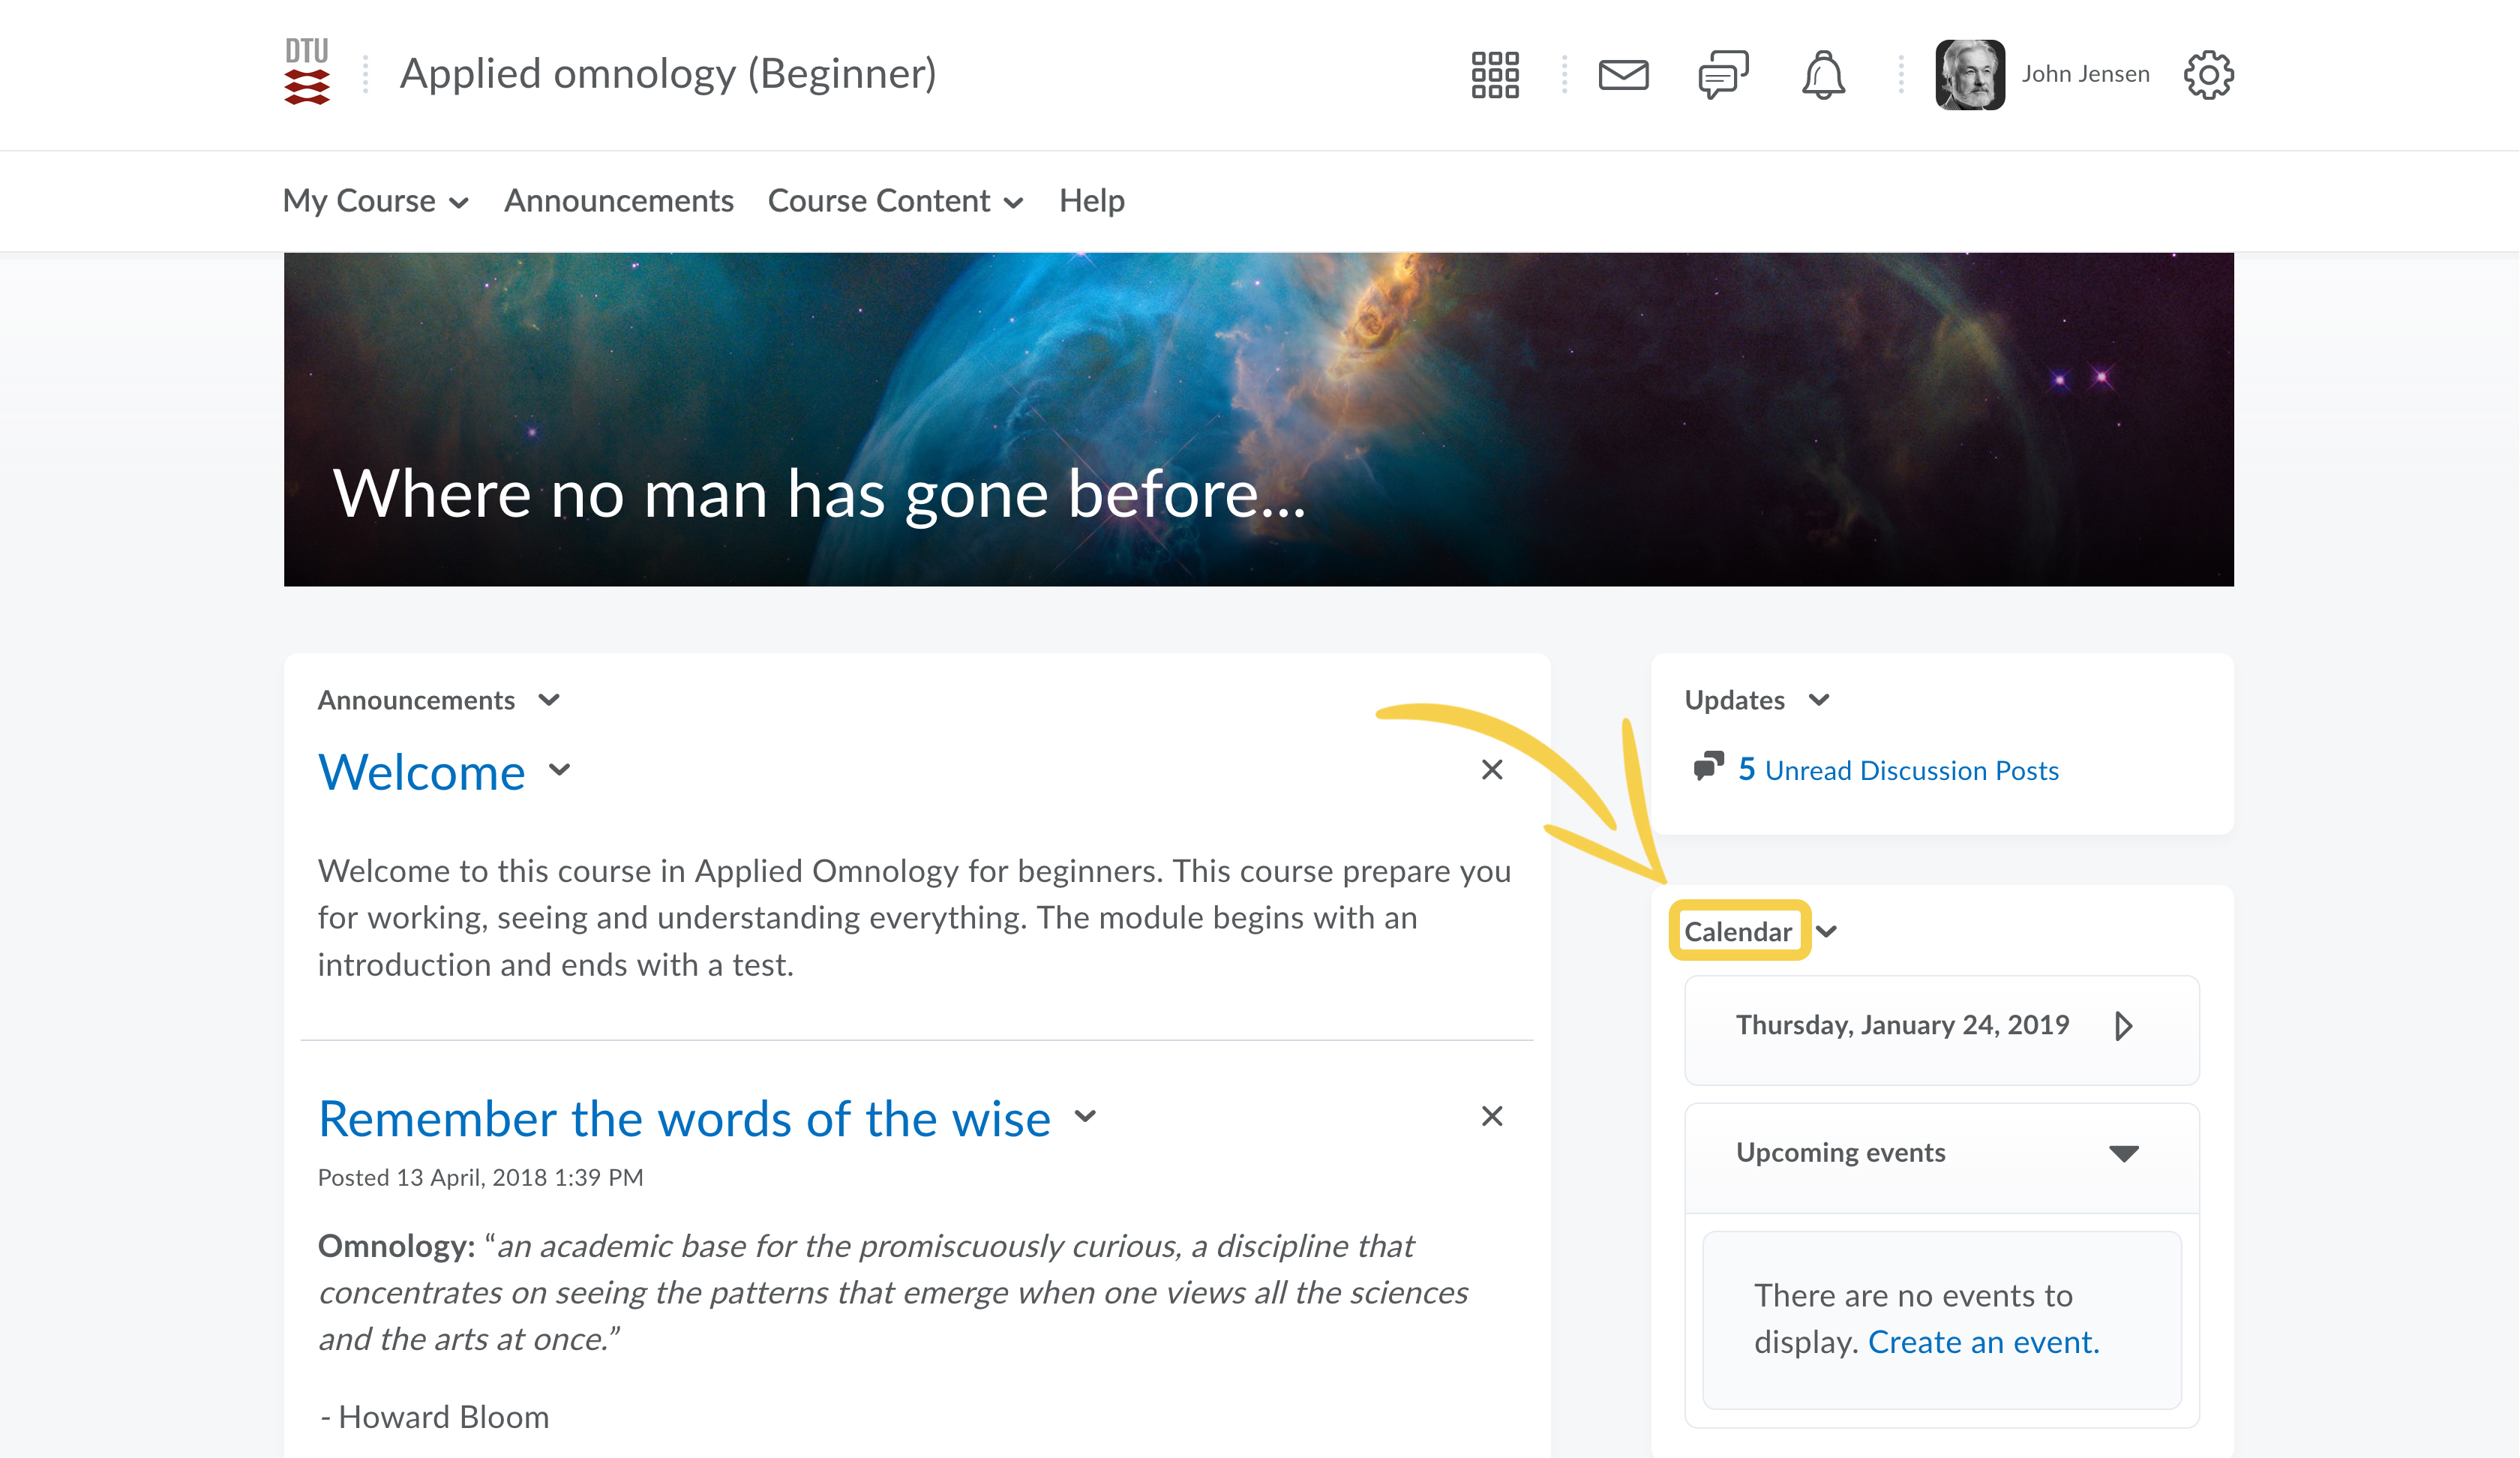
- To access the Calendar go to your course and select Calendar in the widgets if it is available. Otherwise go to the Course Admin and select Calendar.
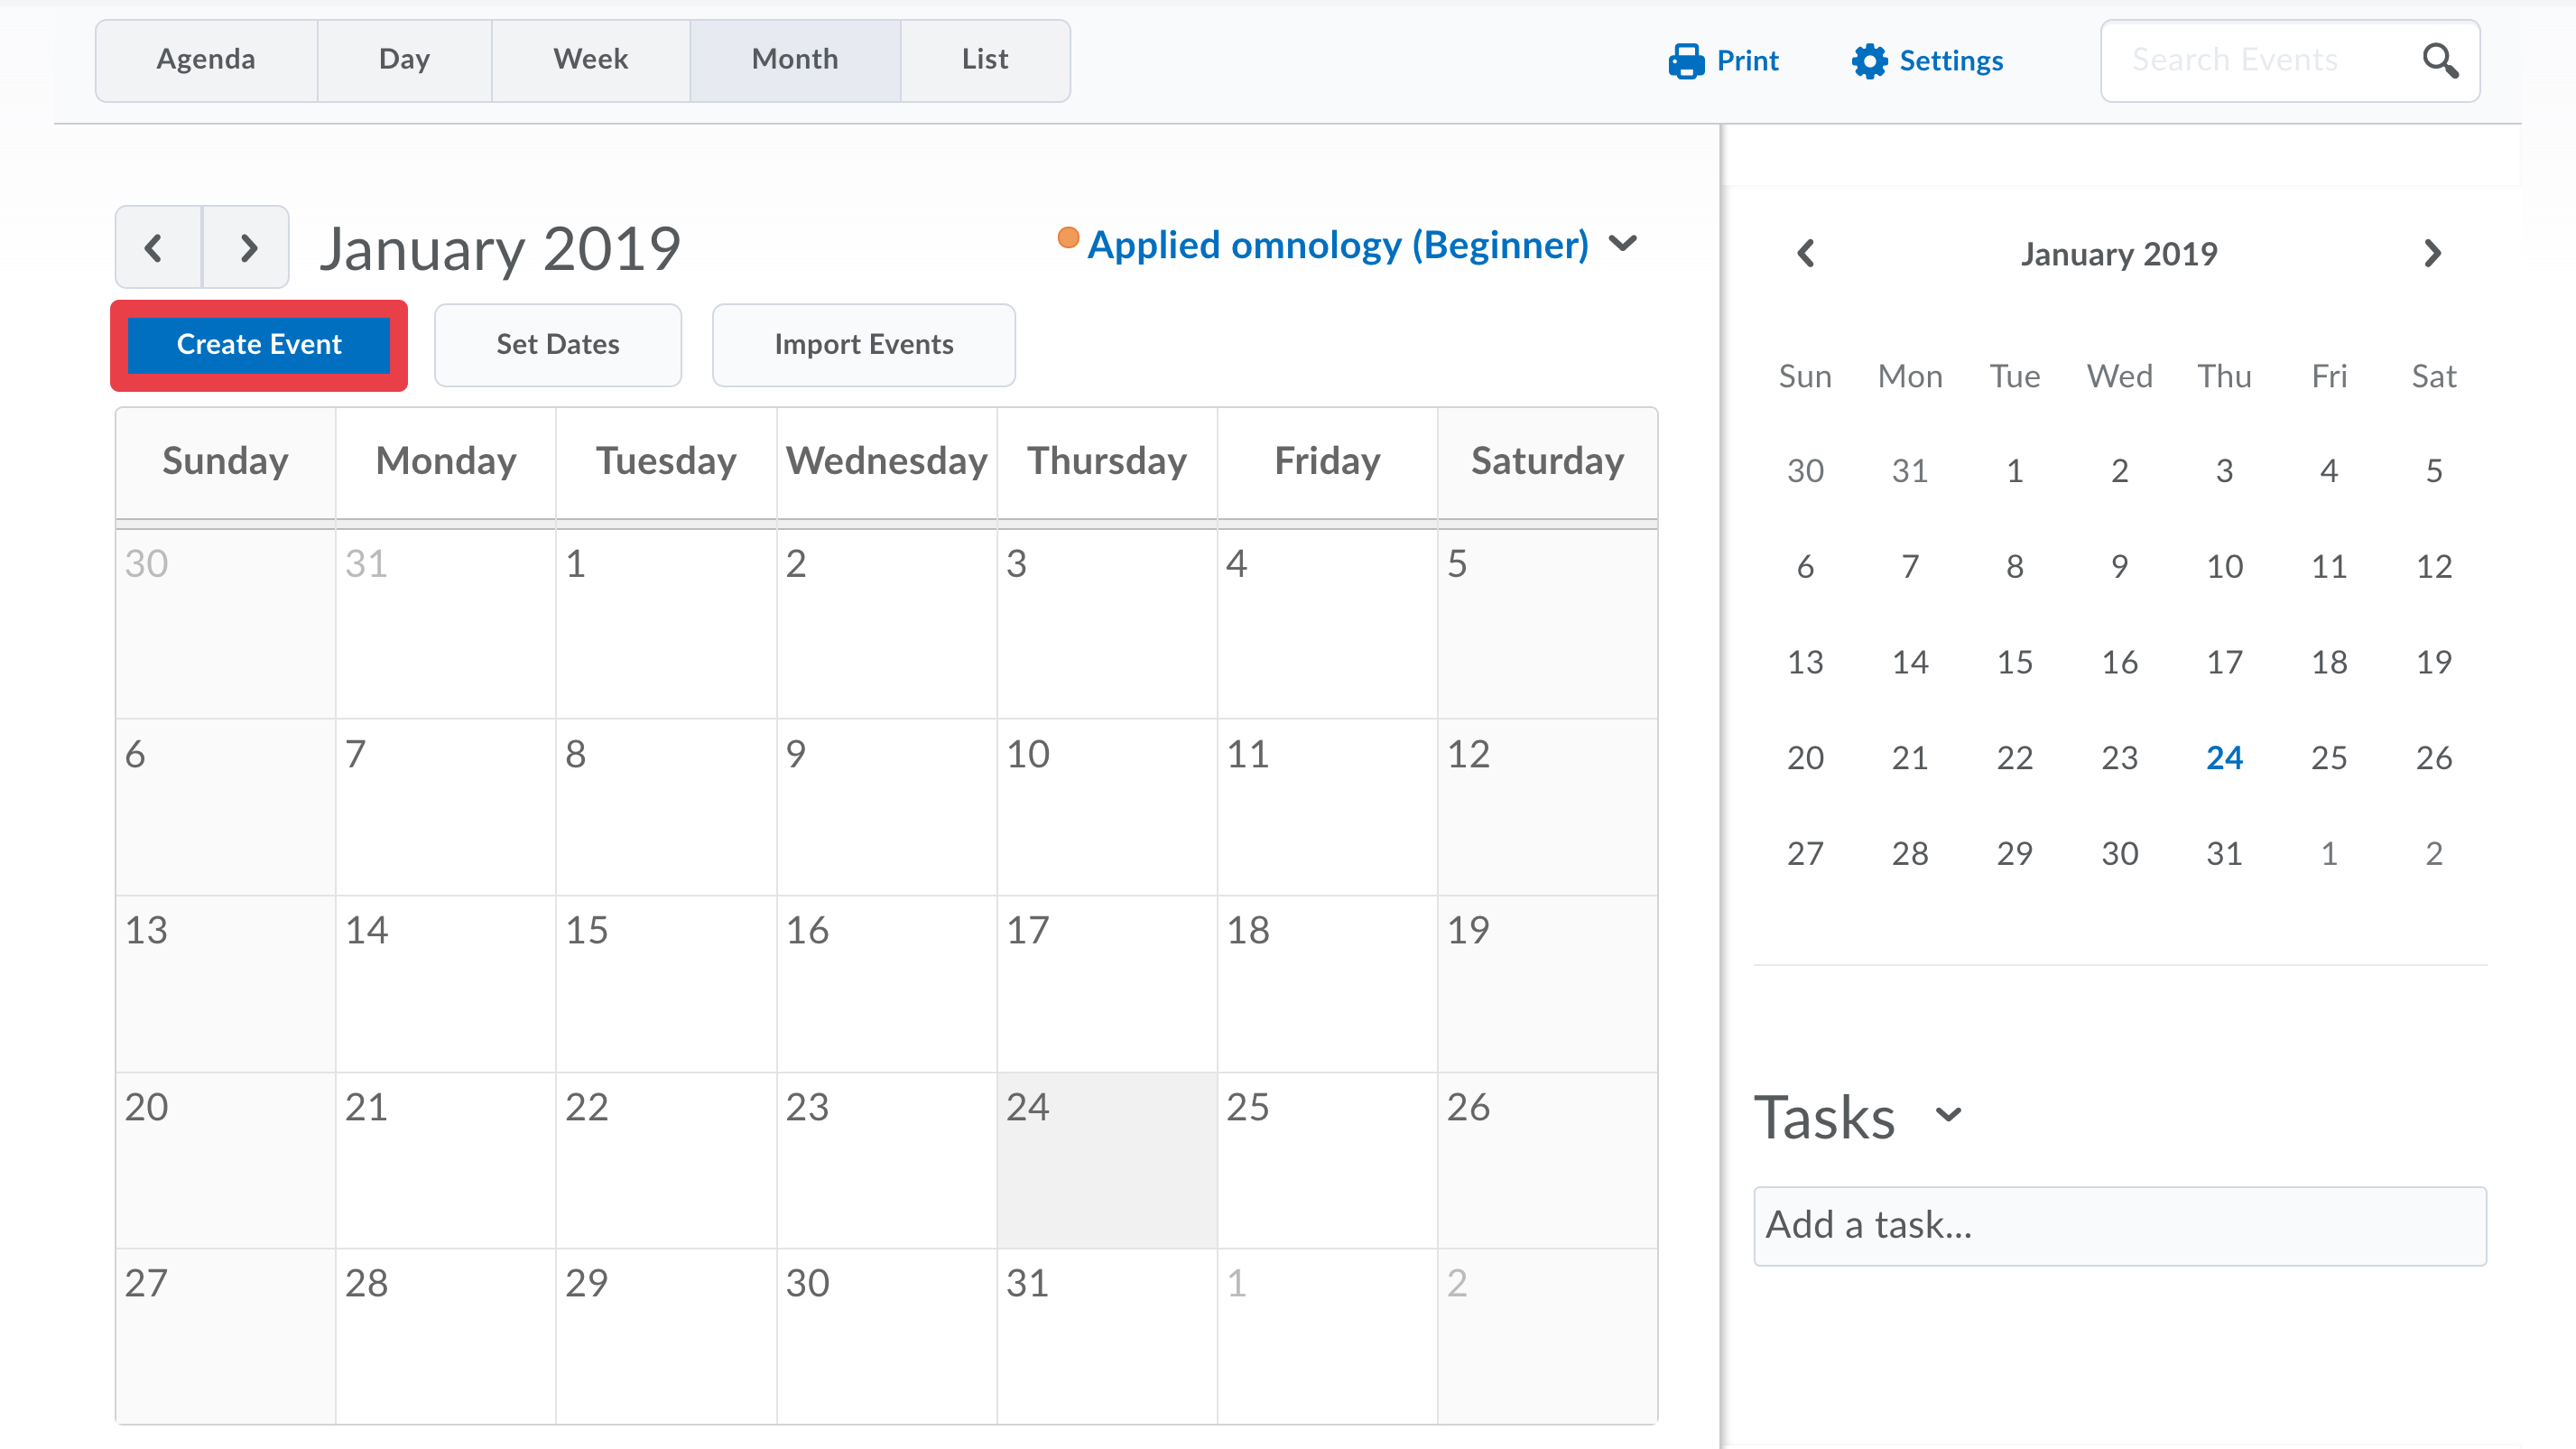
- Click Create Event.
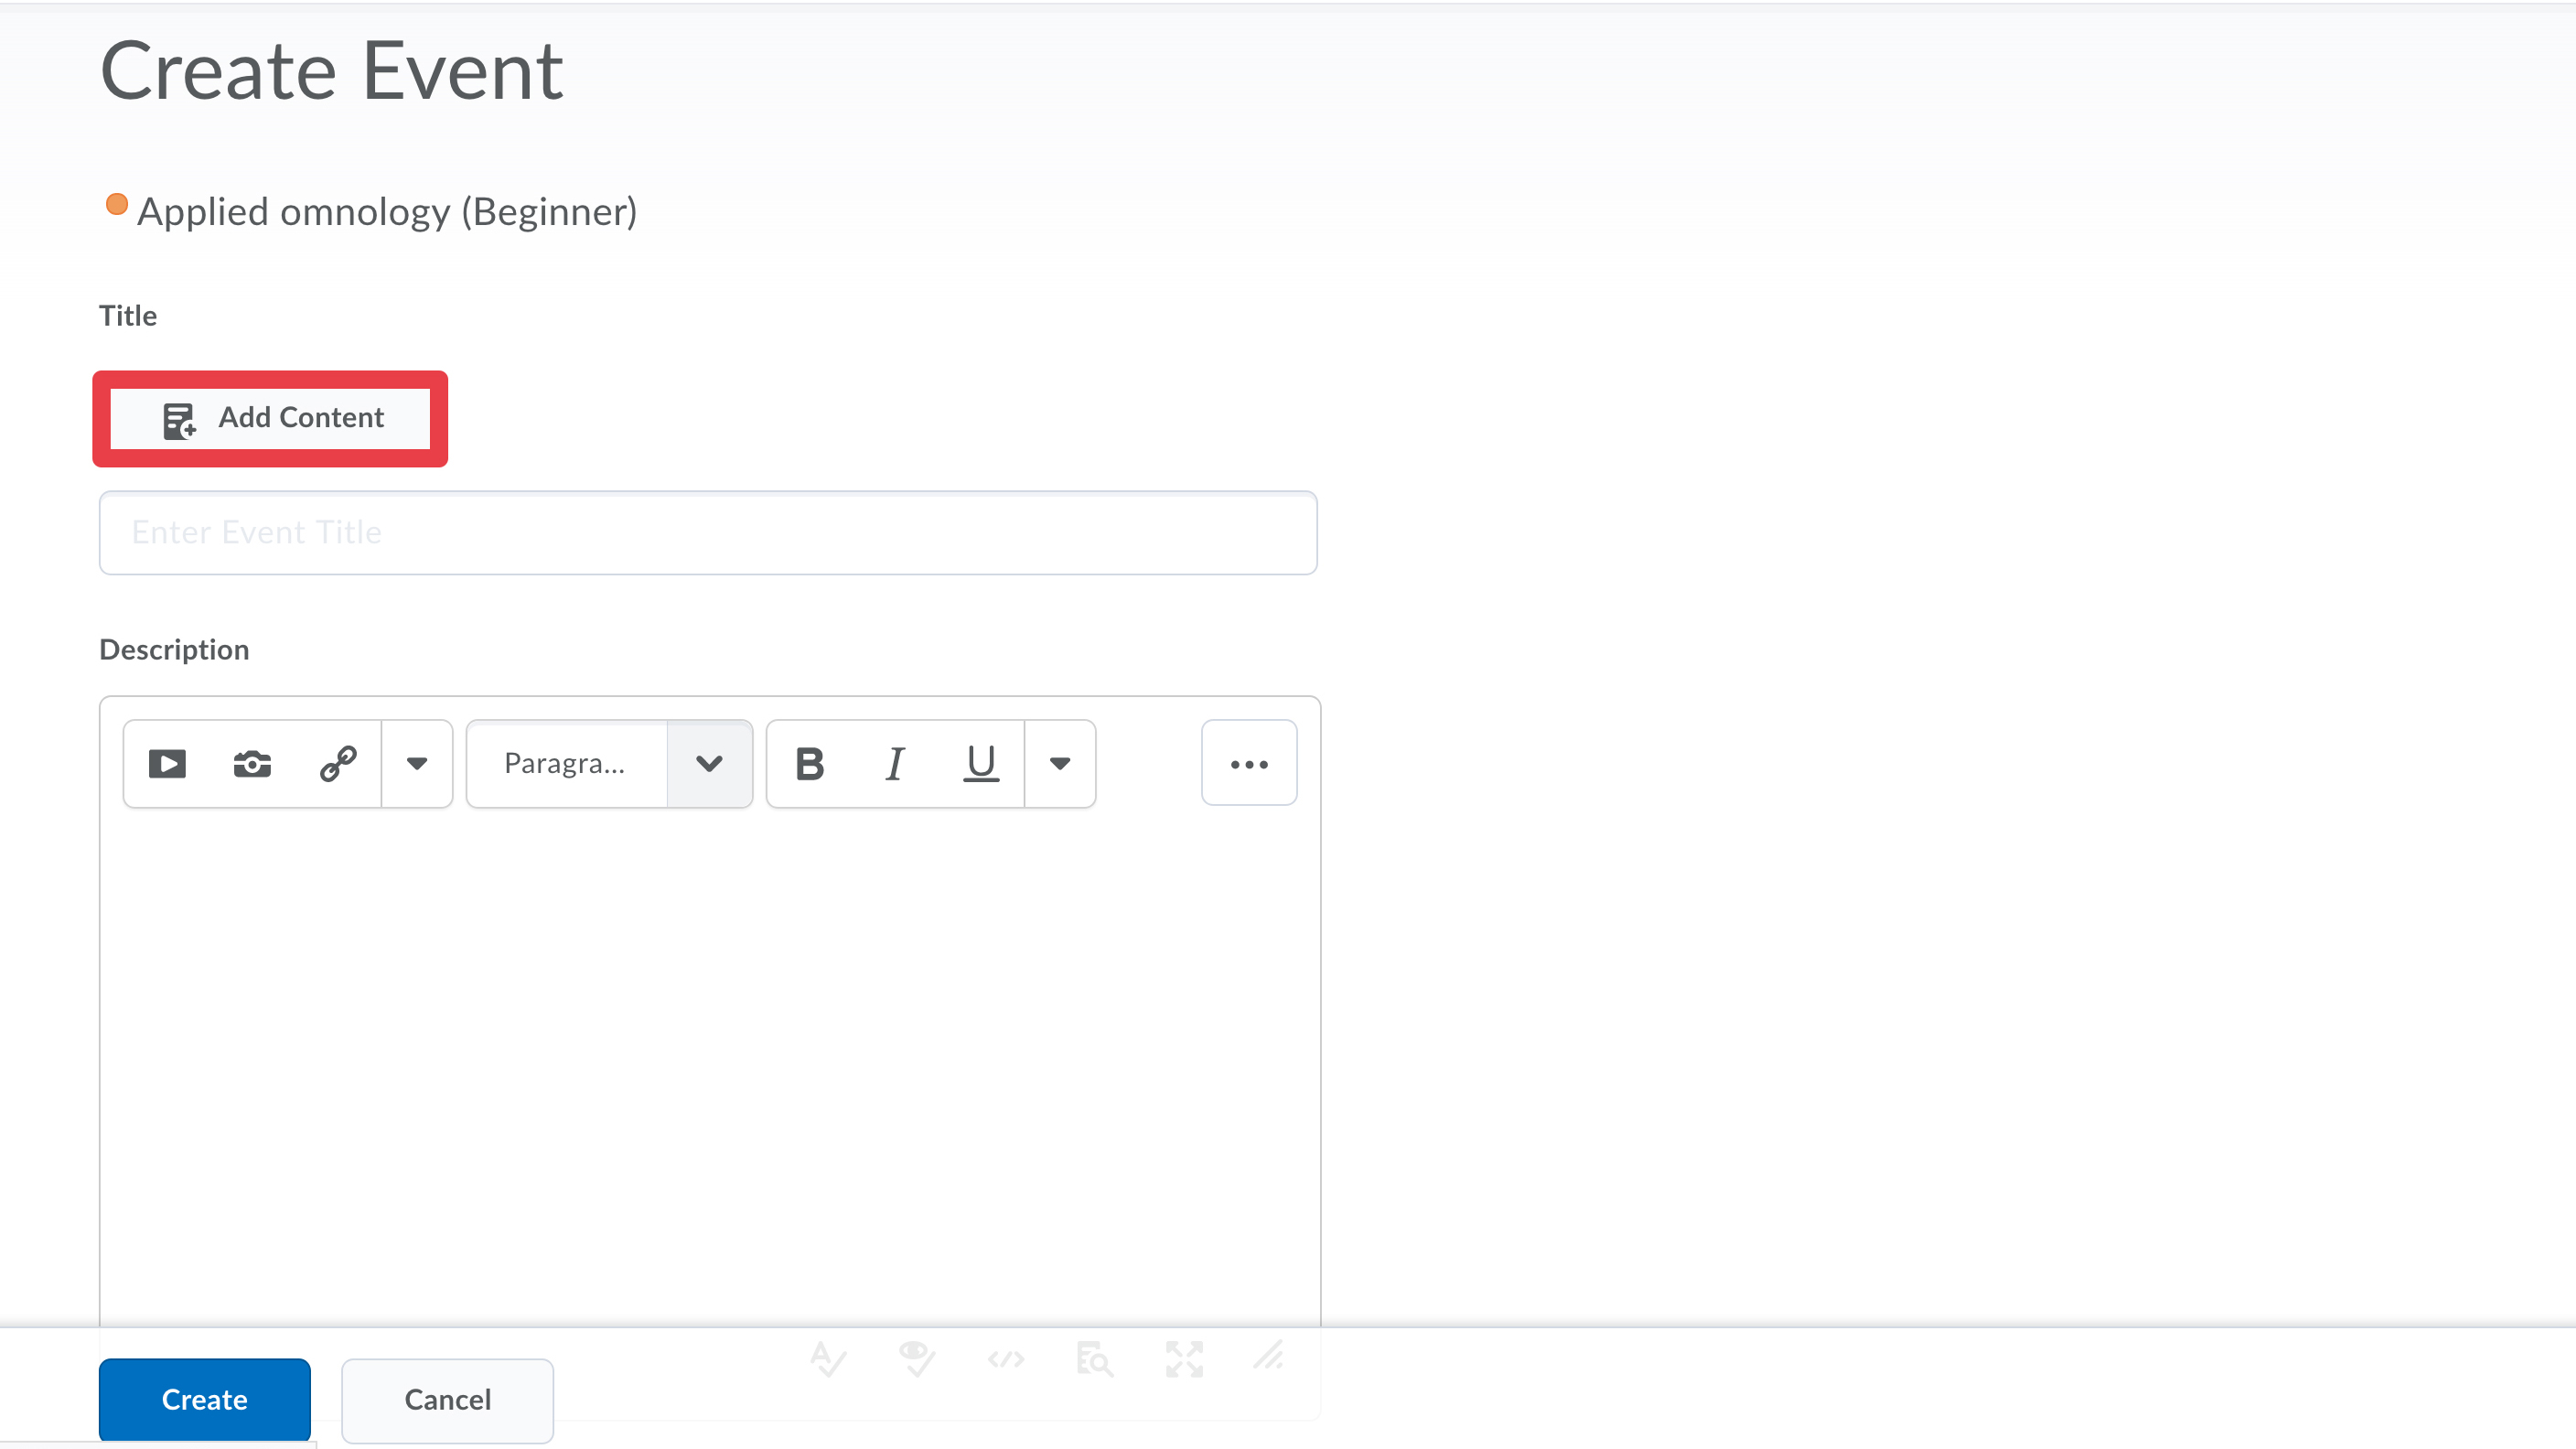
- You can associate course content to your event by clicking Add content. Otherwise, skip this step and the next one. Note: If you wish to add more than one content item (e.g. two documents residing in two different modules), you can add these using the Insert Link button in the Description field
- Select the module and the content you want to add to the event. Click Add to confirm.
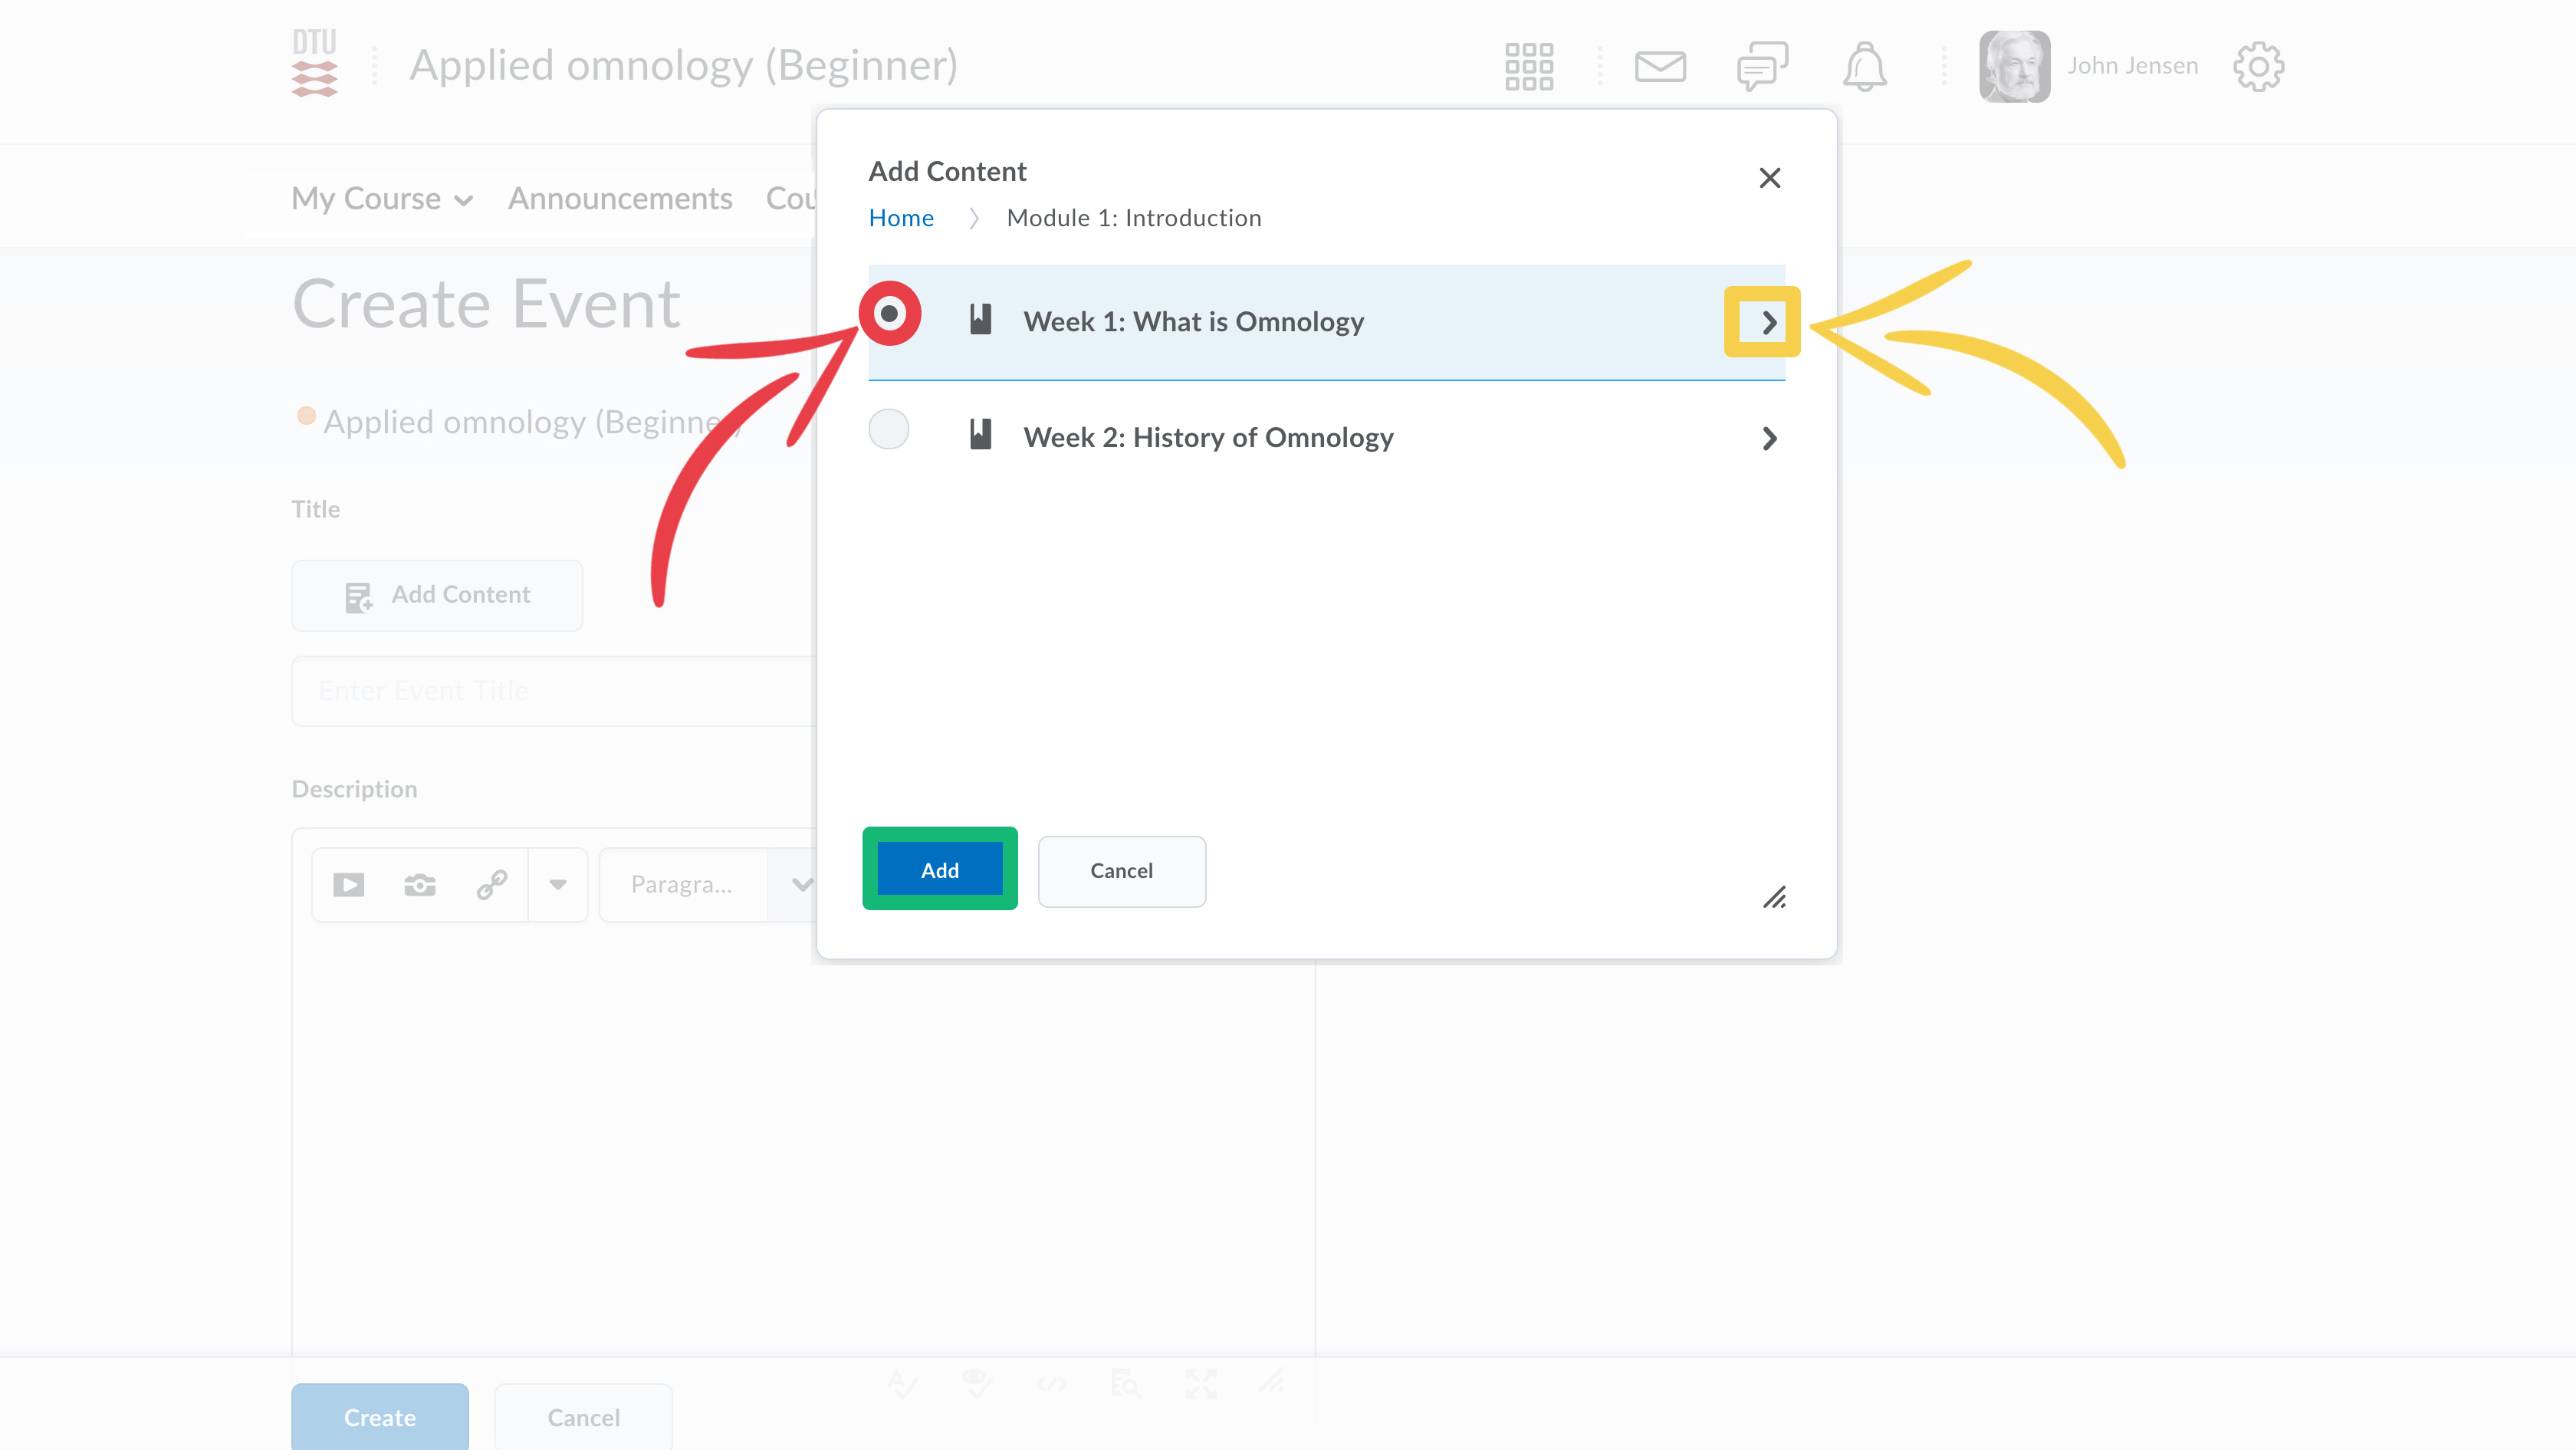
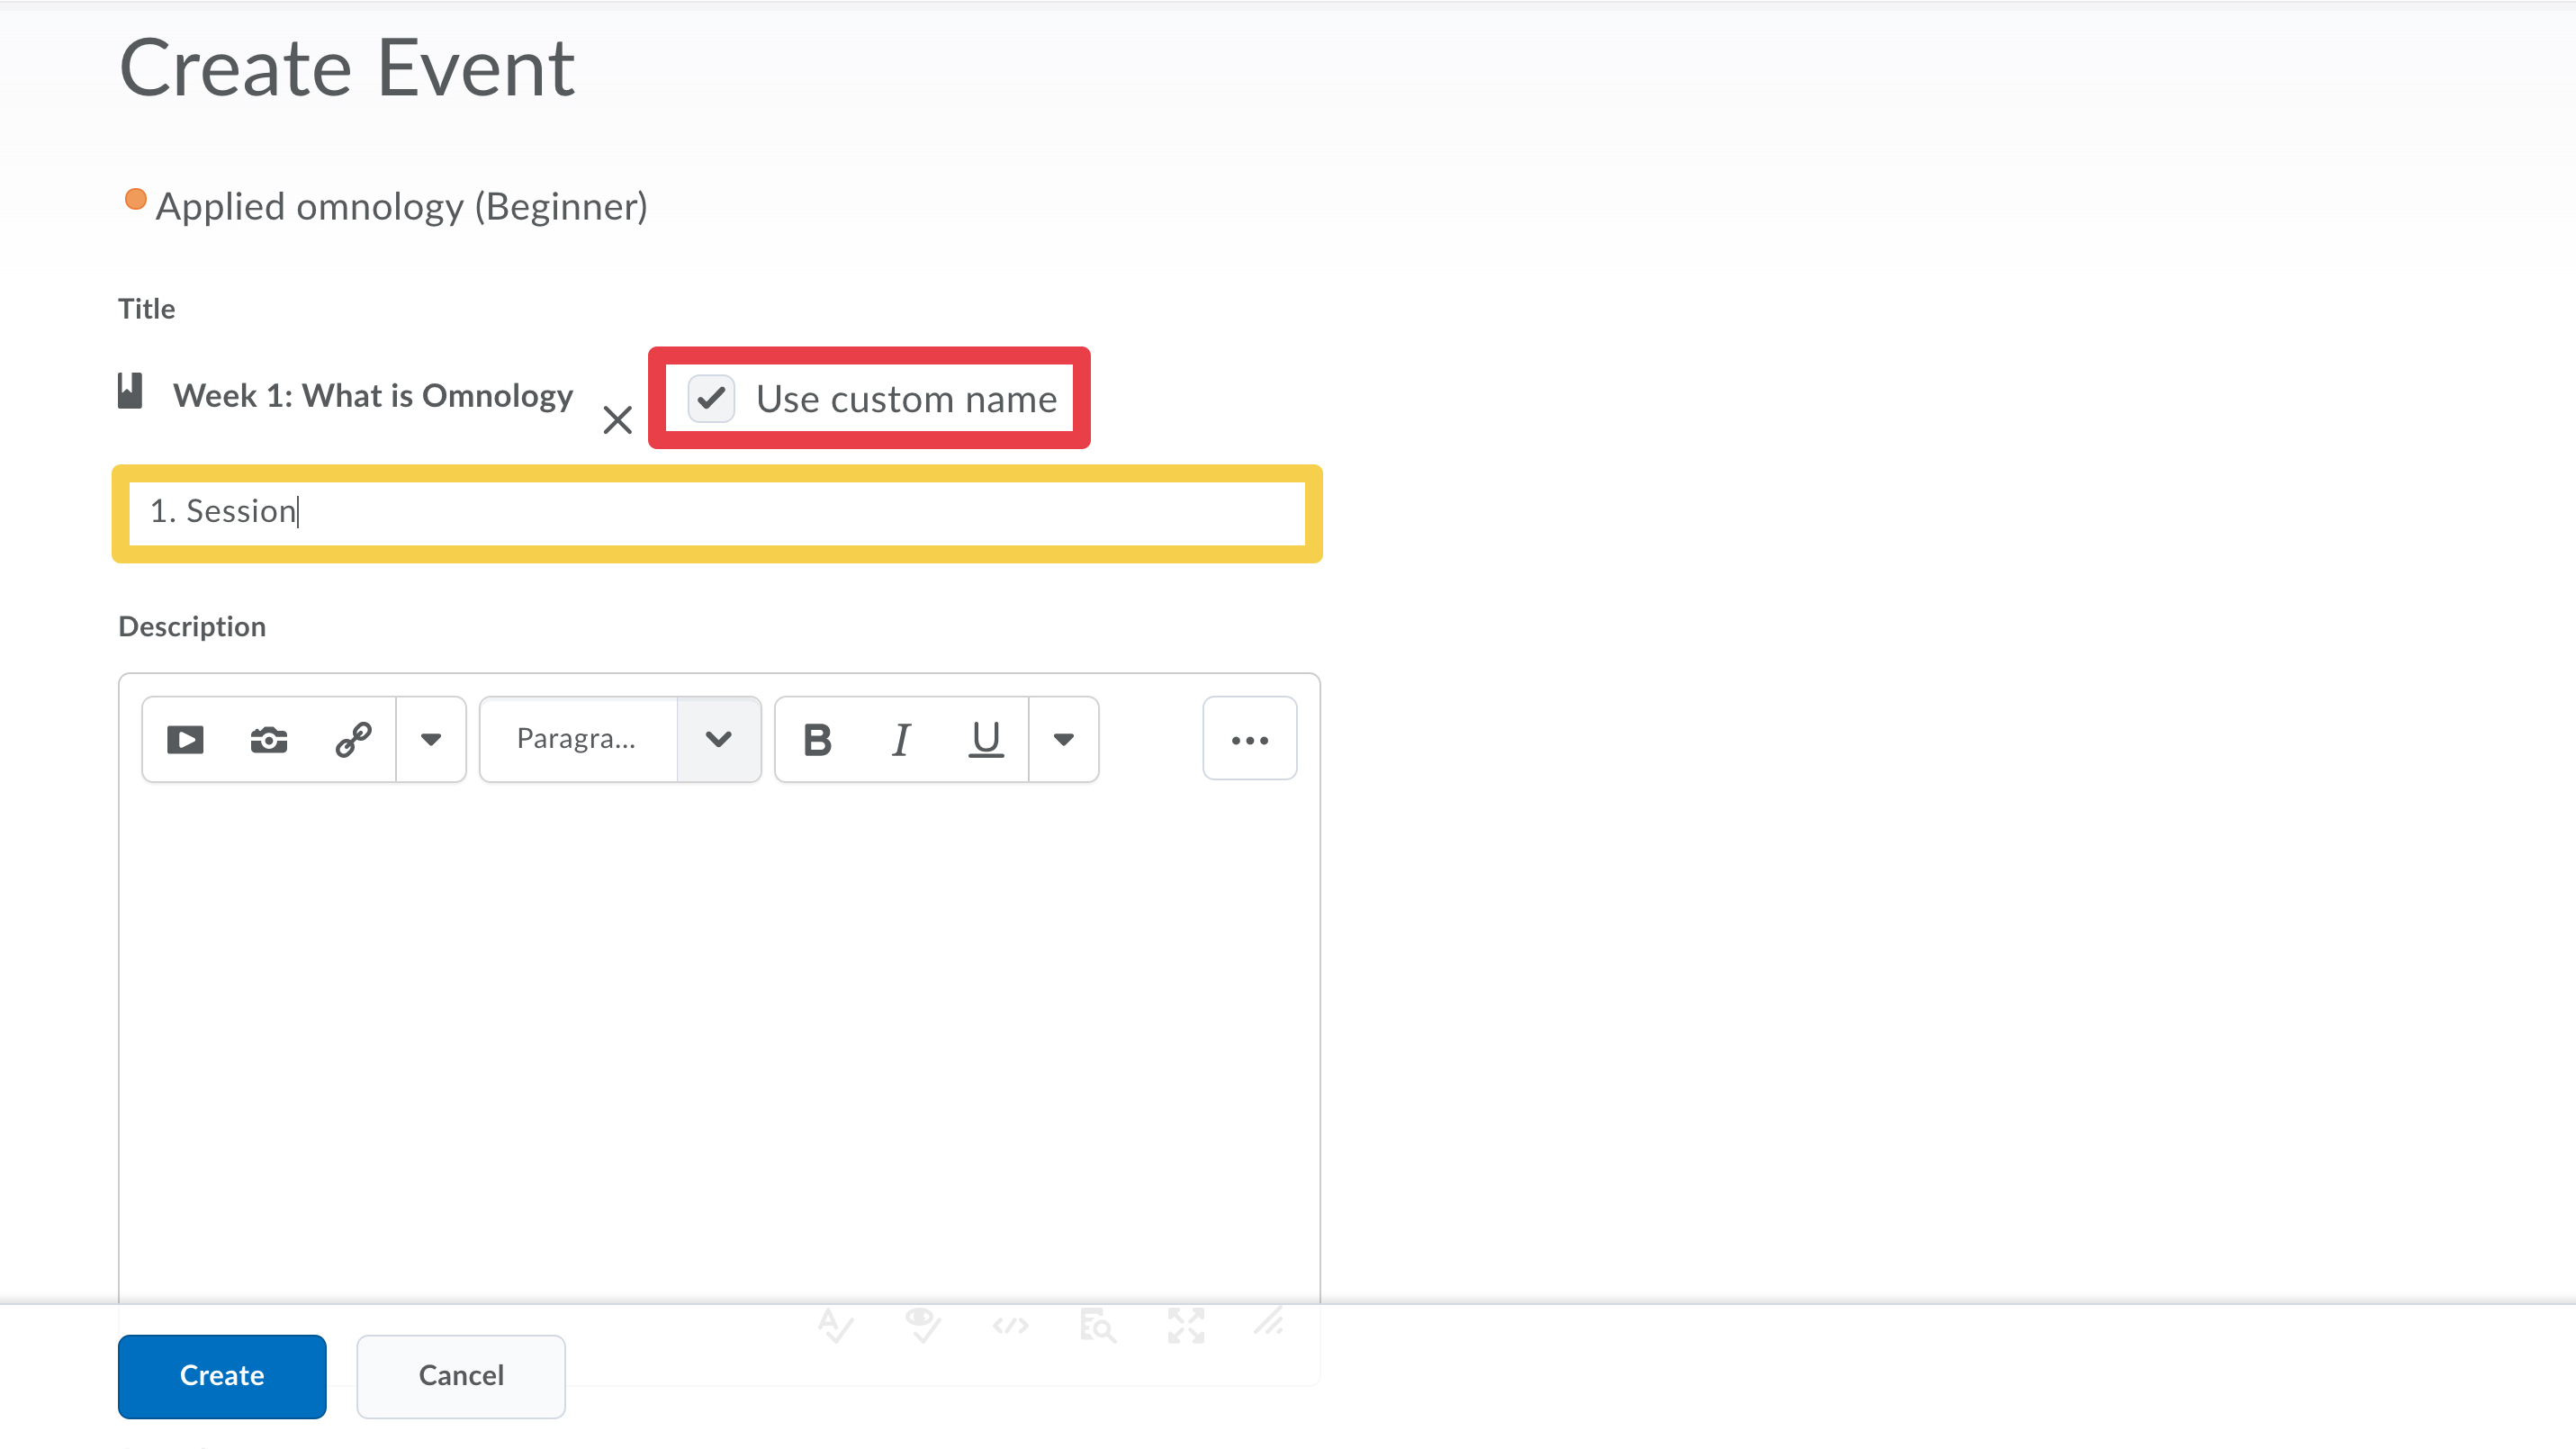
- By default the added content becomes the title of the event. You can choose your own name, by checking Use custom name, which allows you to enter a different title.
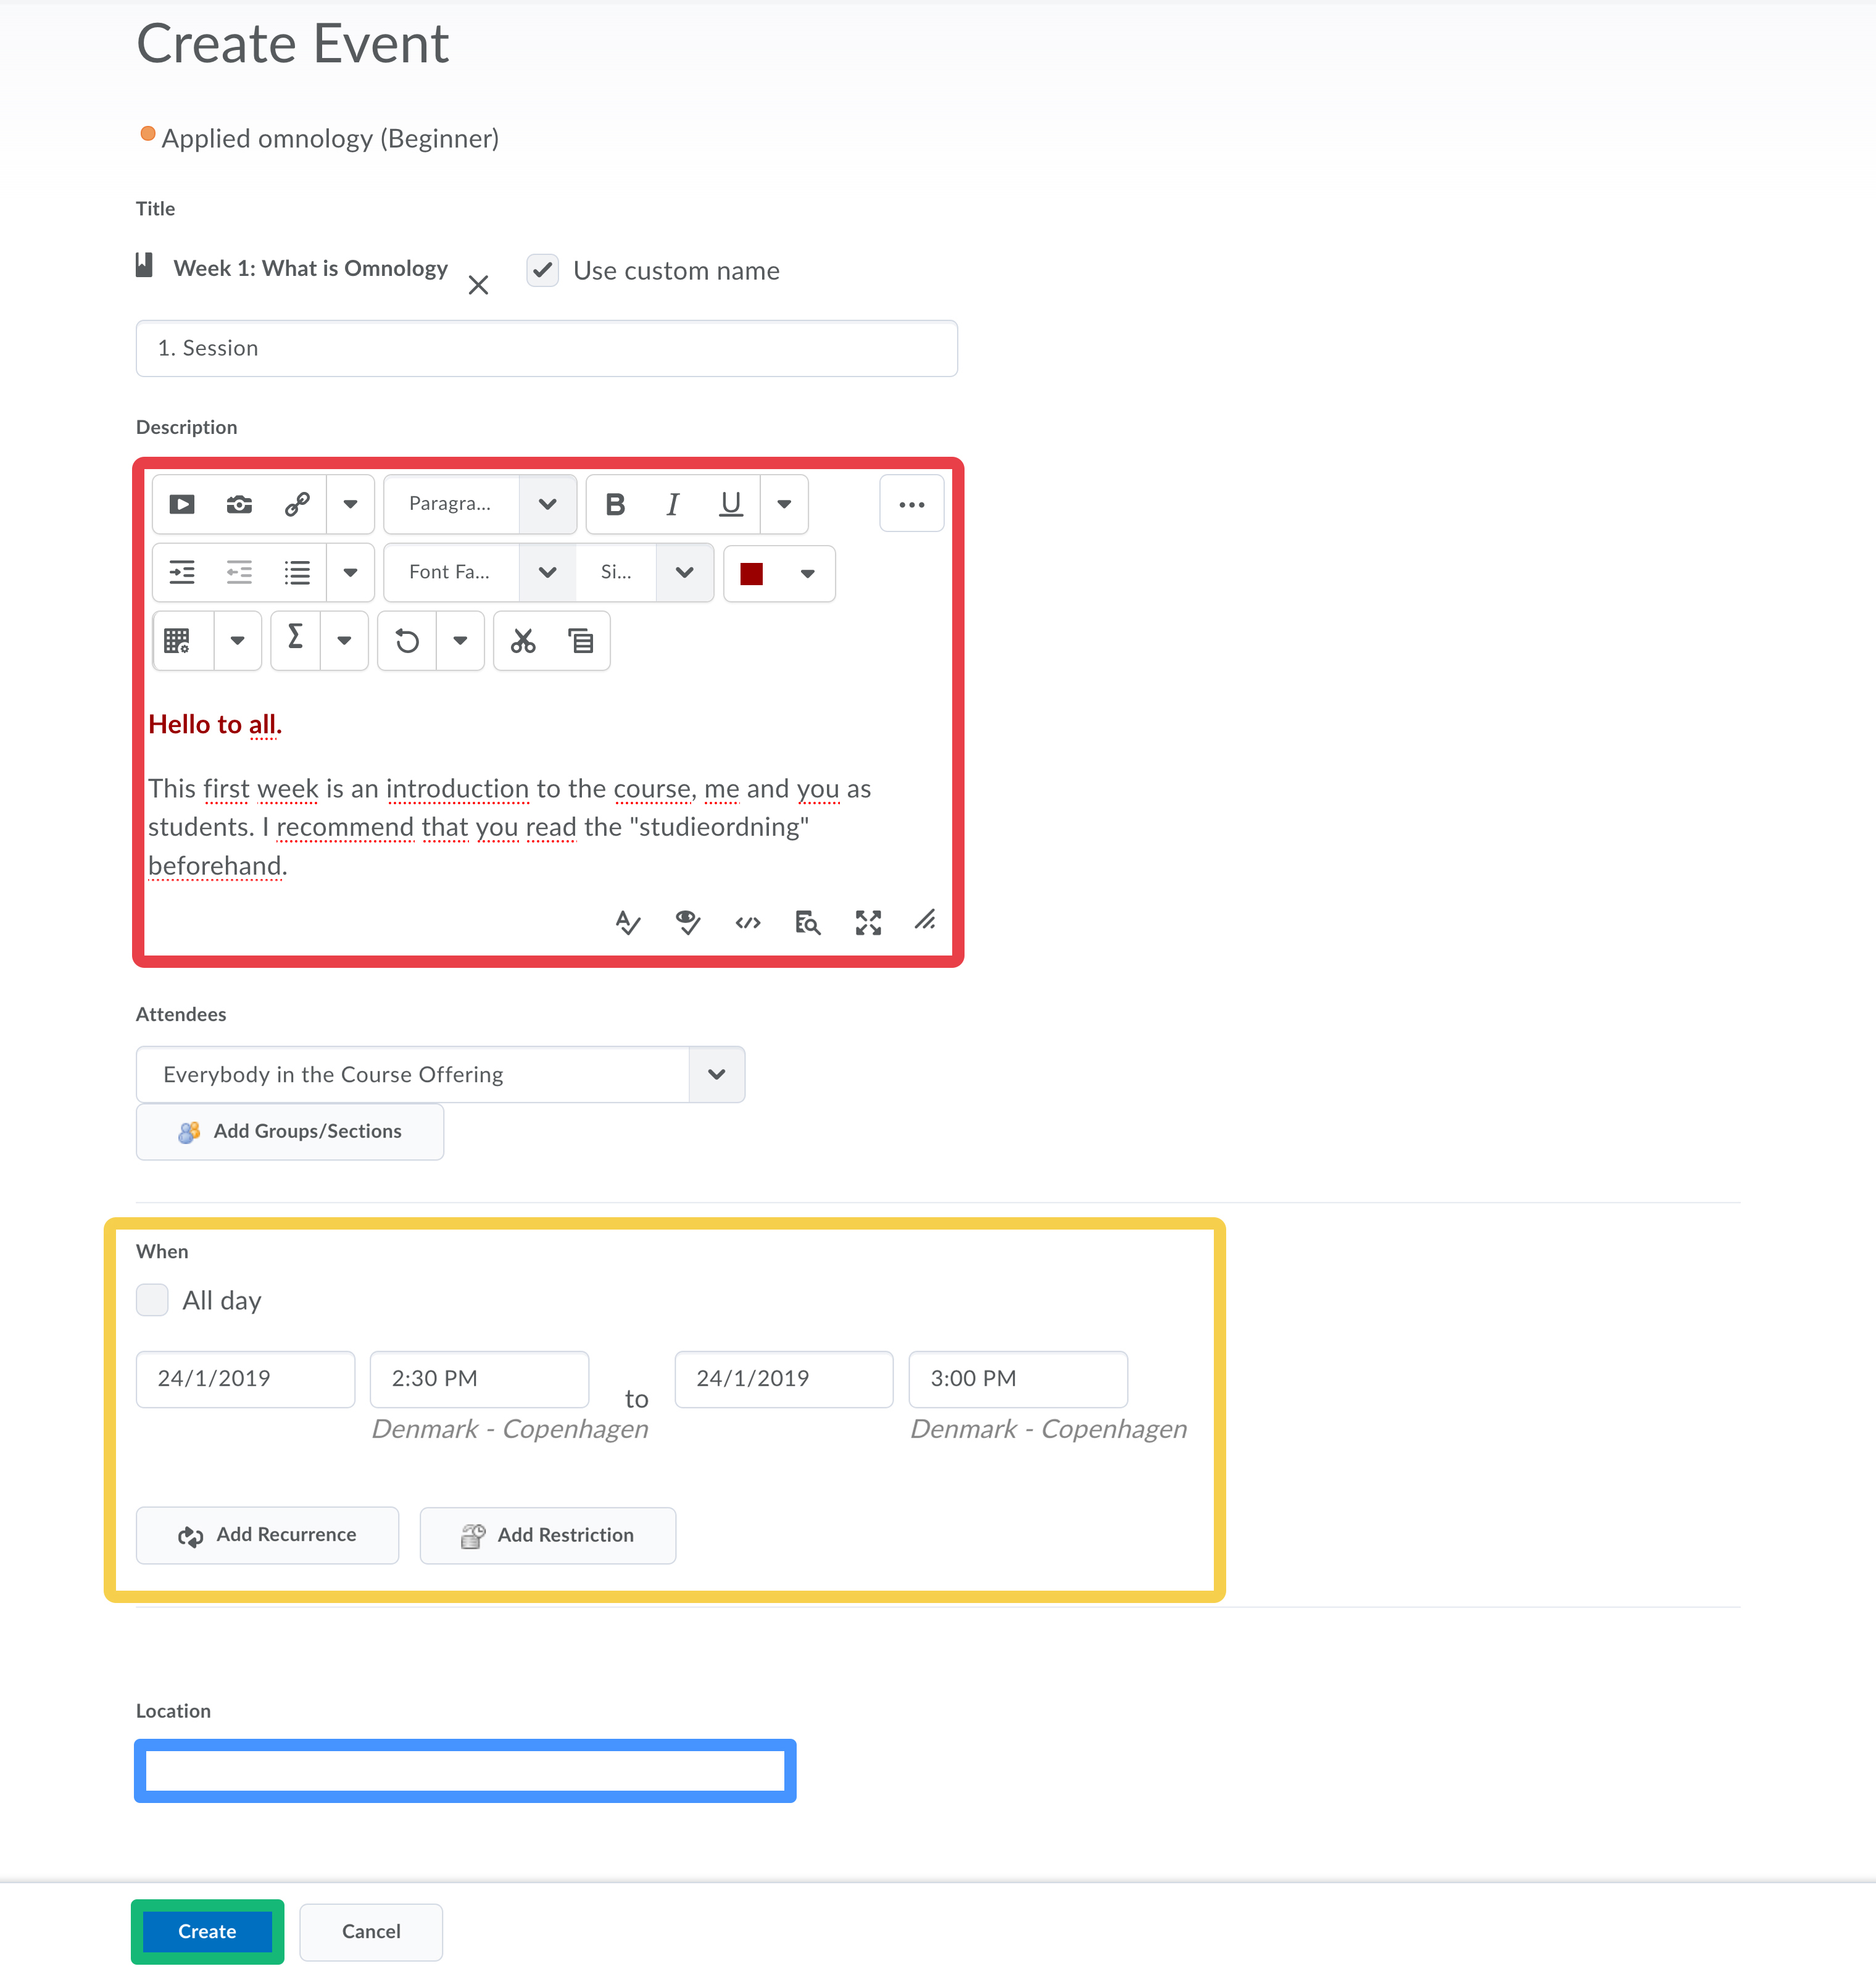
- Enter a description to provide additional information to your students. Set the date and time for the event. If you want the same event to recur in your calendar, select Add Recurrence. If you want, you can write a location for the event as well. Click create when you are done.
- The first week's two sessions looks like this in the calendar:
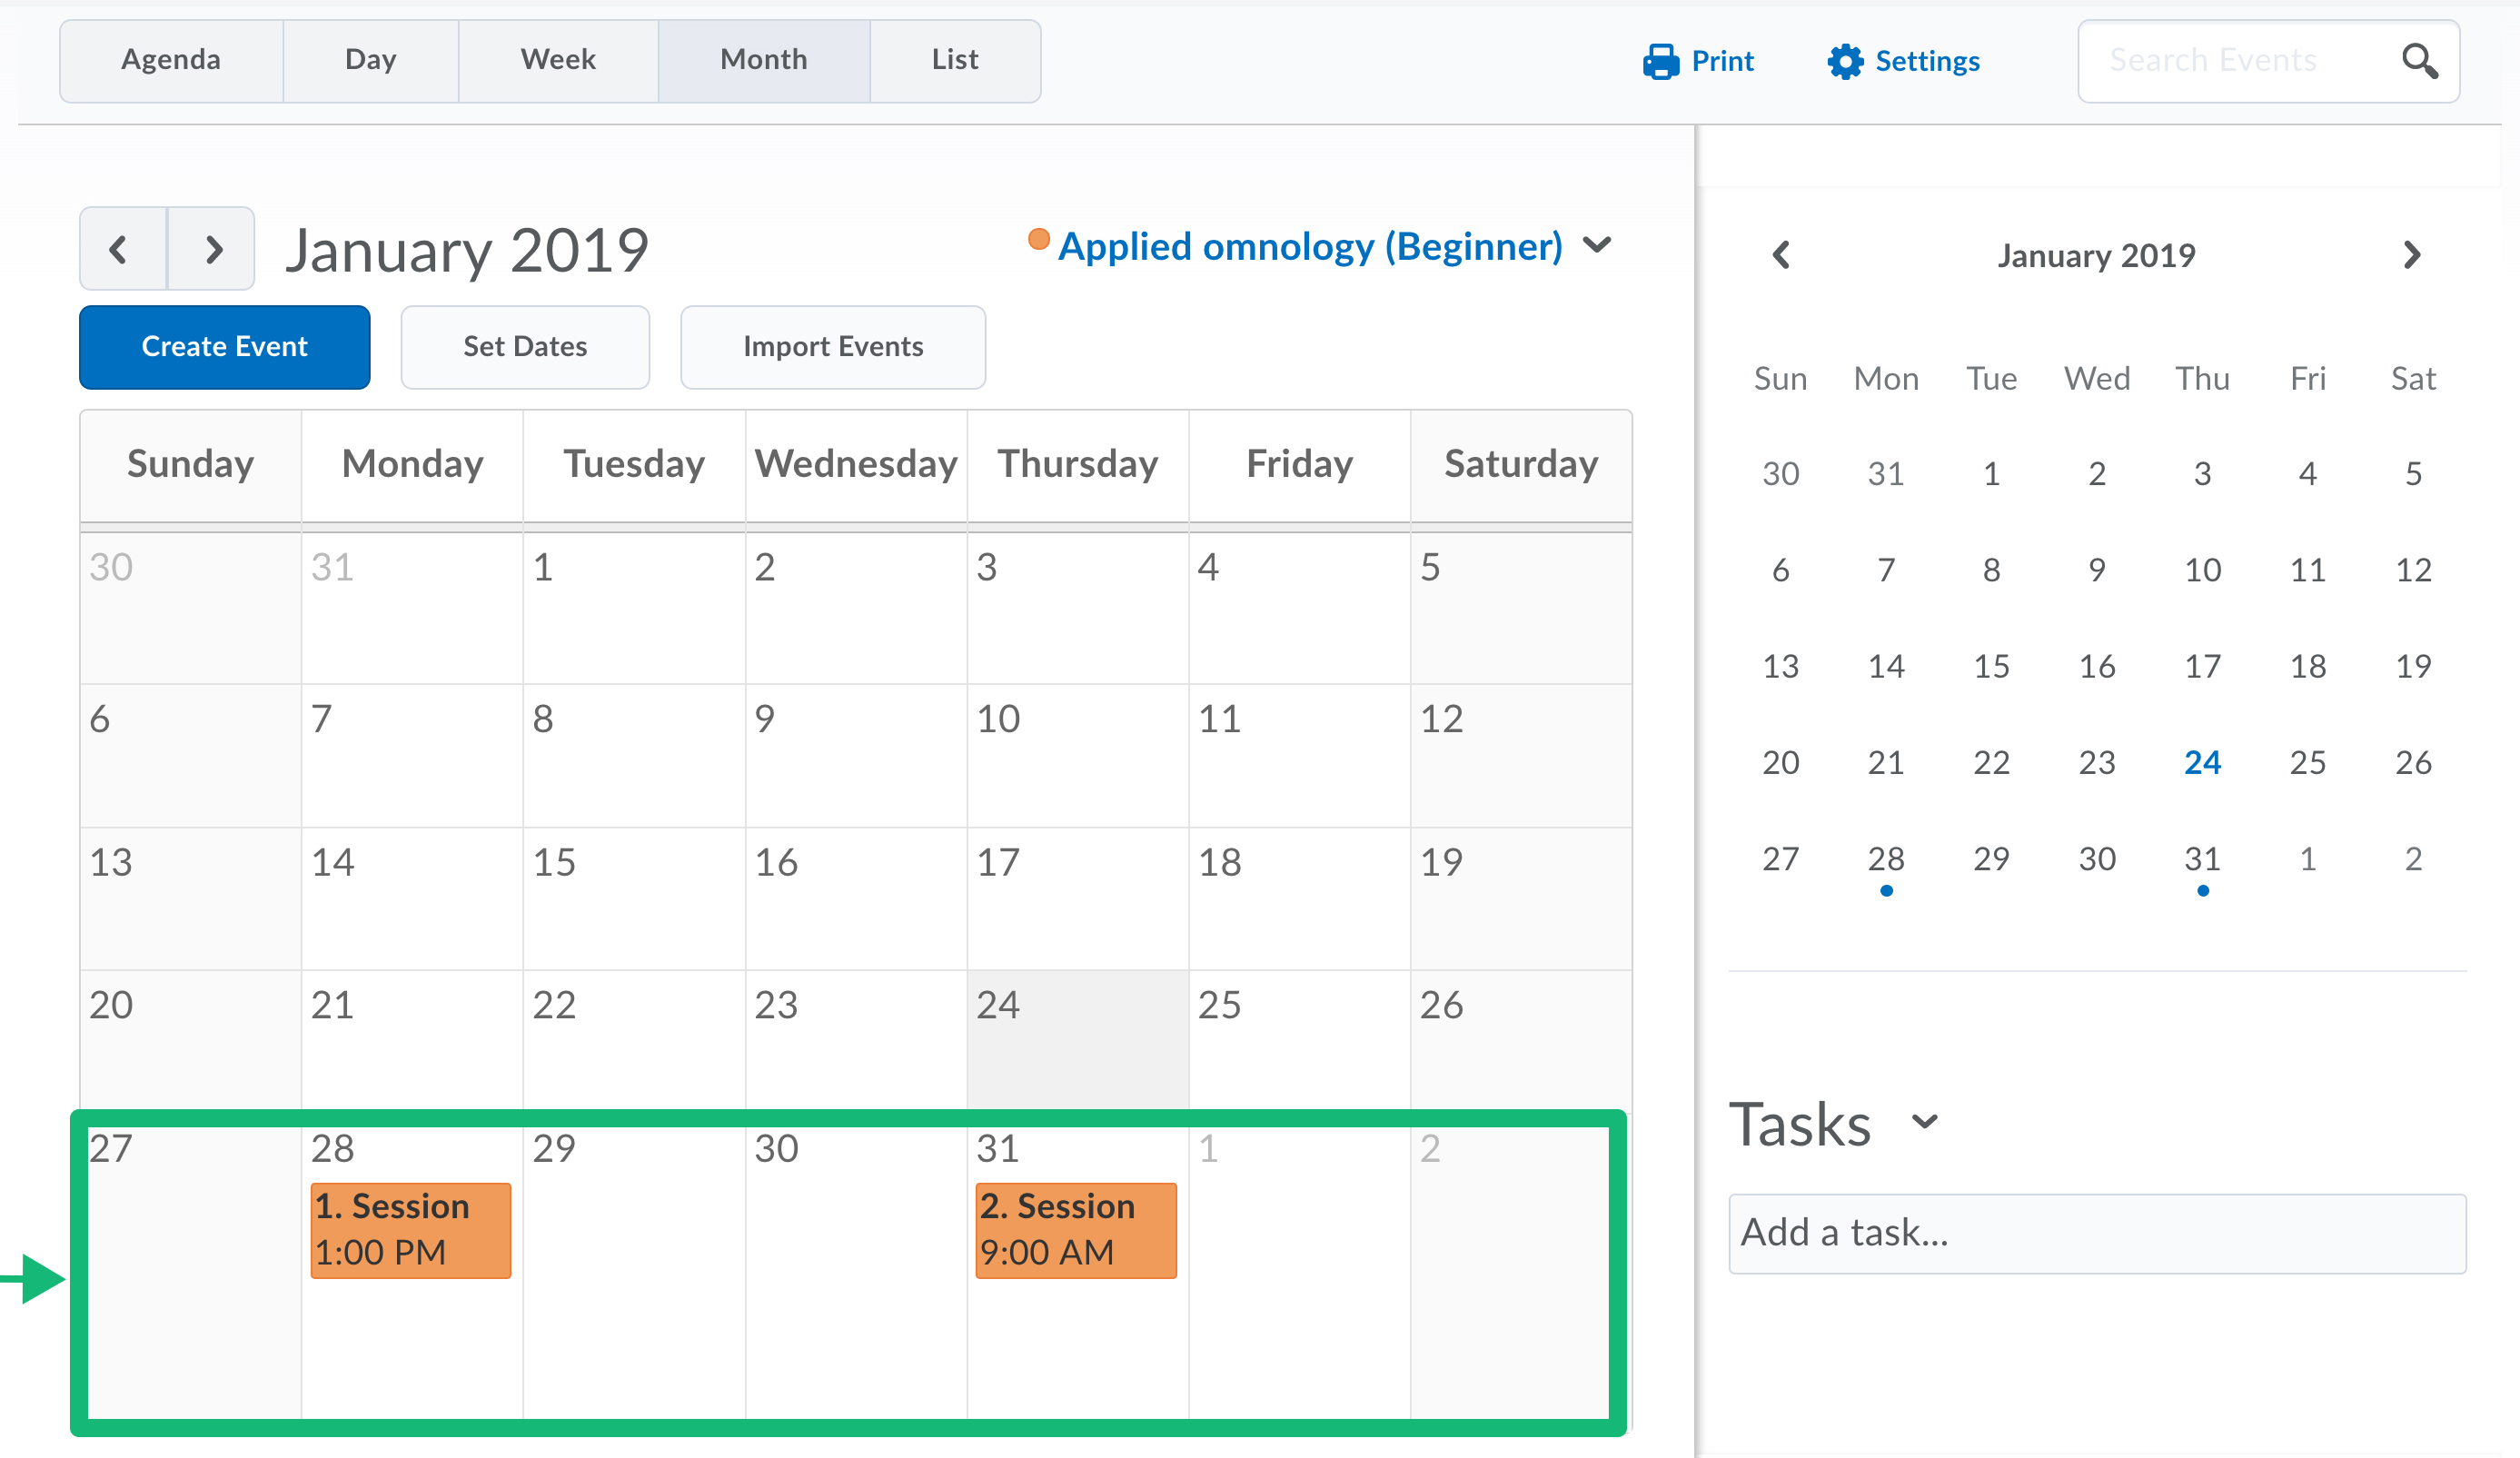
- When you are done with the creation of events it will display in the calendar of the students.
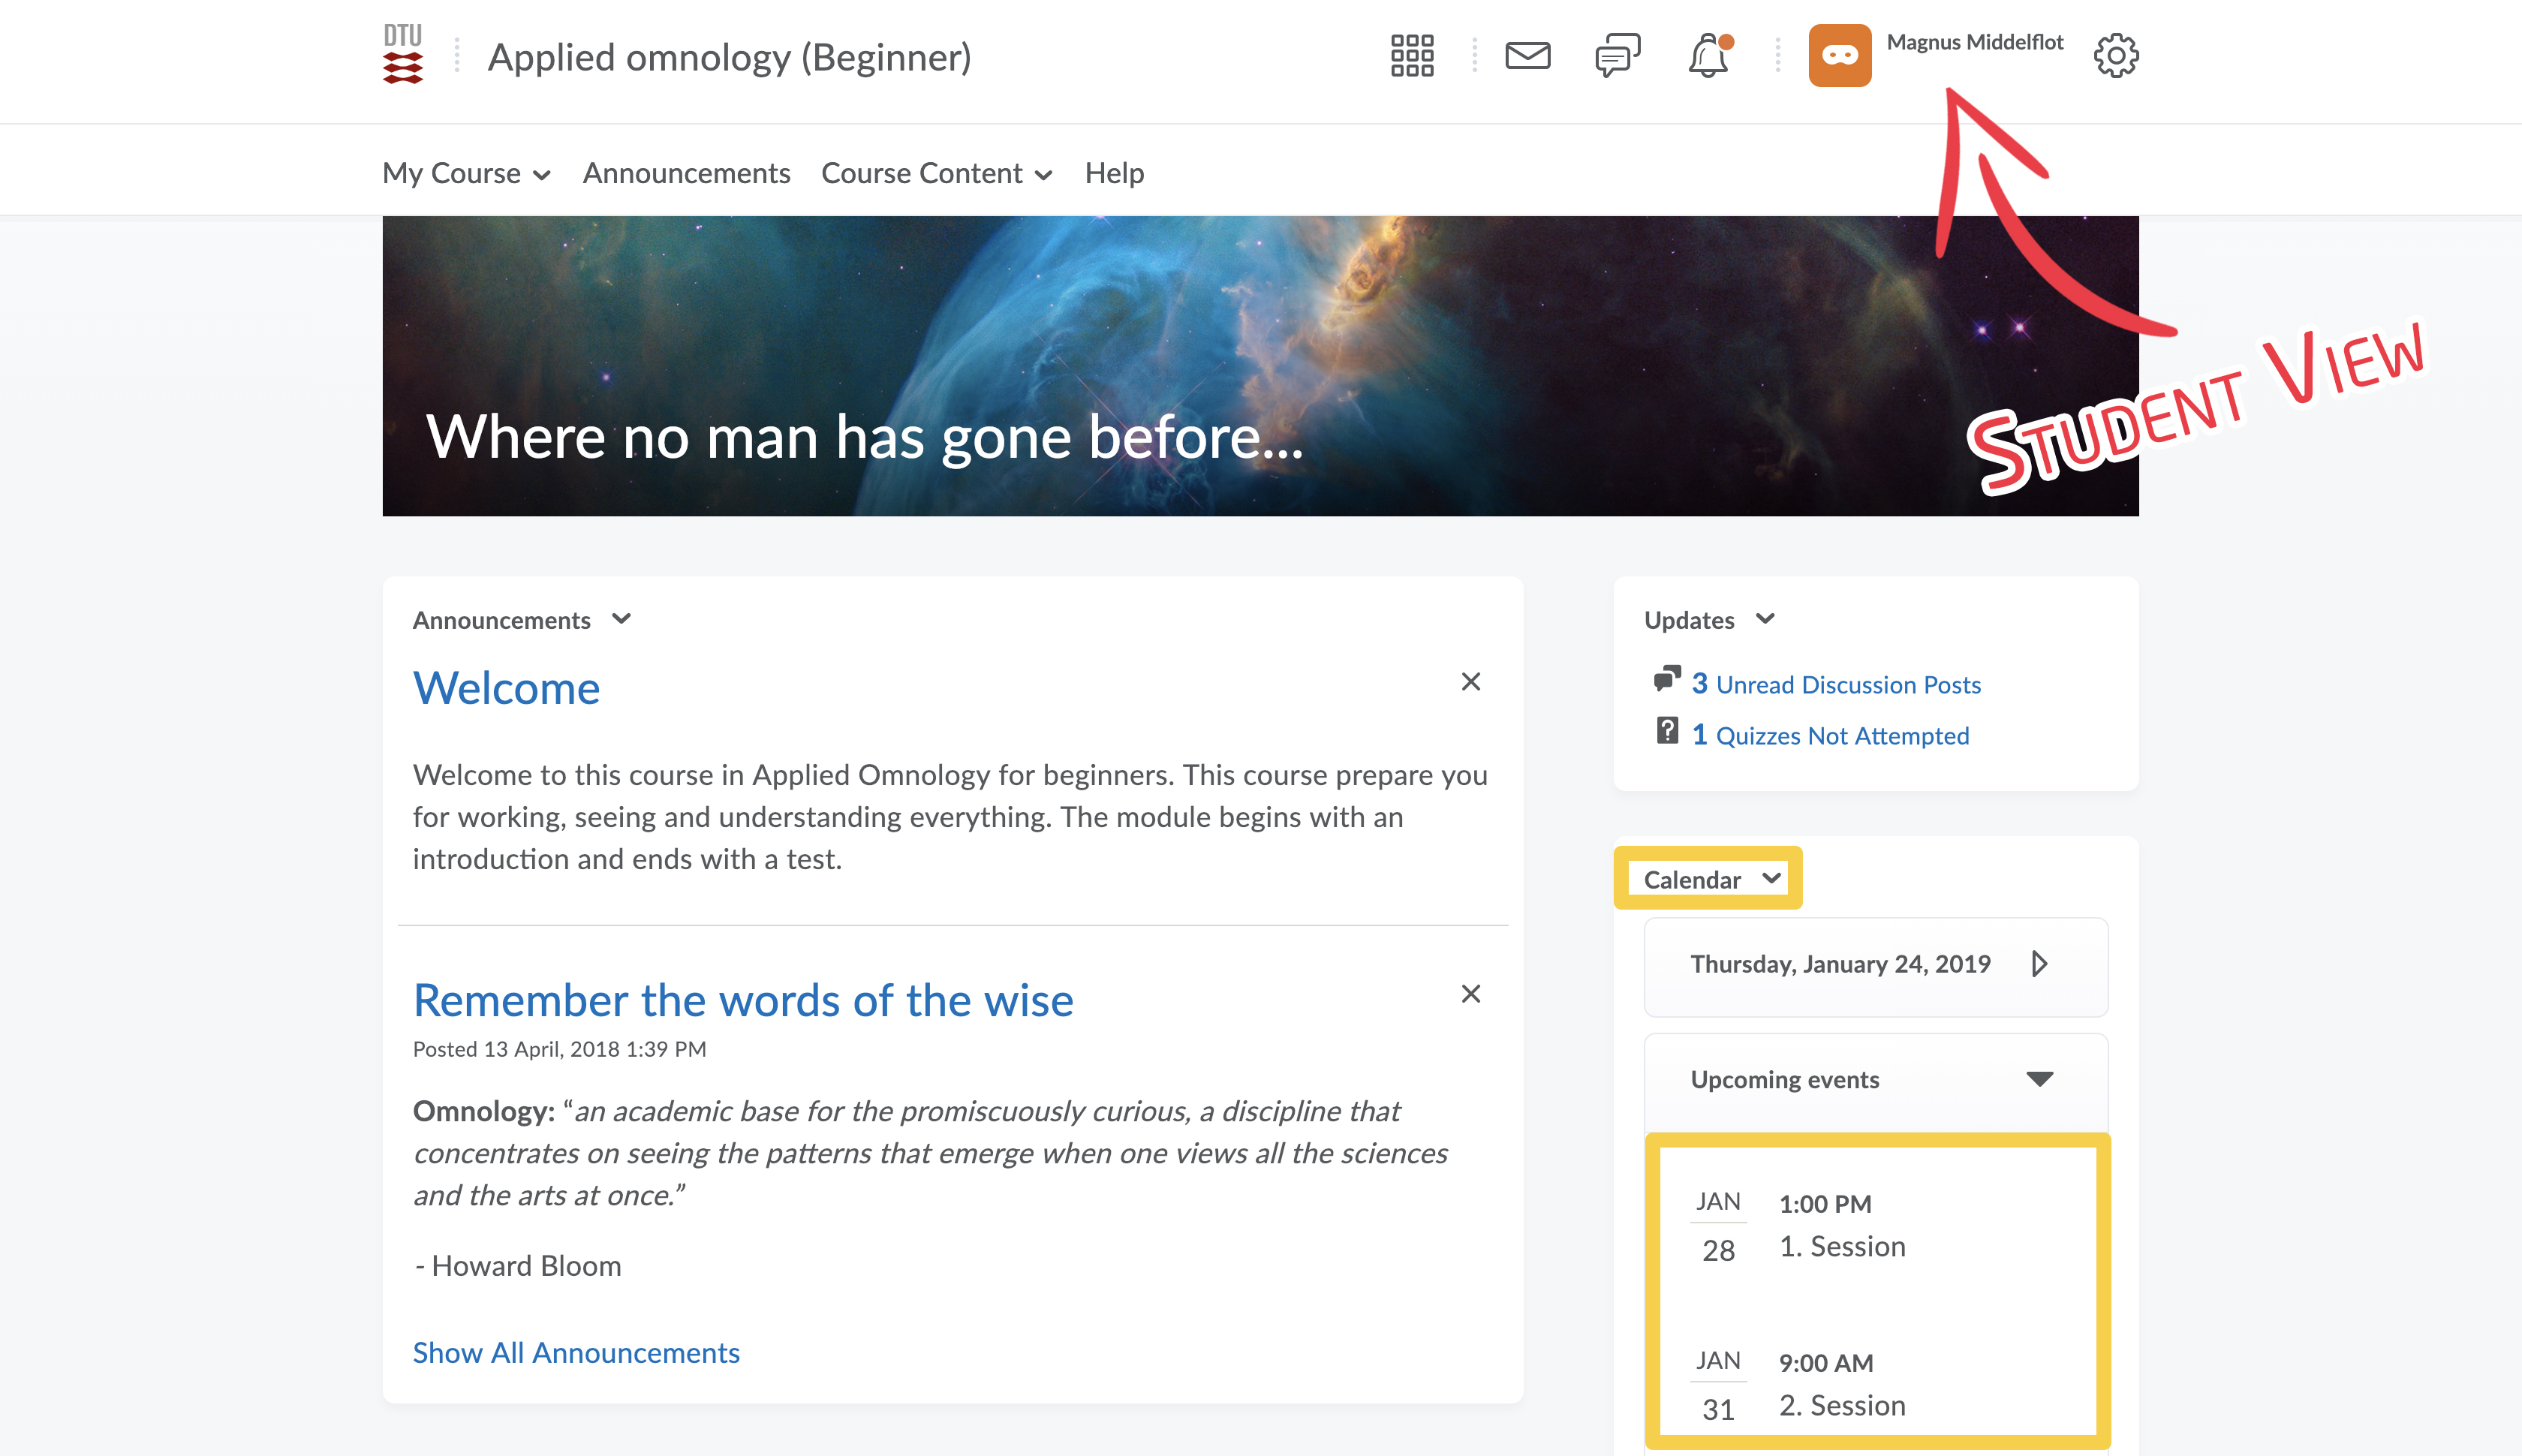
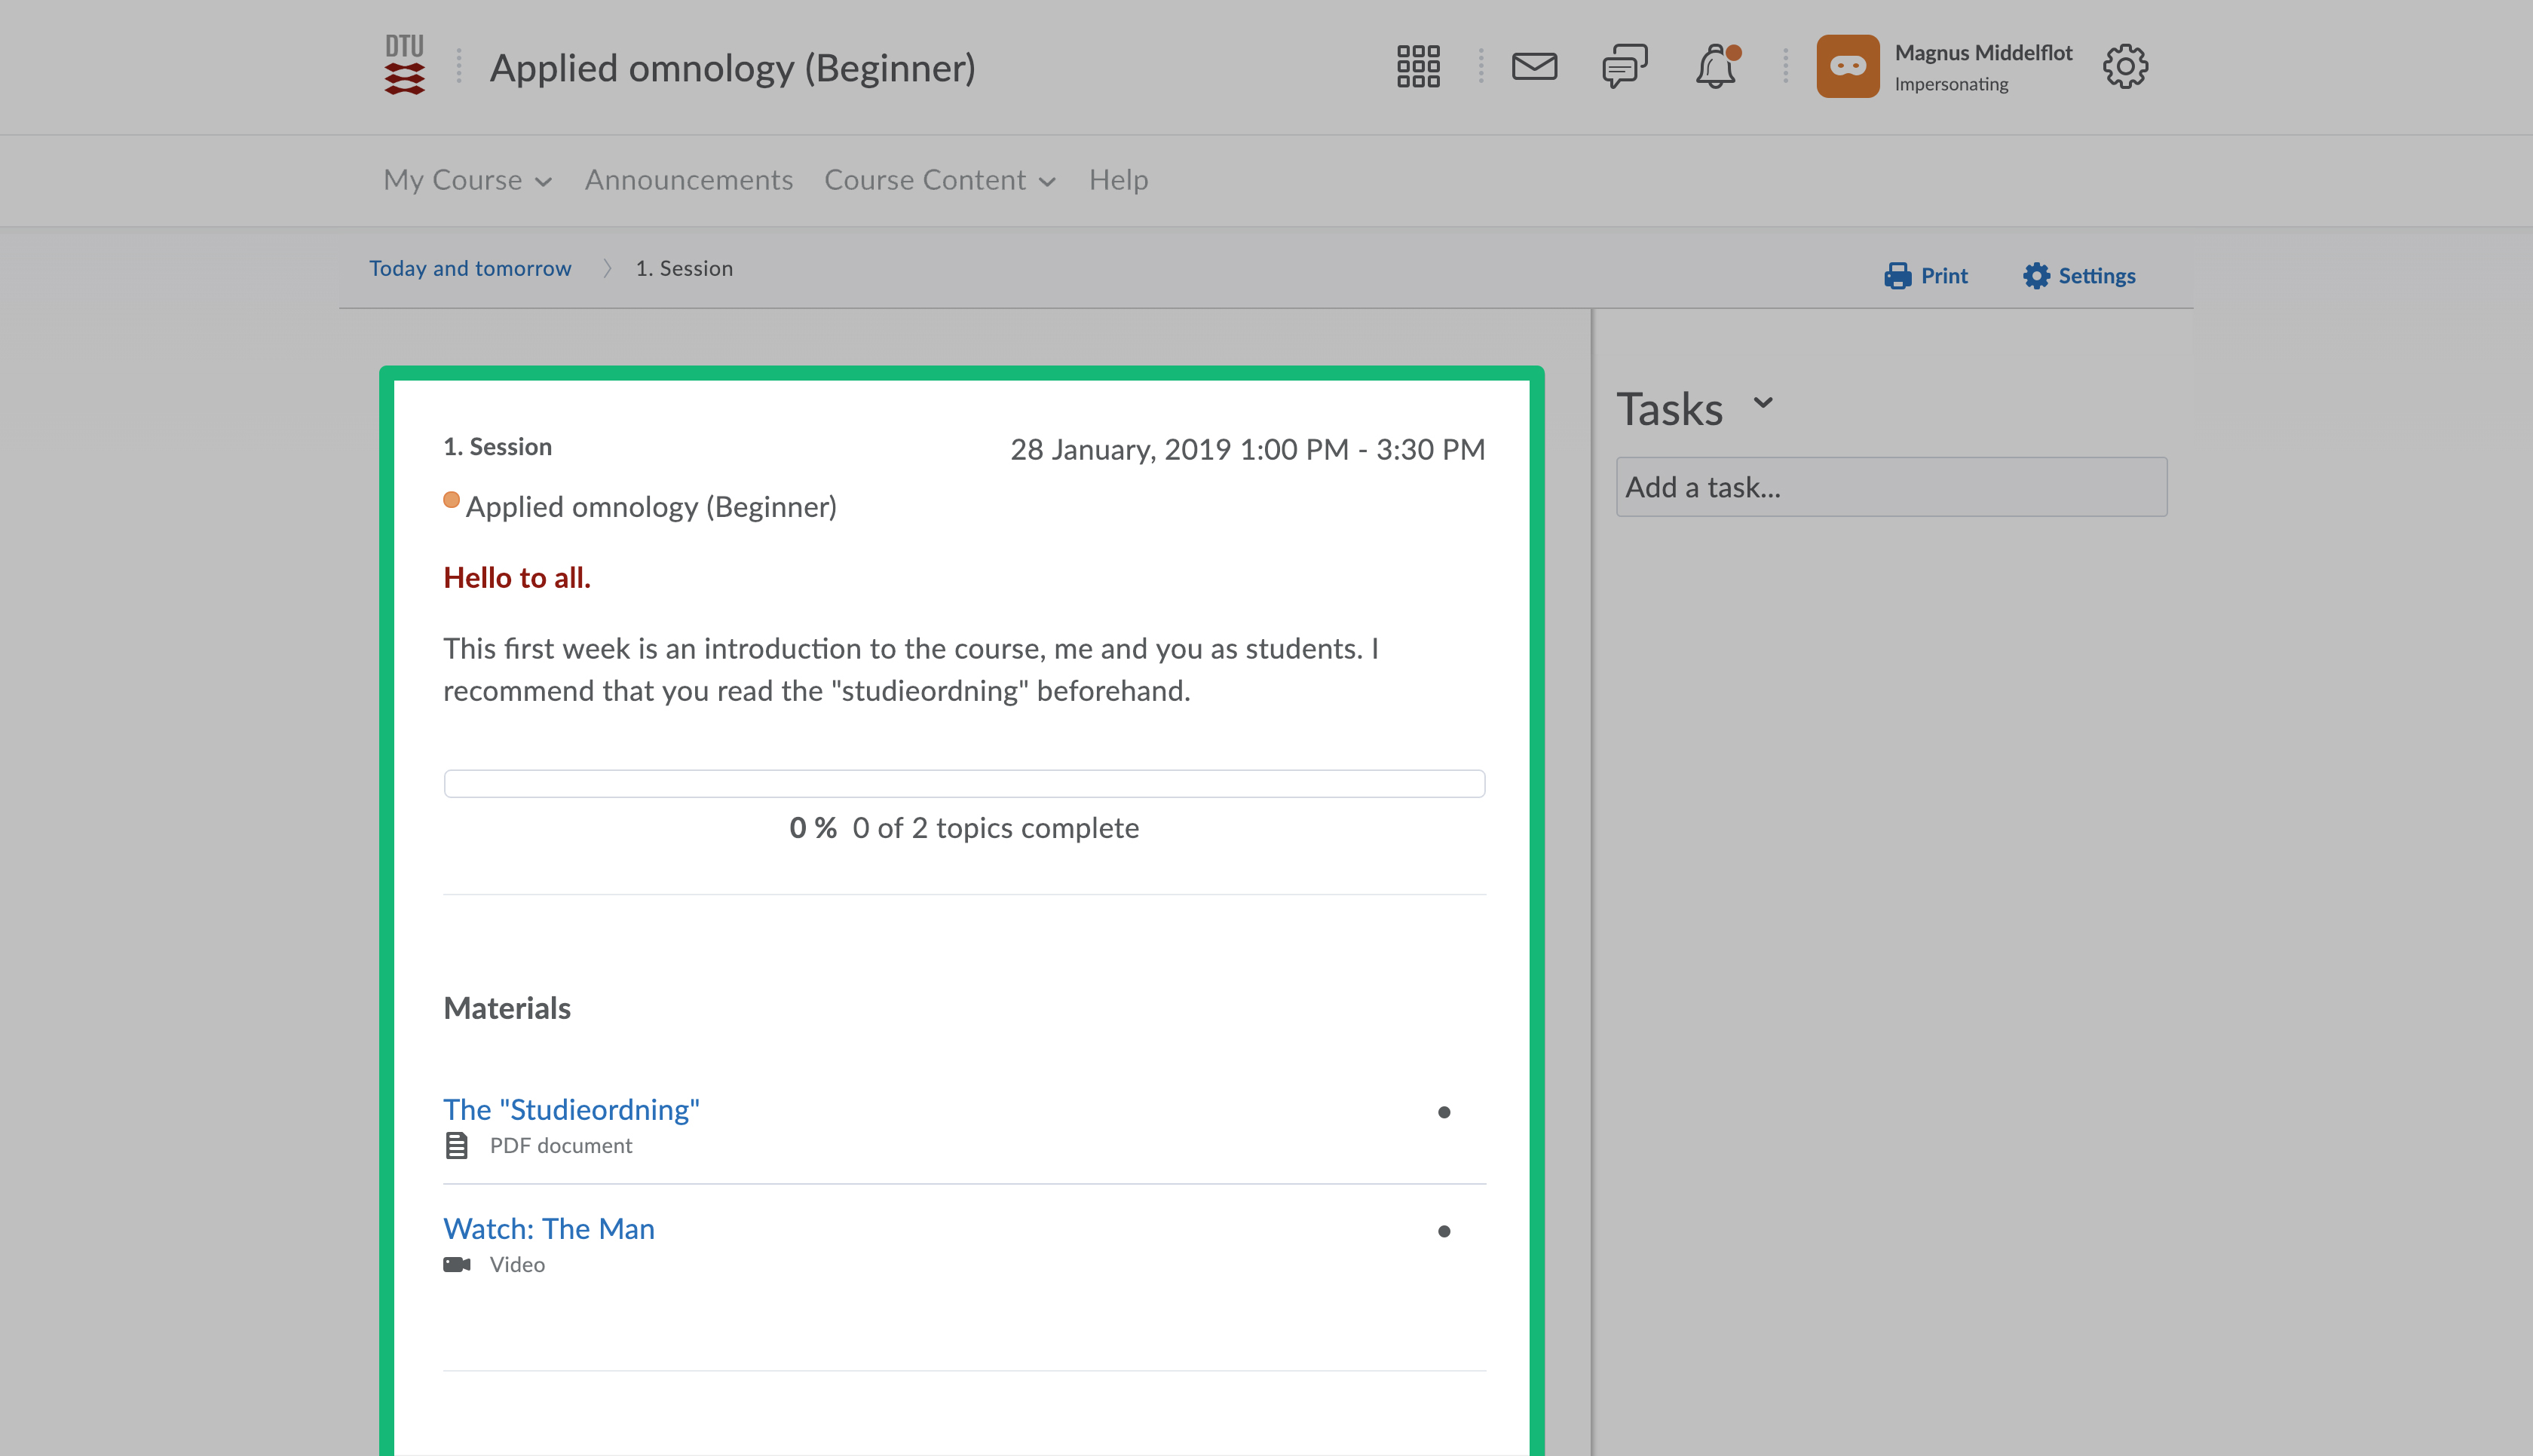
- When the students select an event he or she goes to this screen, with a short overview of the content and the description of the event.
