Send Automatic Emails to Late Enrolled Students
This tutorial shows how to send automatic emails to students that enrolled late to a course within an hour of enrolment.
The late enrolled students will be added to a group specifically for them. That makes it easier for the intelligent agent to identify new students. By doing an hourly check if any new students have joined the group the intelligent agent will send an email to those students.
Follow these steps:
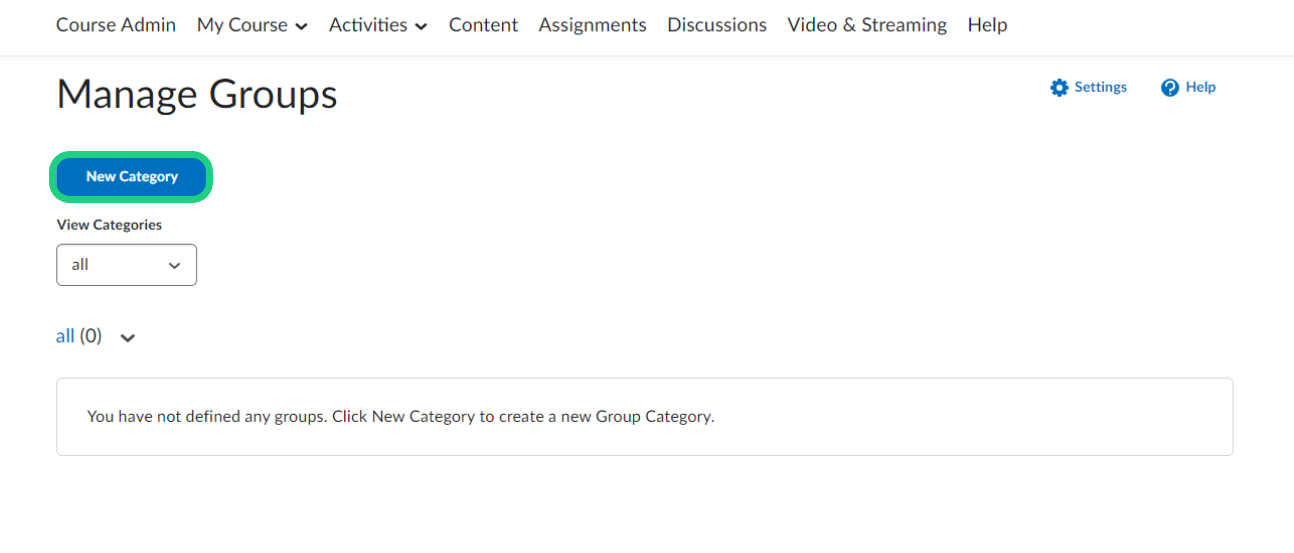
- Go to the groups in your course and create a new Category.
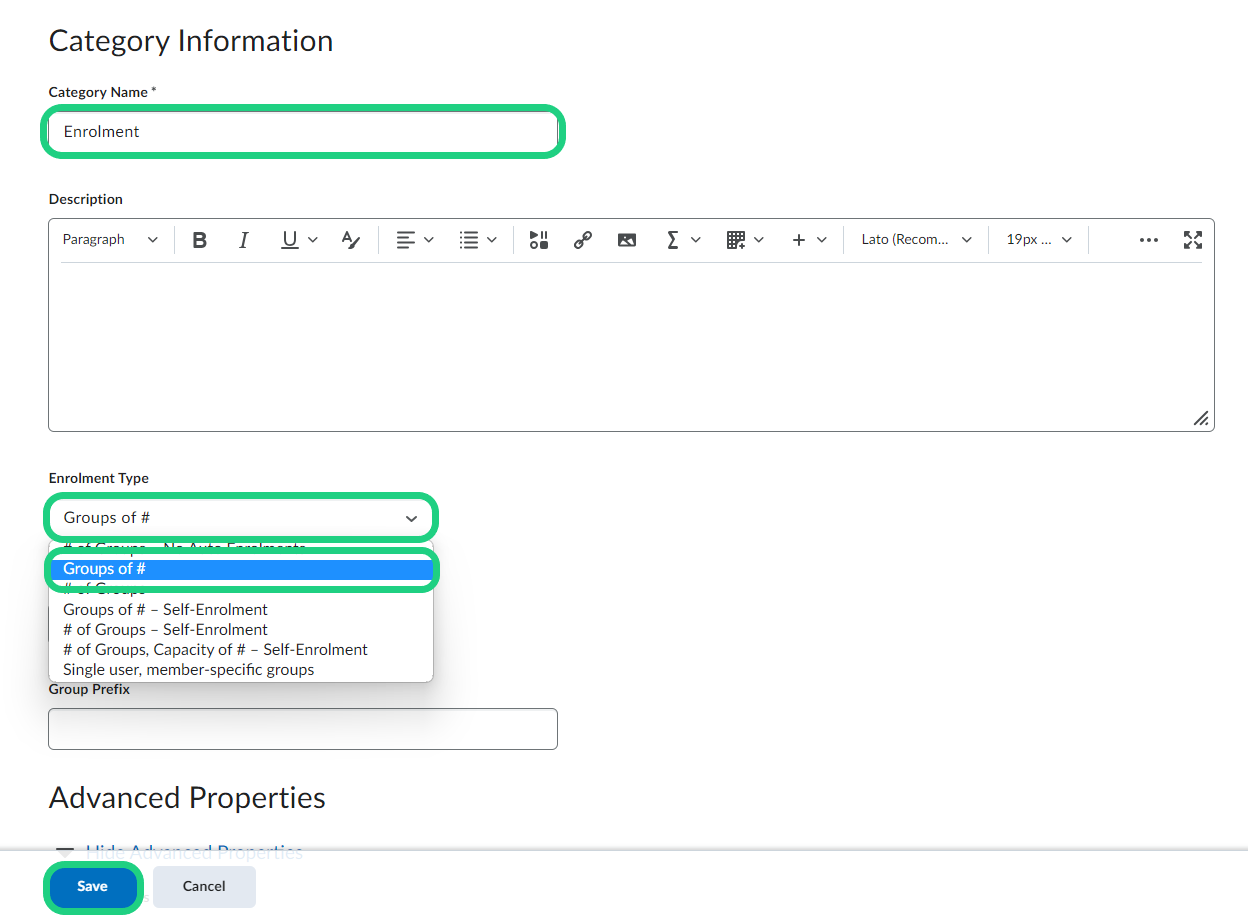
- Give your category a name and under 'Enrolment Type' select 'Groups of #'. The specified number should be equal to the number of students that already are enrolled and should not be included in the automated emails. You can find a guide to create groups here:Creating Groups
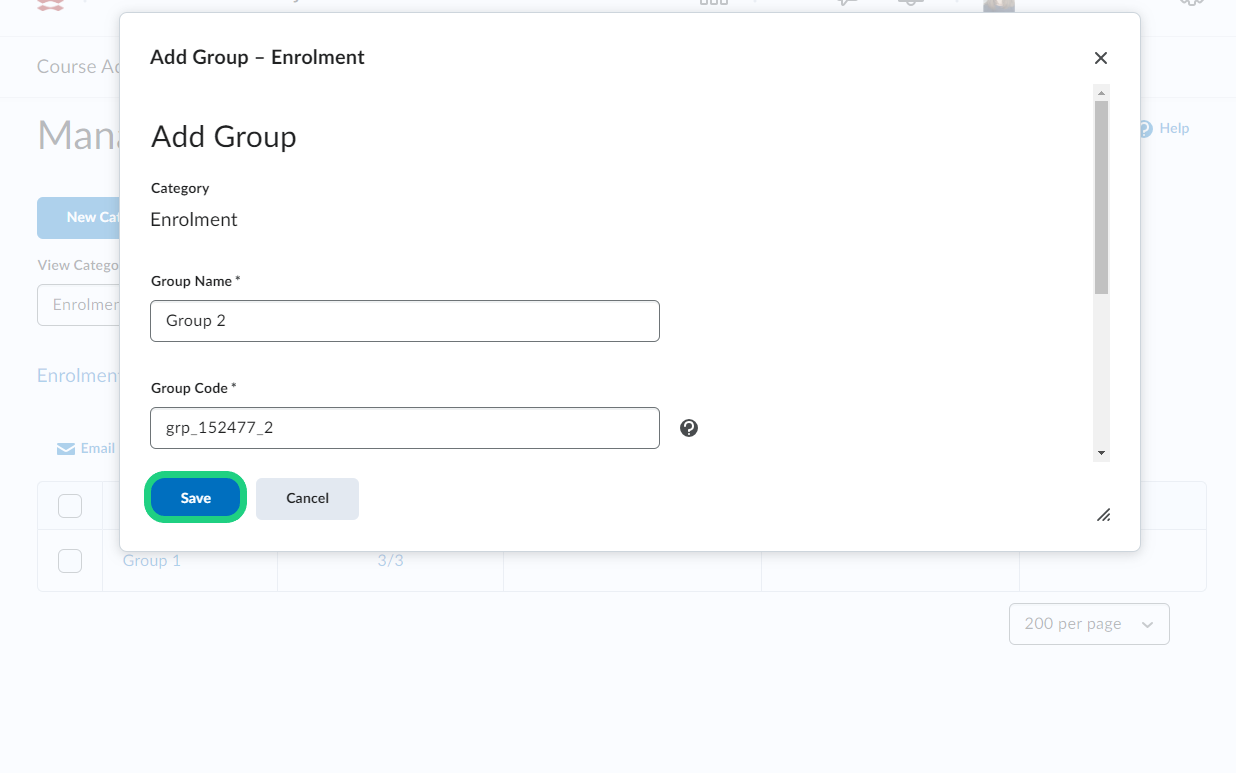
- Now click on the arrow next to your group category and select 'Add Group'.
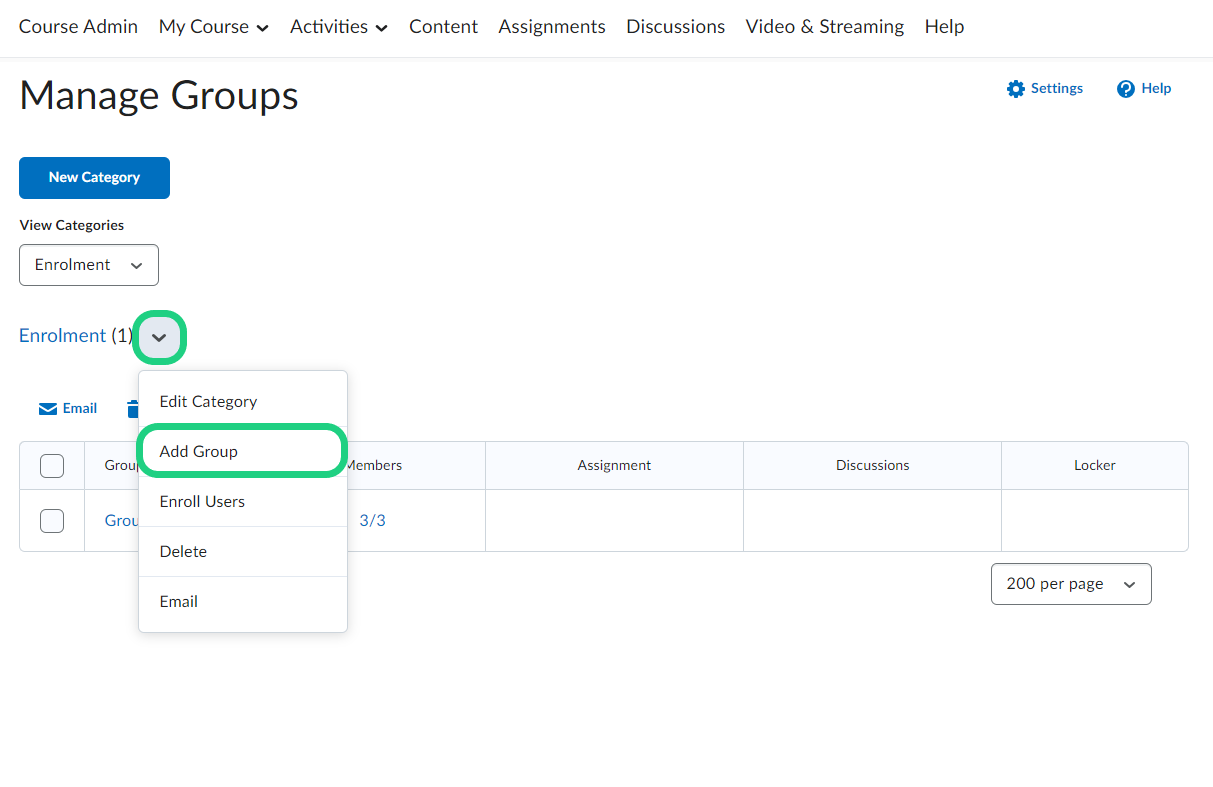
- In the pop-up window click on 'Save'.
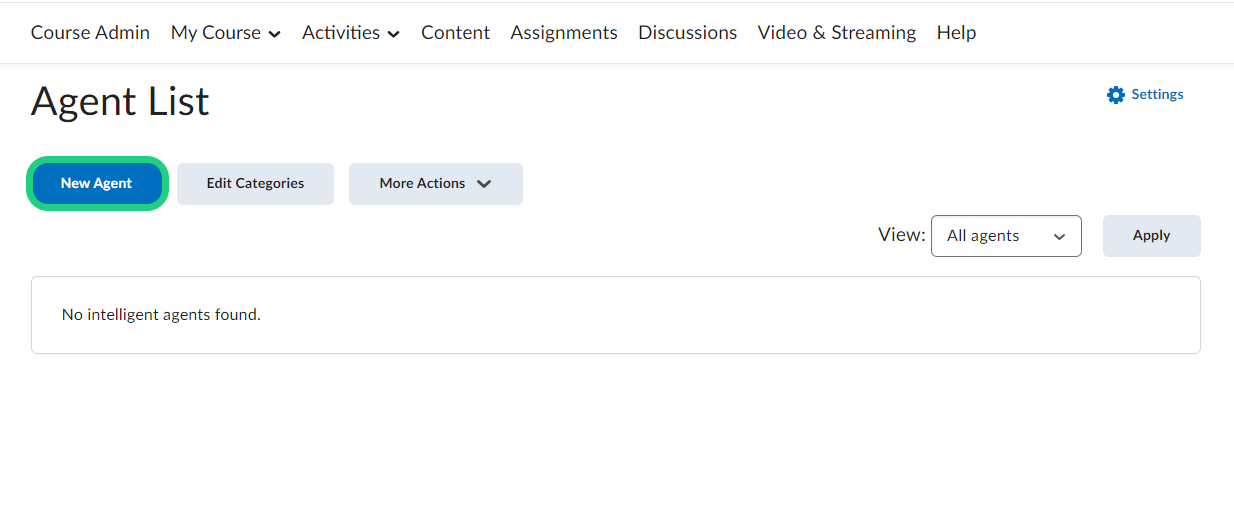
- Open your Course Admin and click on 'Intelligent Agents'.

- Click on 'New Agent'.
- Give your agent a name and if desired a description and a category. Make sure to enable your agent under 'Status'.

- To schedule your agent select the frequency in which the agent should check for new students. We recommend to check hourly.

- Under 'Criteria' specify which Type of users in your classlist the agent should be looking out for. Click on 'Create' under 'Release Condtions' .

- Under 'Condition Type' select 'Group enrolment' in the drop-down menu.

- Select the second group you created before. It should only contain students that enrolled after the start of the course. Next click on 'Create'.

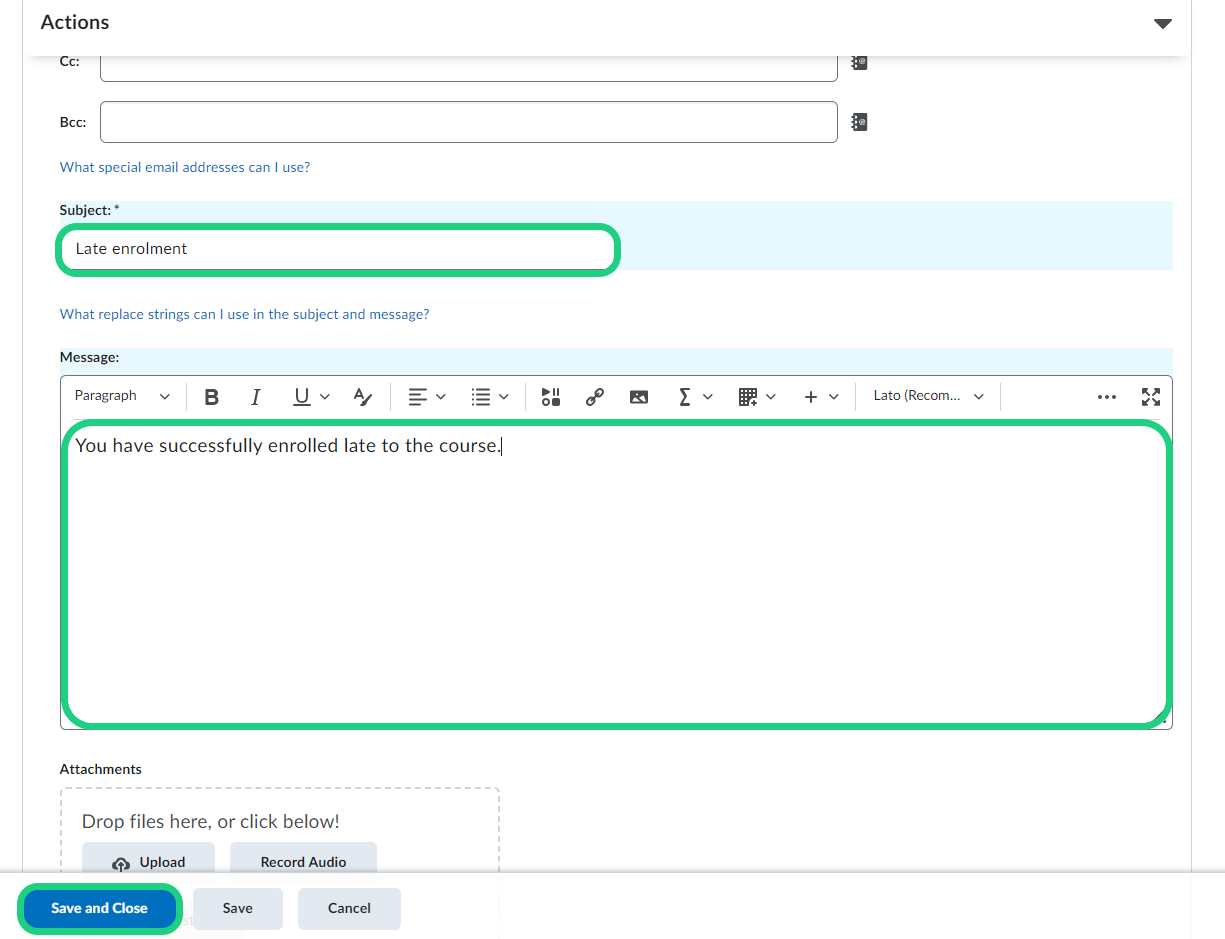
- Under 'Action' make sure that you select the first option under 'Repetition' so that the students of the second group only receive the email once. Check off the box under 'Send an Email'. Because the recipients of the email should be the students in the second group, write '{InitiatingUser}' as recipient. To add a specifik recipient, look for them in the address book next to the text field.

- Now you can write the email and finish by clicking on 'Save and Close'.