Creating a Checklist
This is a guide to show how to create a checklist on learn.
Follow these steps:
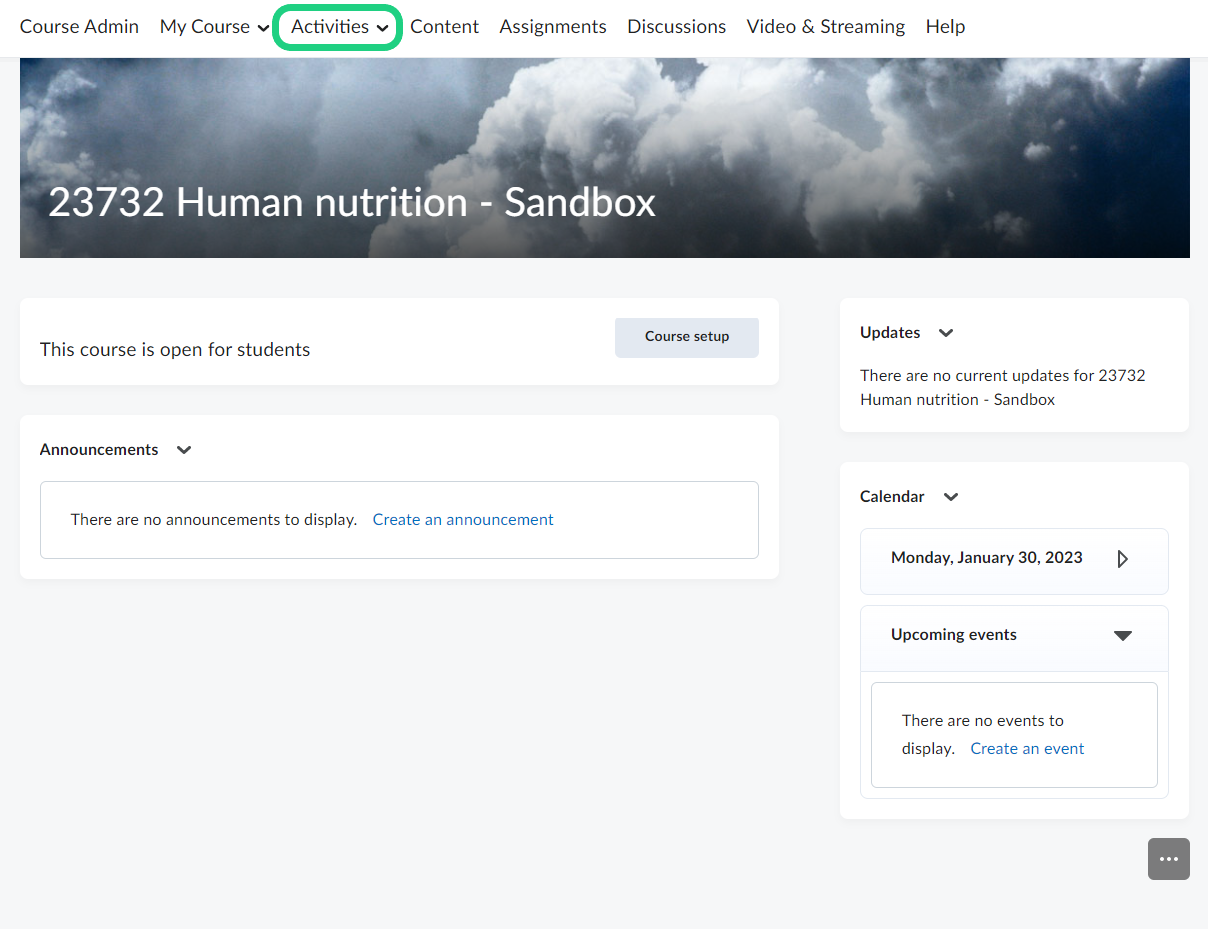
- Select the "Activities" side on your learn course.
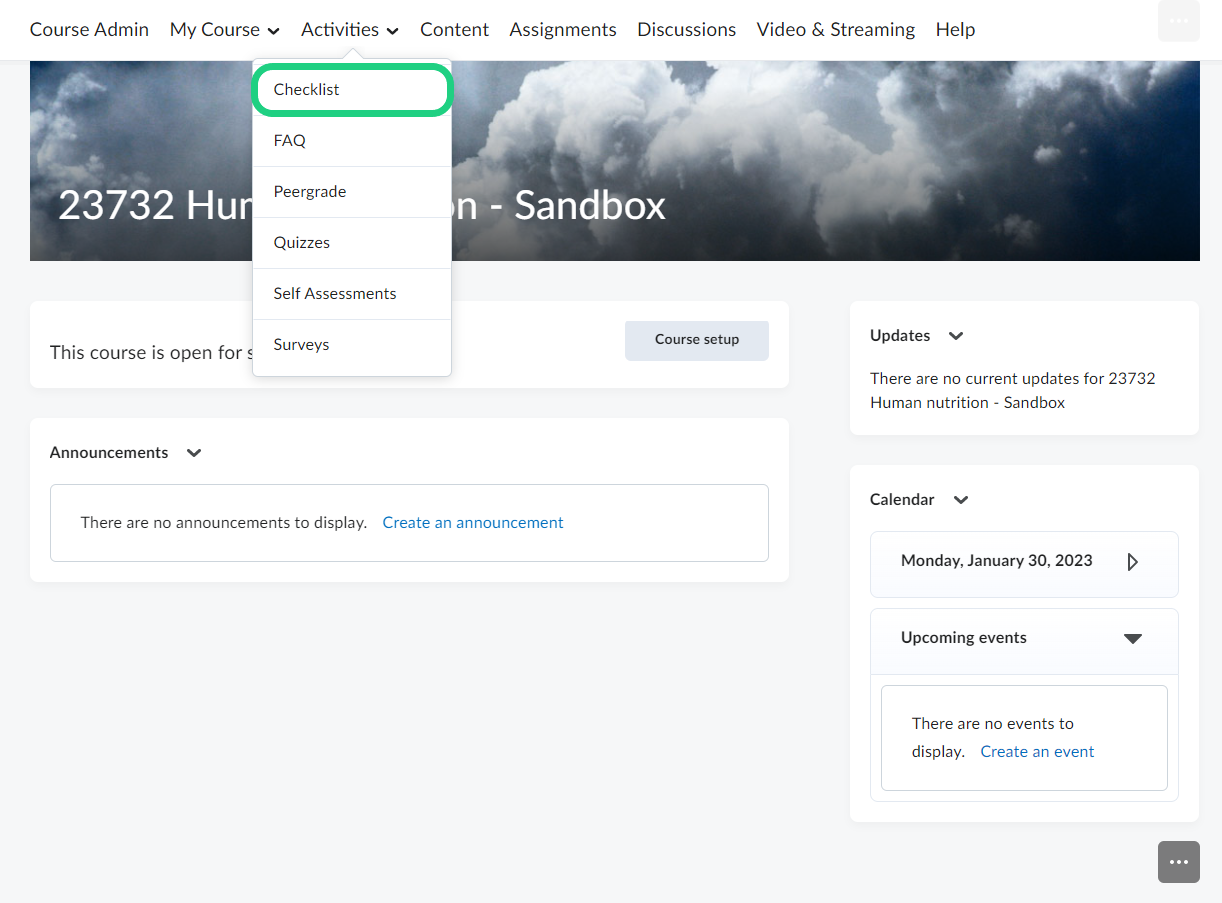
- Click on "Checklist".
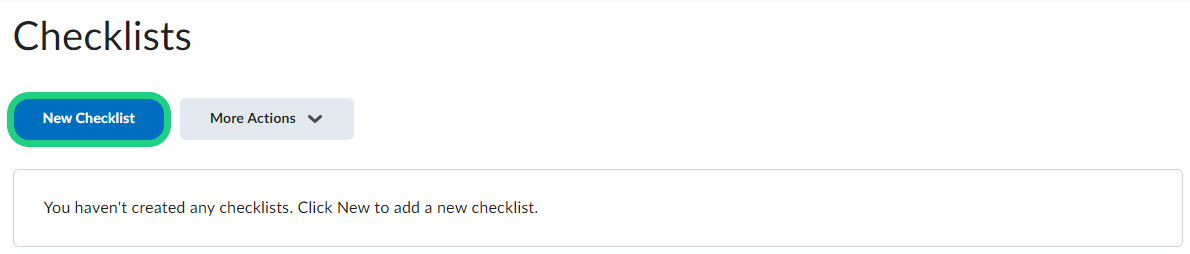
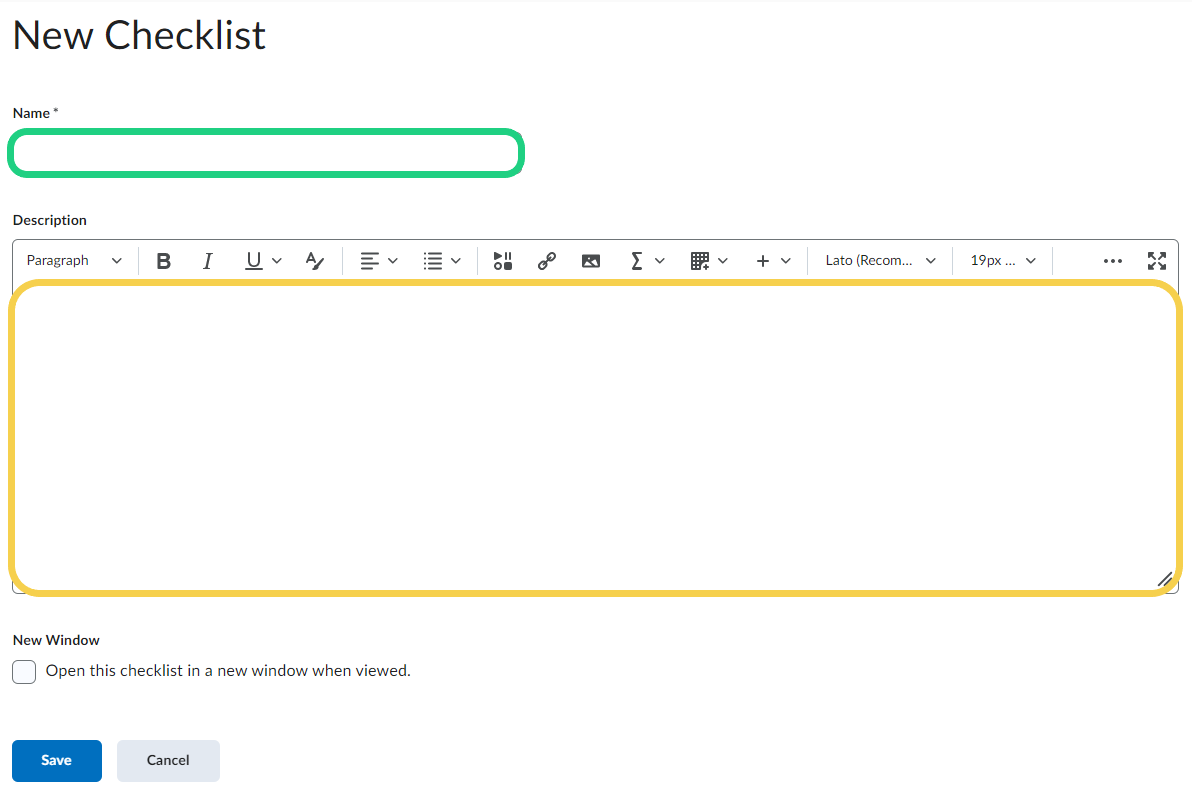
- Click on "New Checklist".
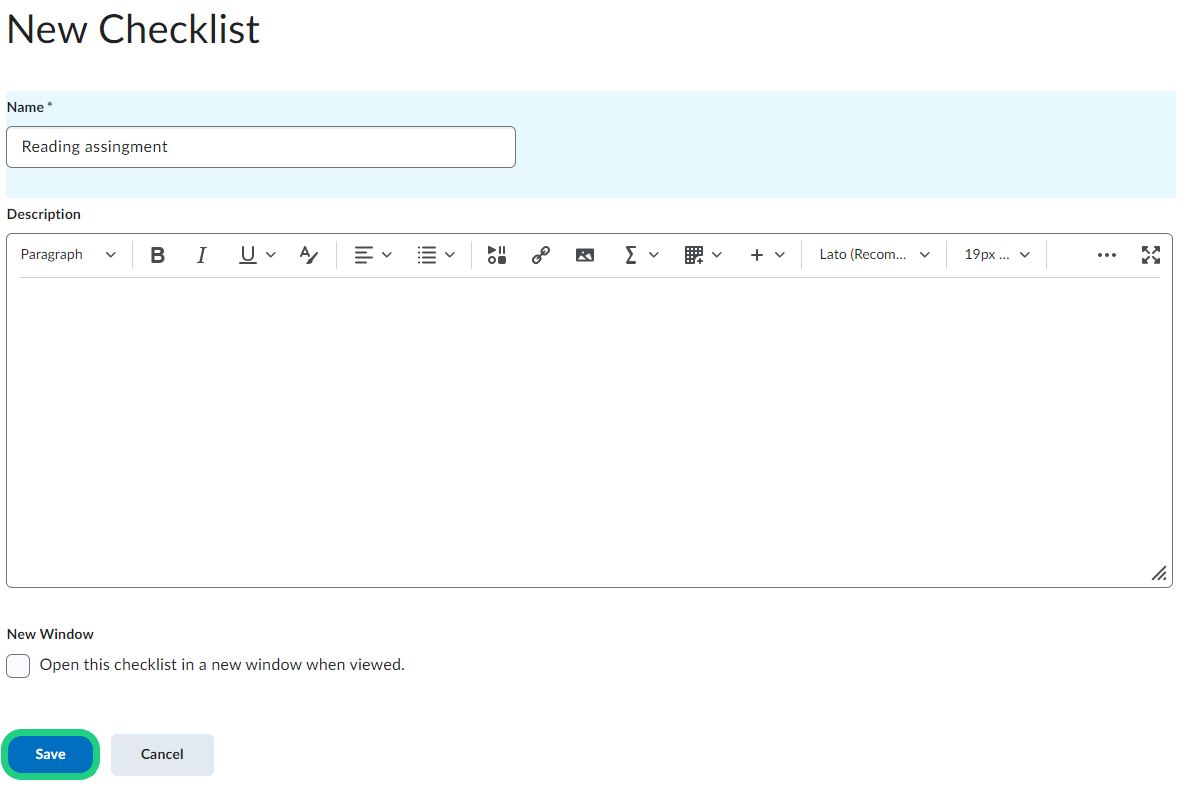
- Give your checklist a name and if needed a description.
- Click on the "Save" button at the bottom.
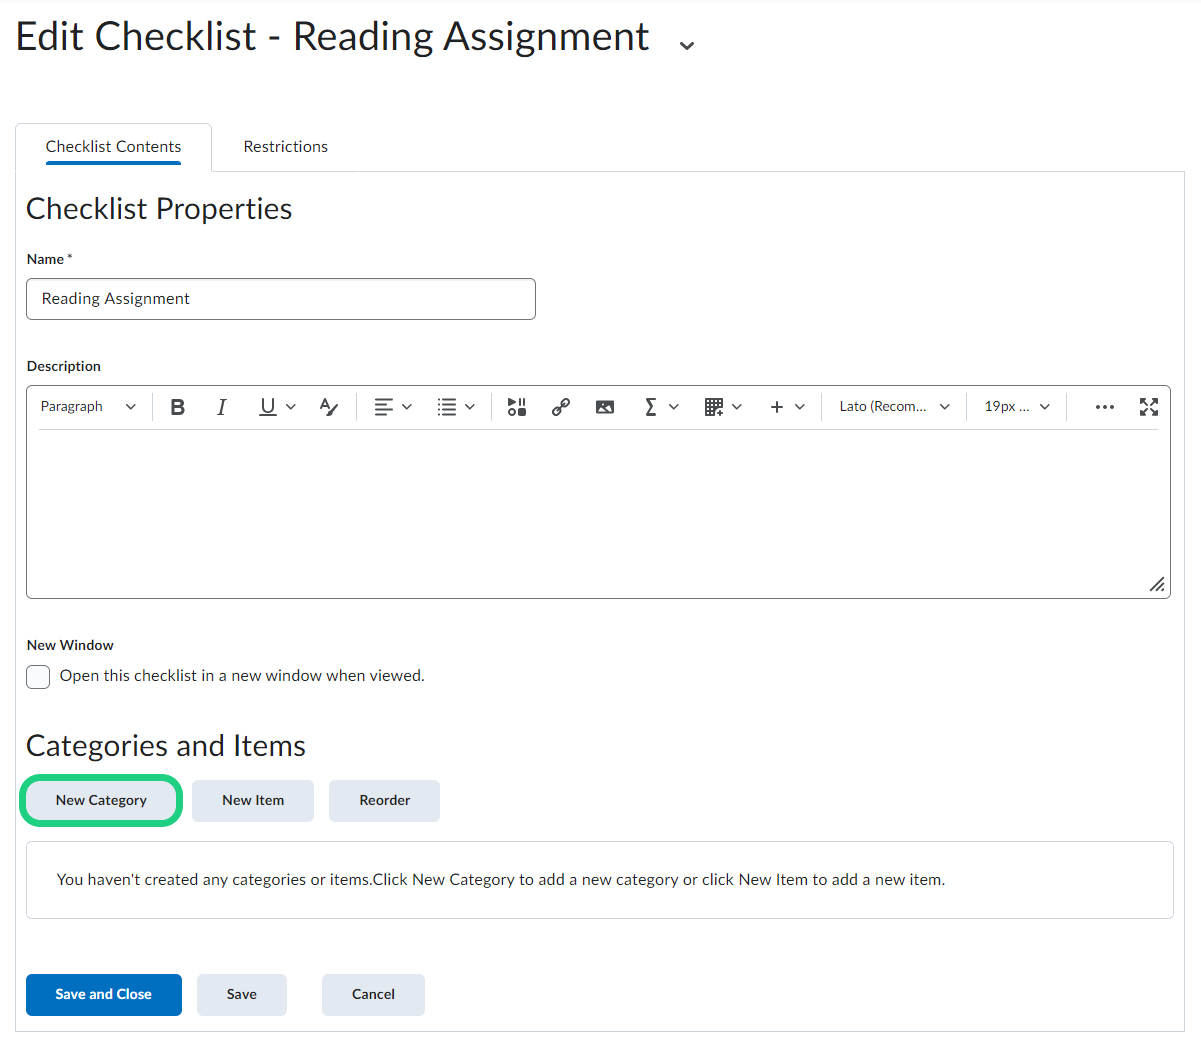
- To start entering items first create a category by clicking on "New Category".
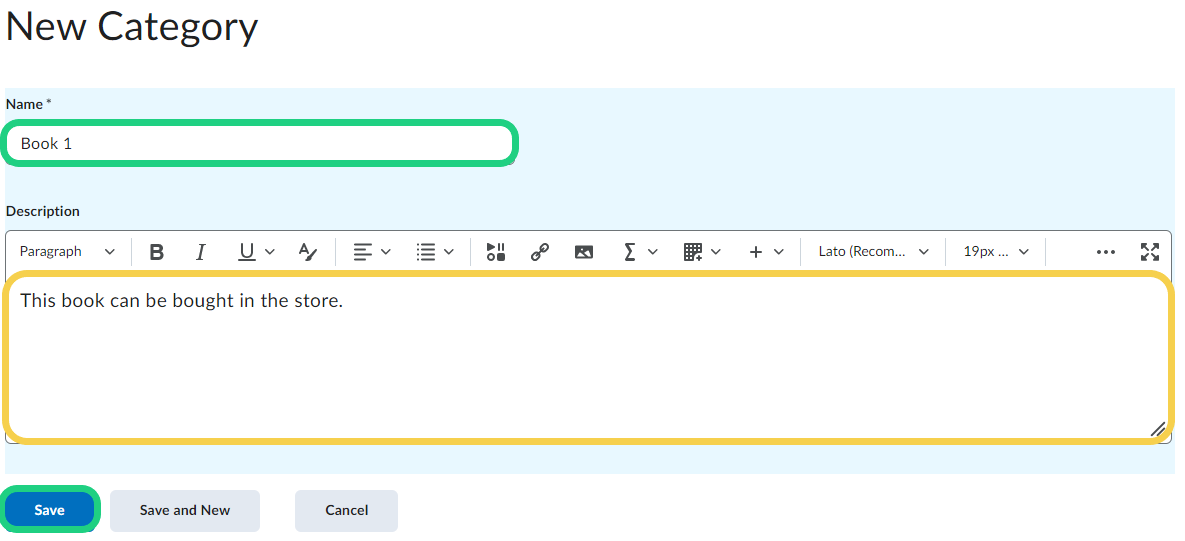
- Give your category a name and if needed a description. Then click on the "Save" button at the bottom. You can add as many categories as needed.
- To add an item, click on "New Item".
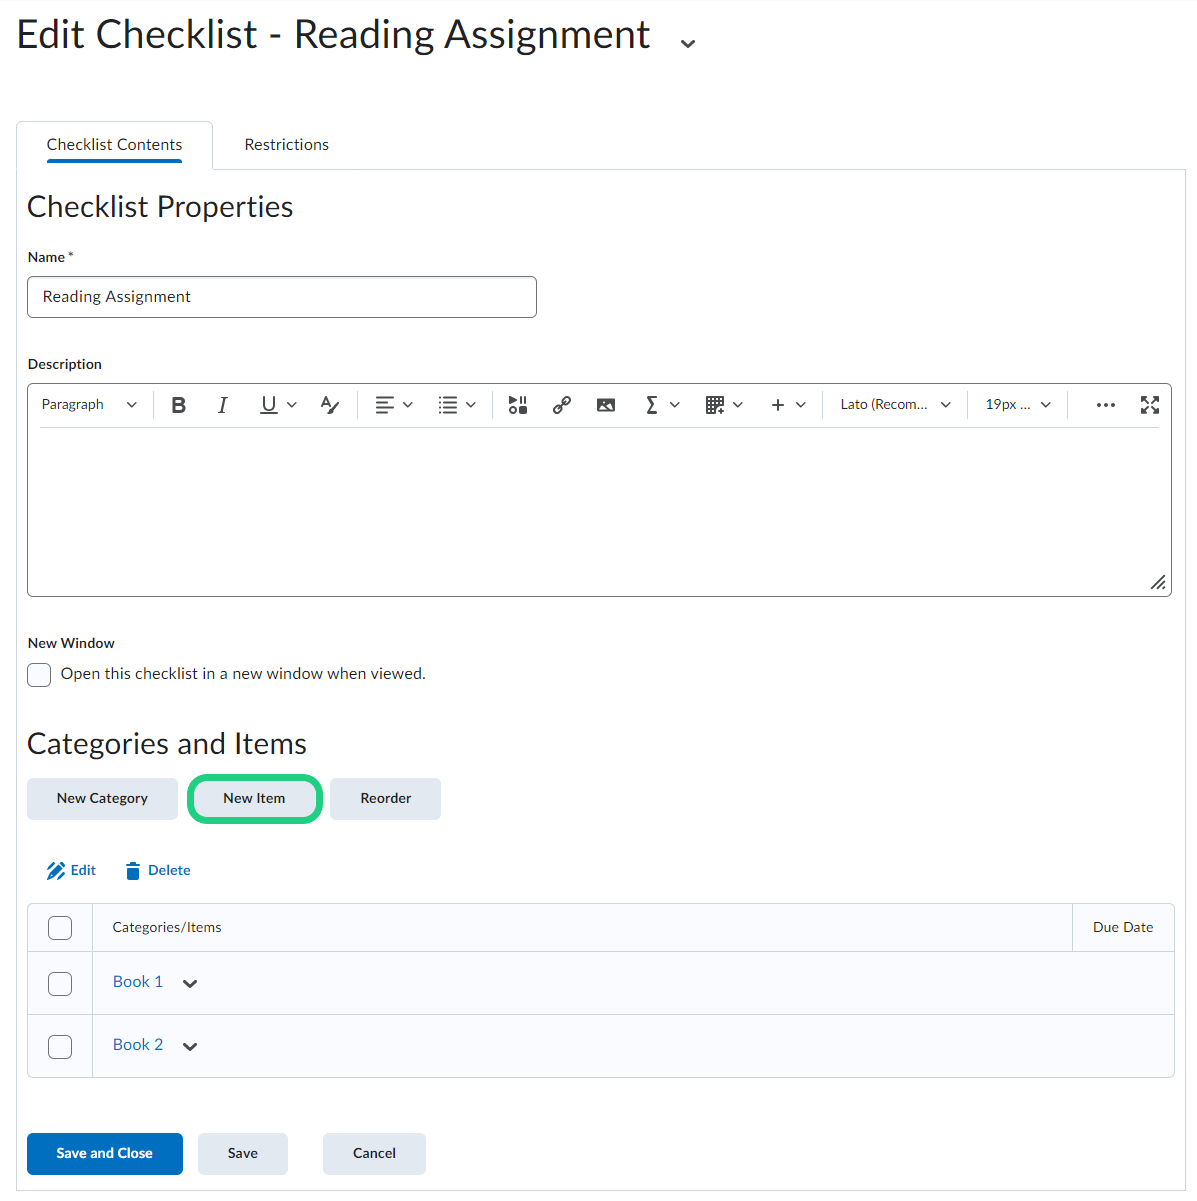
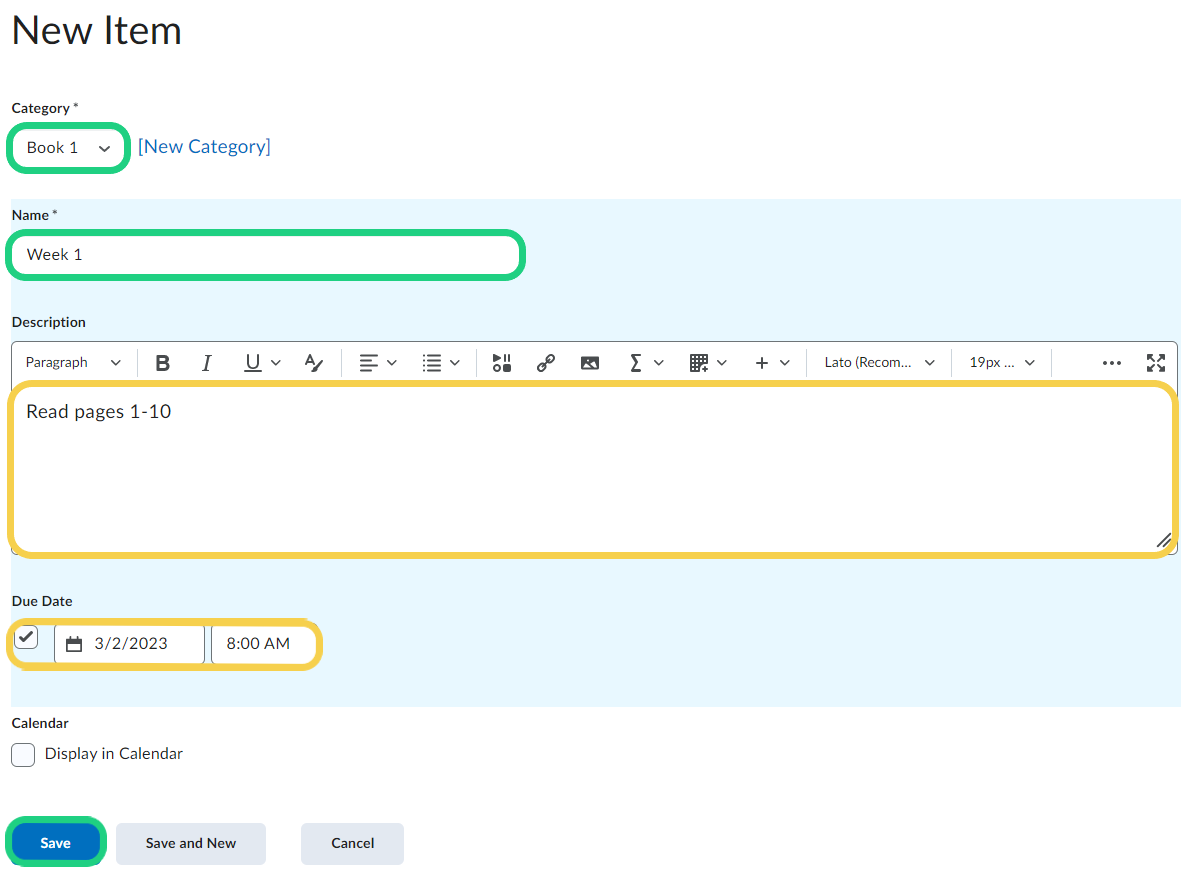
- Then you choose a category and give your item a name and if needed a description or a due date. Then click on the "Save" button at the bottom.
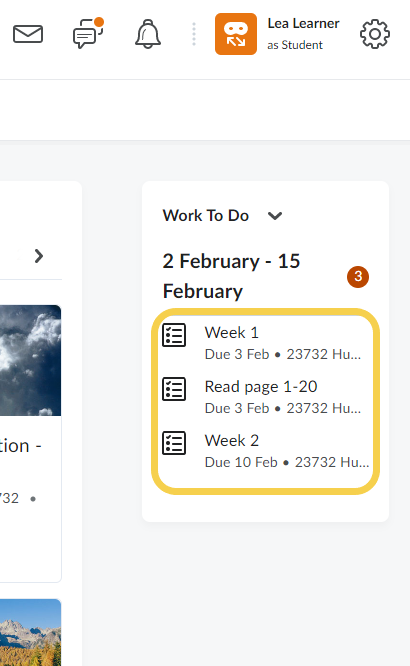
- By giving your item a due date, the students will see the item on the DTU Learn frontpage under "Work To Do".
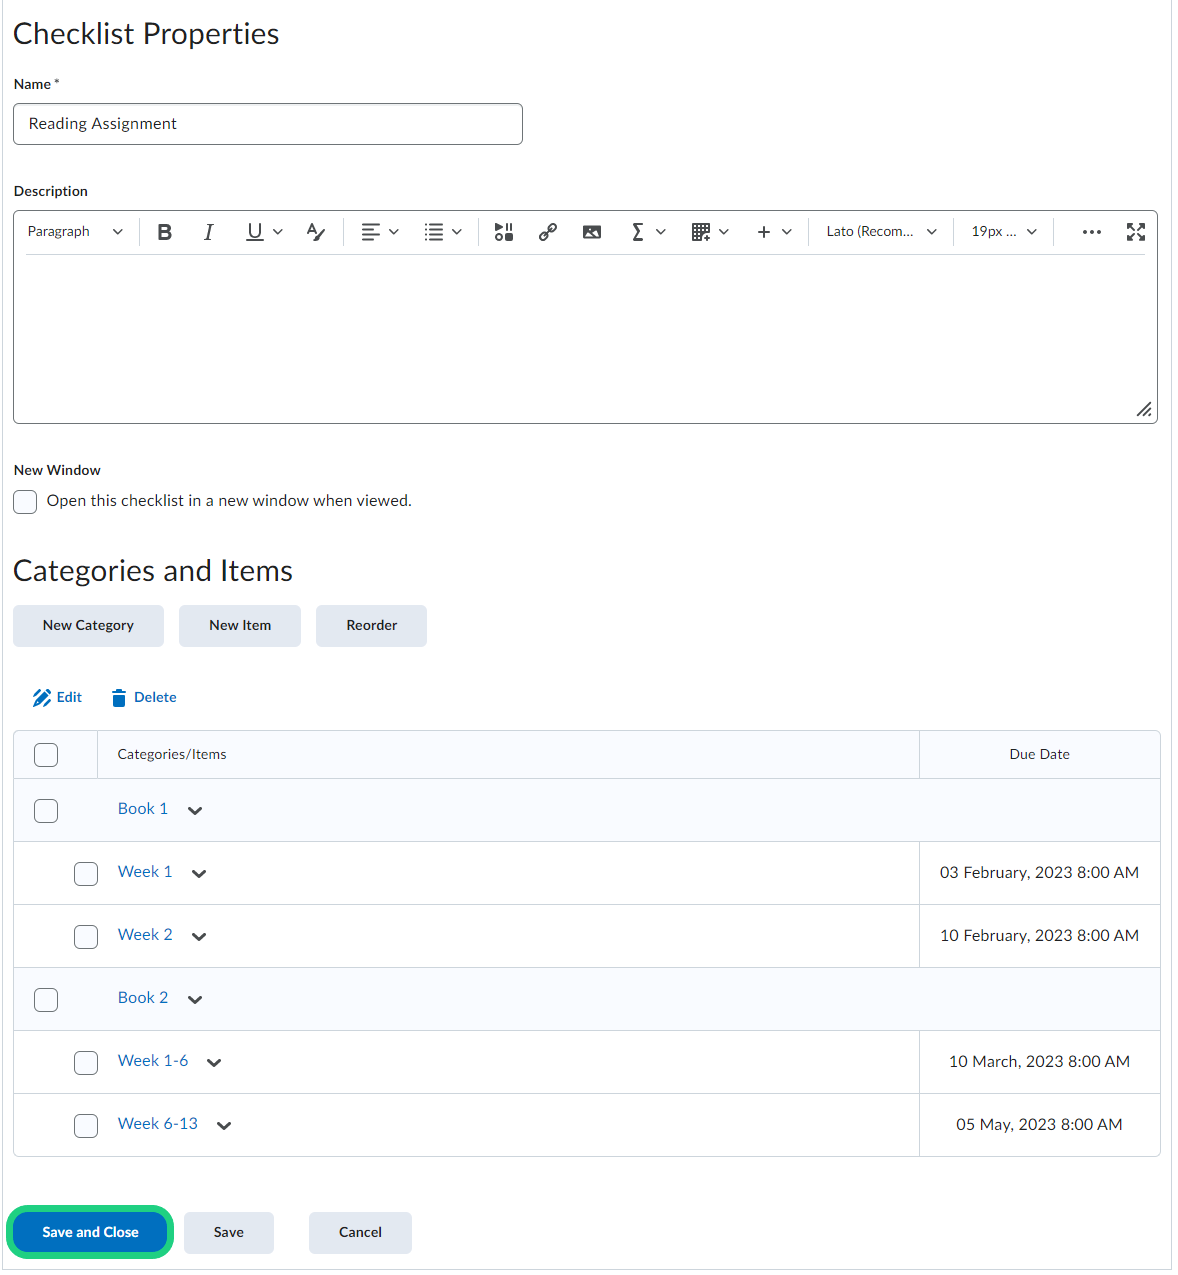
- When you're done setting up your checklist, click on "Save and Close".
- Alternatively you can create a checklist under "Content". To do that start by creating a module and click on "Upload/Create".
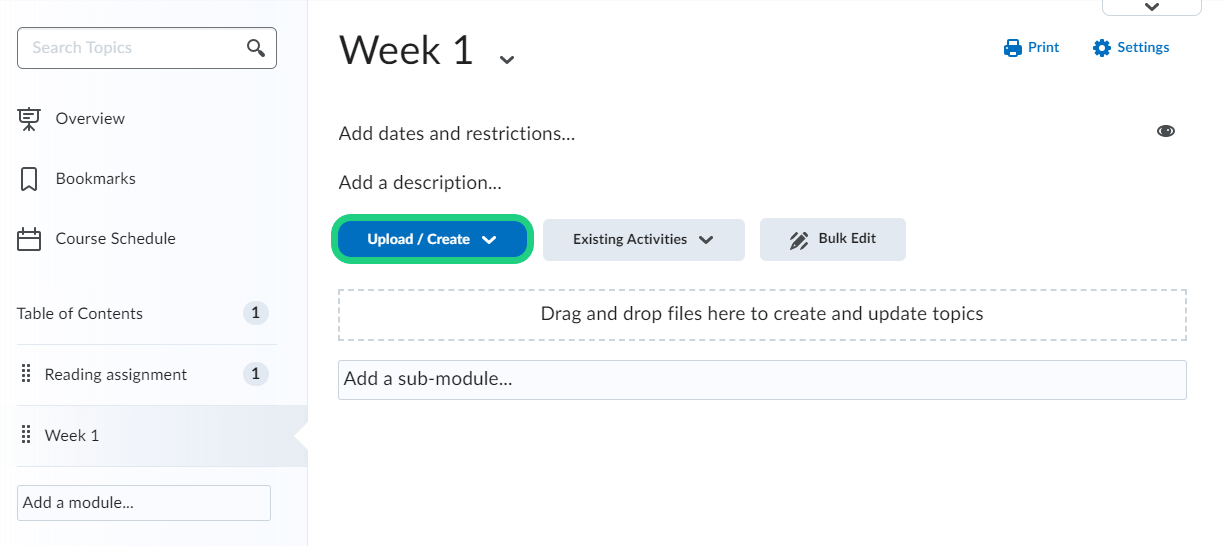
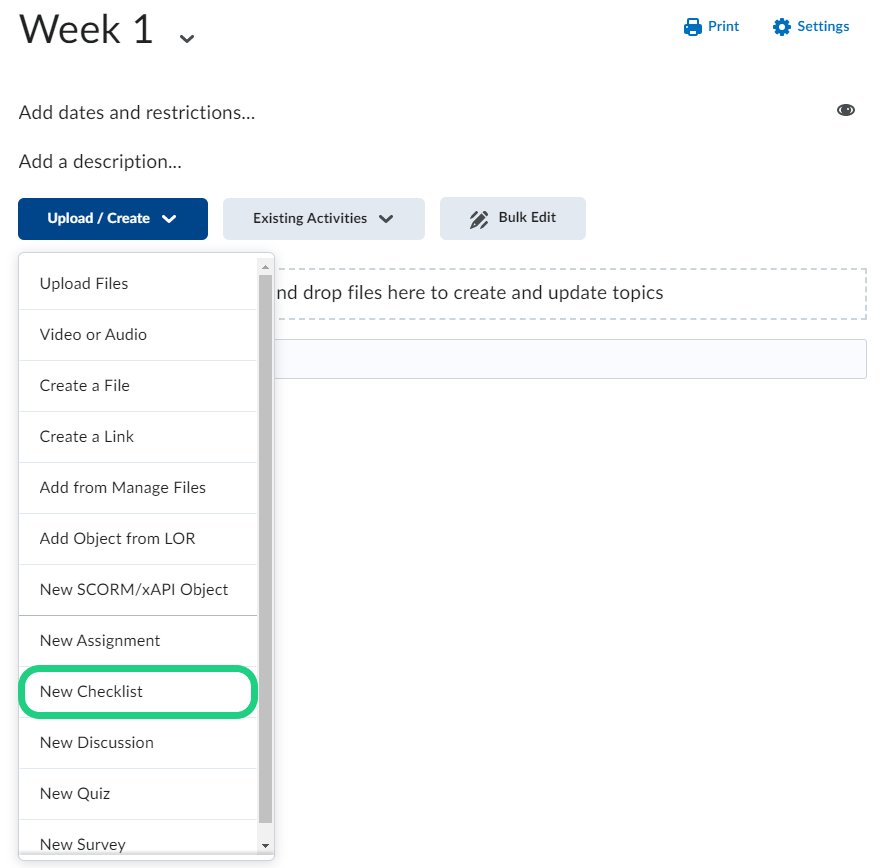
- Next click on "New Checklist".
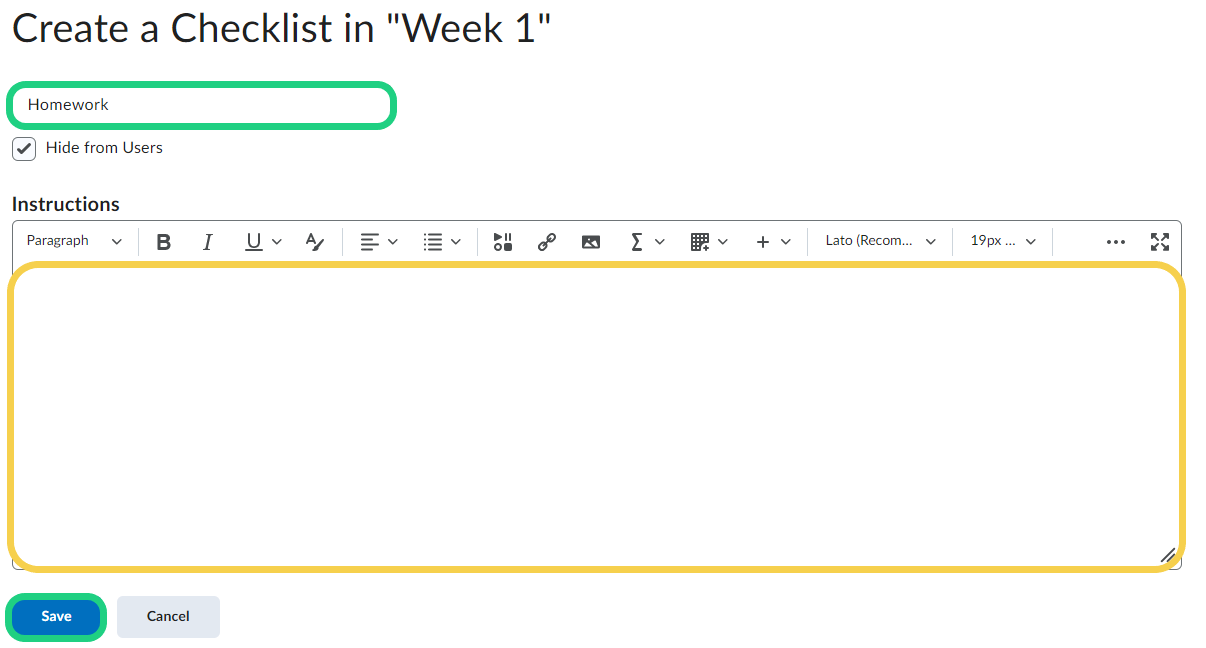
- Write a name for the new checklist and if needed a description then click on "Save".
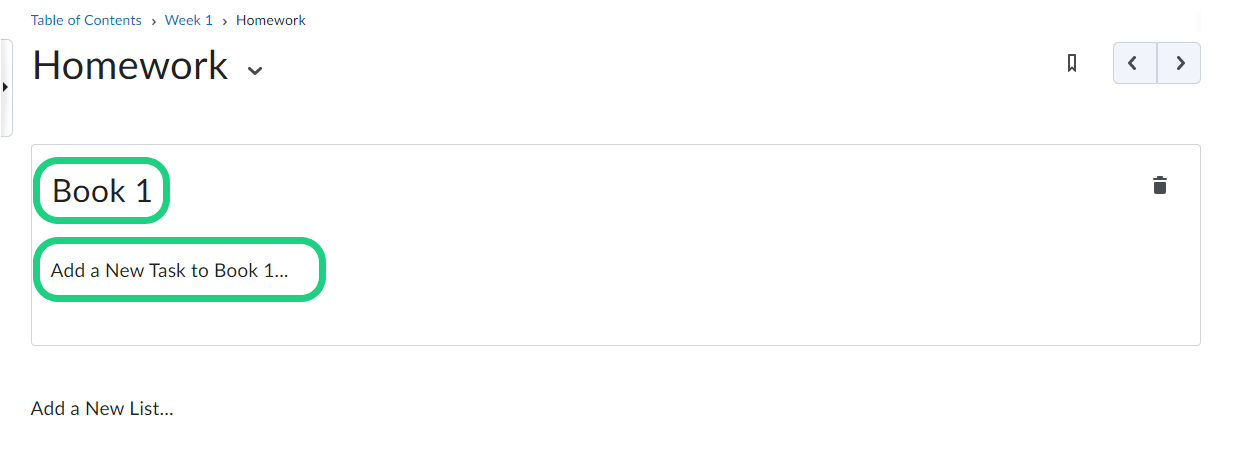
- Click on "New List" to add items.
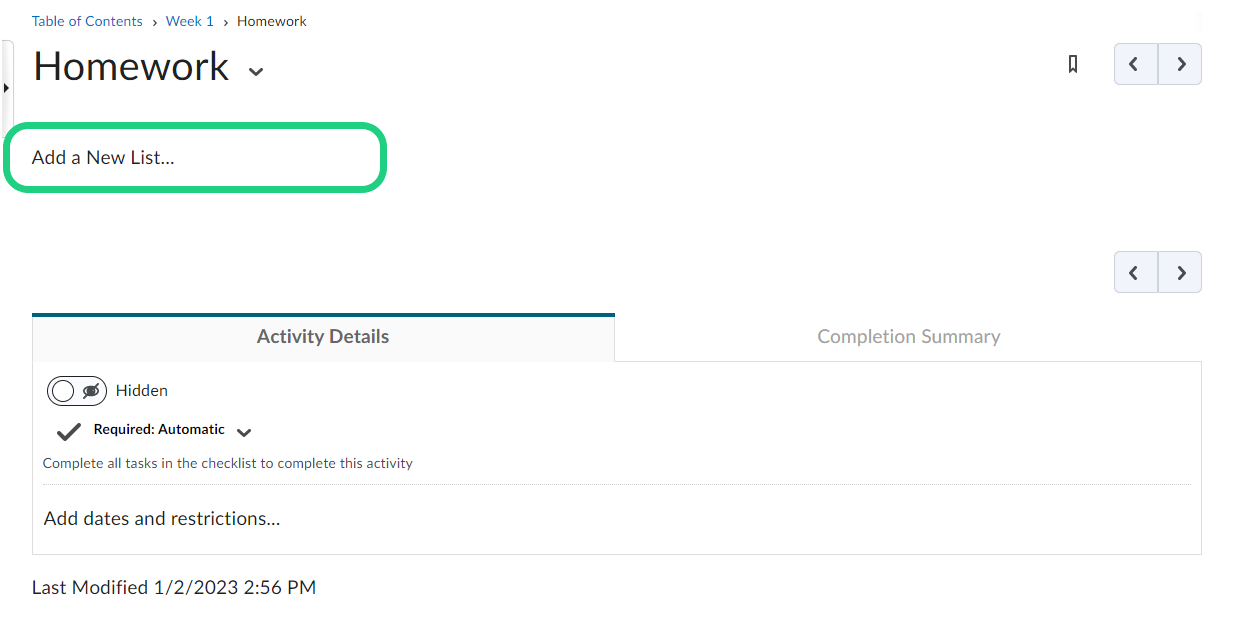
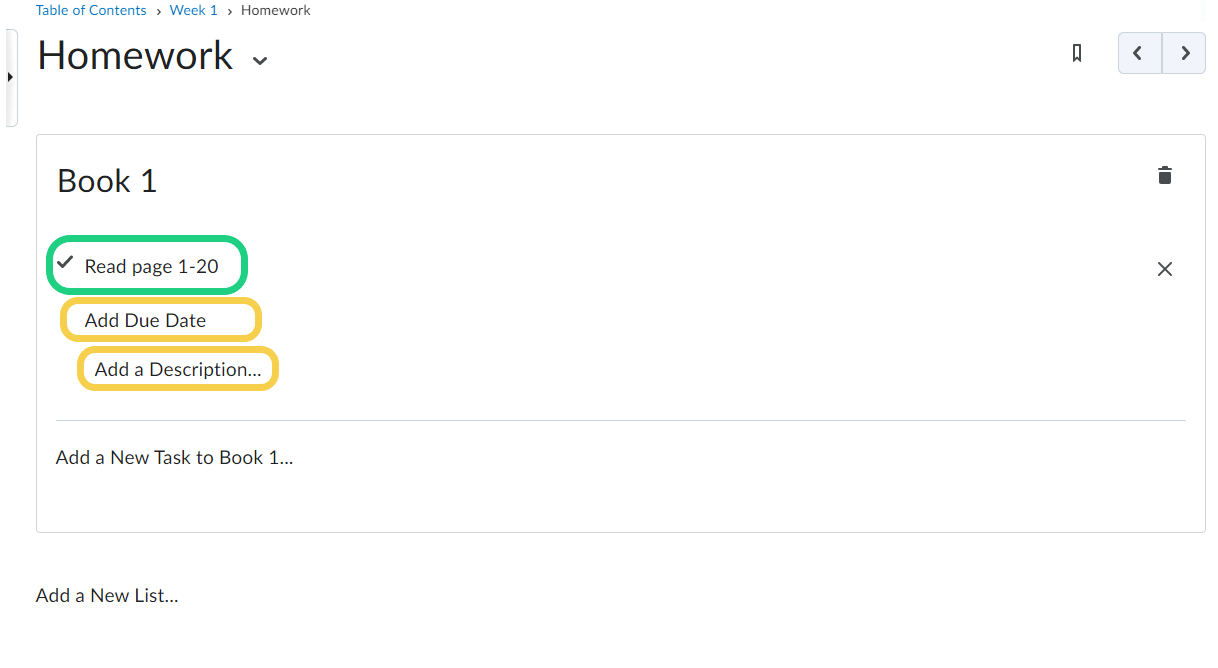
- Click on the name of the list to change it and click on "New Item" to create an item.
- To change the name of the item, click on the name. You can also add a due date and a description.
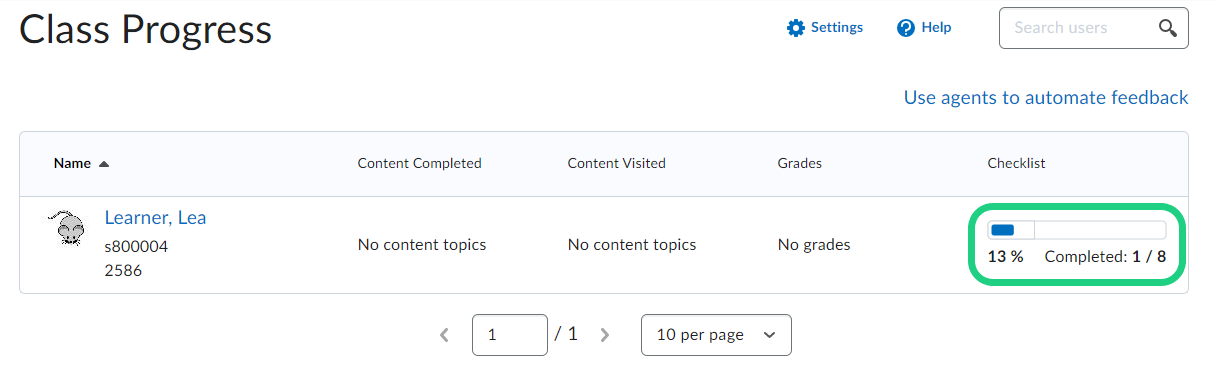
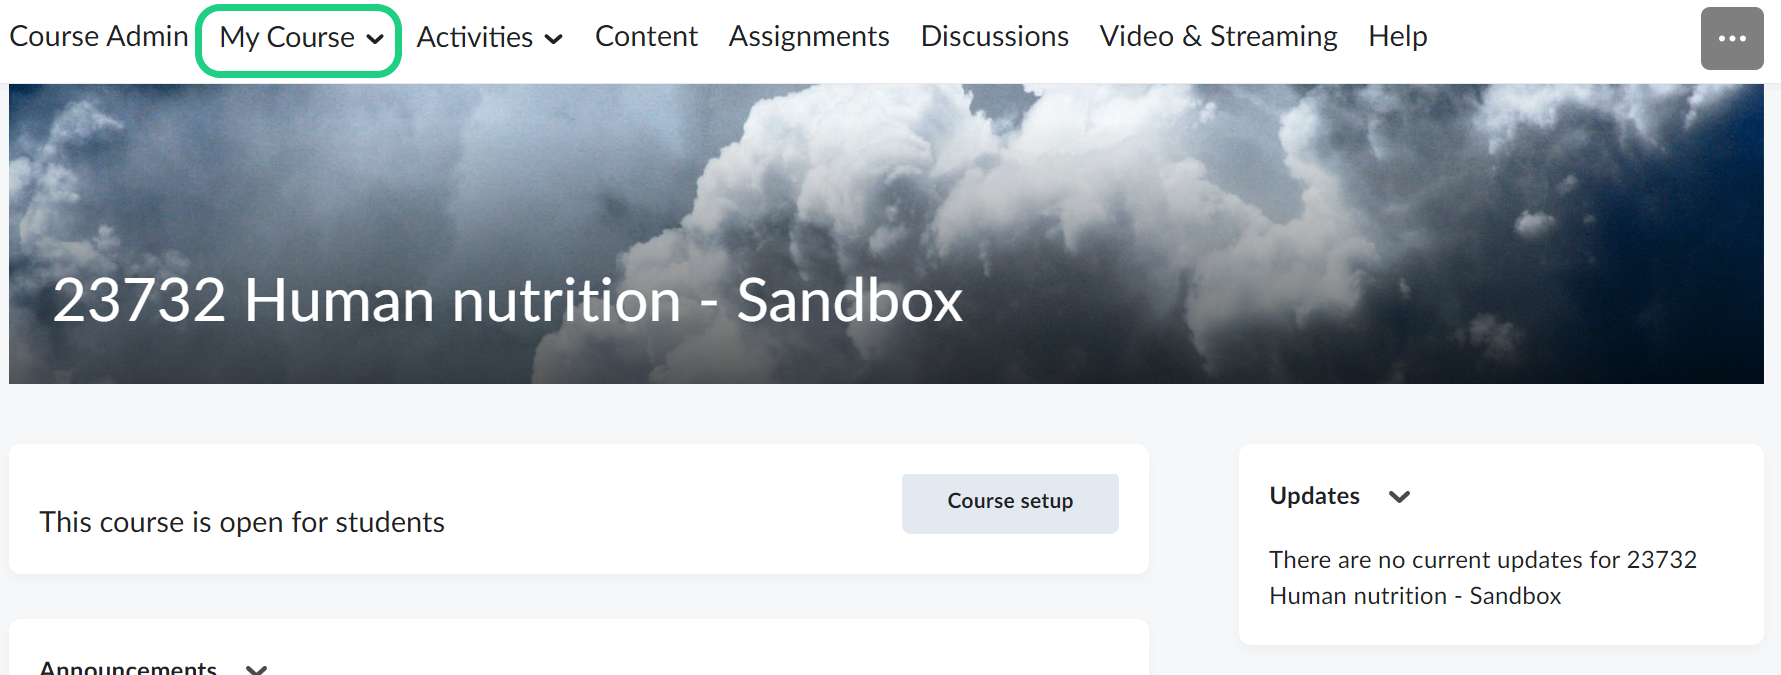
- To see the progress of your students, select "My Course".
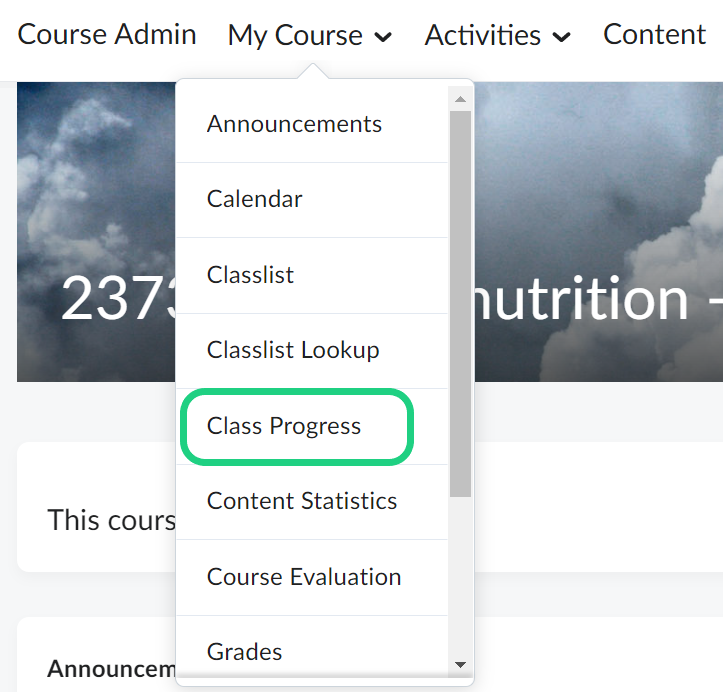
- Select "Class Progress".
- To read more about the progress of a student concerning the checklist, click on the progress bar.